

How to Set up Sello ChatGPT Bot
Learn how to set up the Sello ChatGPT bot, your AI-powered sales agent, guiding customers seamlessly through the entire sales journey.
Share on WhatsApp
.png)
Sello is like having your own personal shopping assistant powered by AI. It smoothly walks customers through the whole buying process from helping them pick products to making the final payment. Every step is made simple and efficient, ensuring a smooth experience. If the customers asks about the catalog, requests to see products, or inquires about a specific item, Sello responds seamlessly to them. It's all about making shopping easy and enjoyable for your customers.
Before you proceed, ensure that your WhatsApp Catalog and ChatGPT accounts are integrated to Zoko to enable these bots. If you haven't done so, refer to our article on:
WhatsApp Catalog - How to Setup WhatsApp Catalog
ChatGPT - How to Integrate Your ChatGPT Account
Setting up Sello bot:
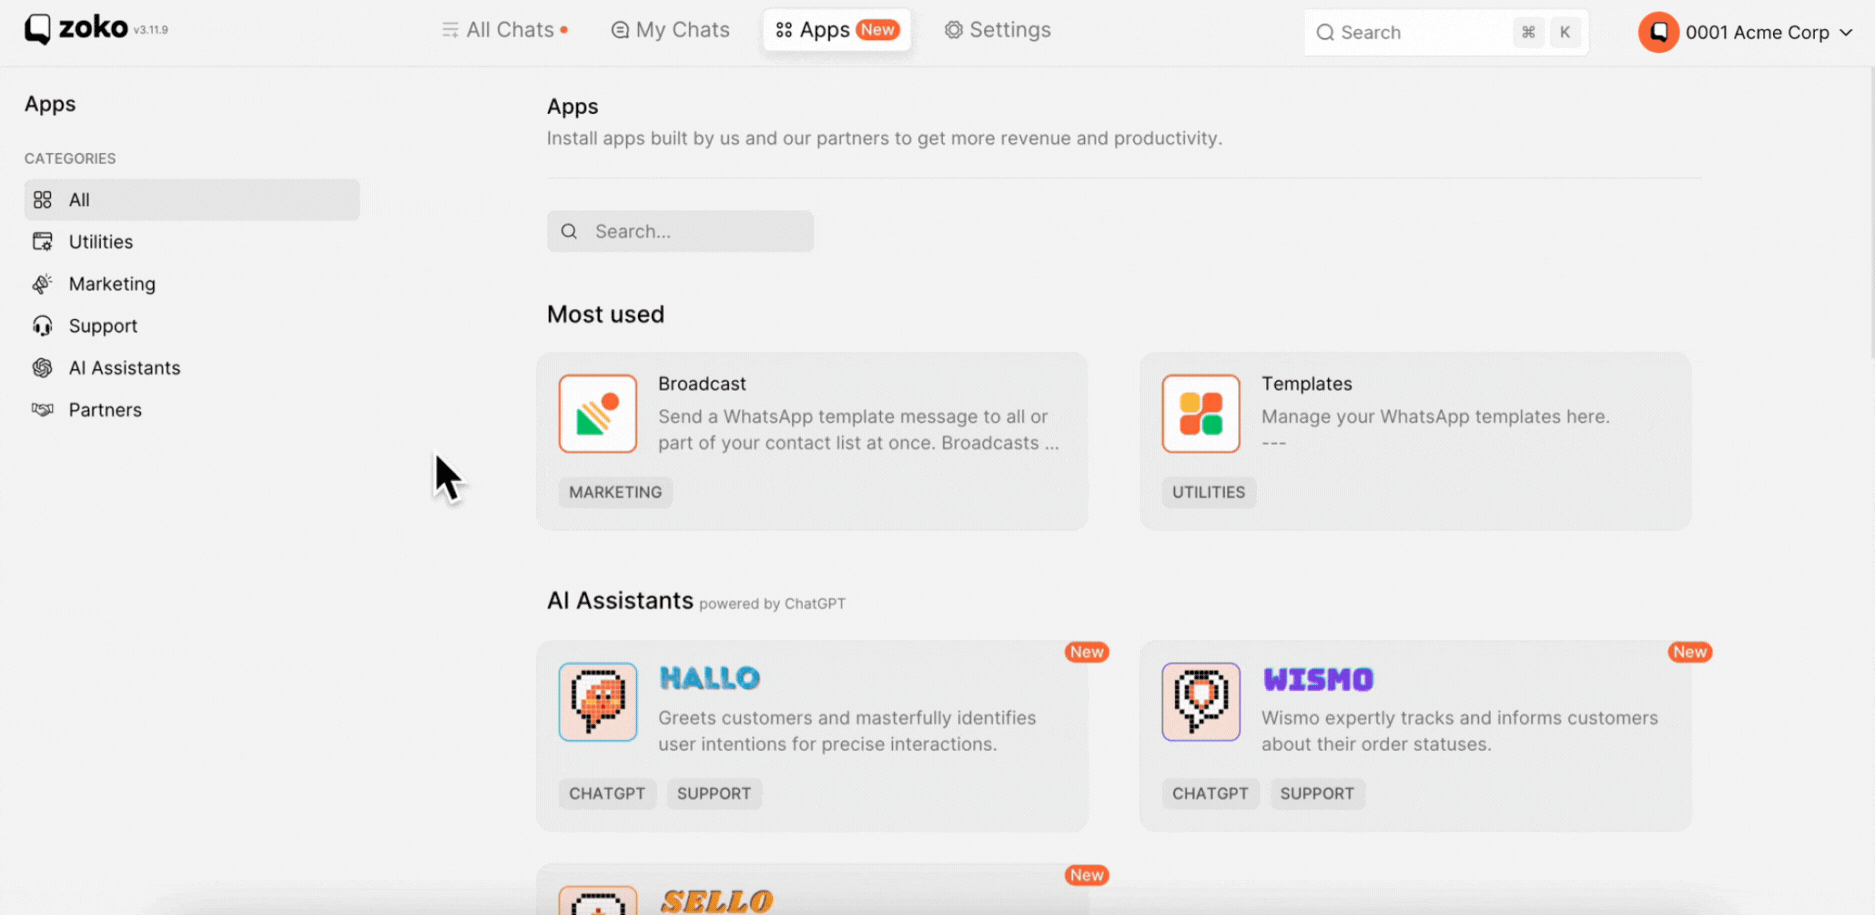
1. Go to Apps.
2. Under AI Assistants categories, select Sello.
3. Click on Enable bot.
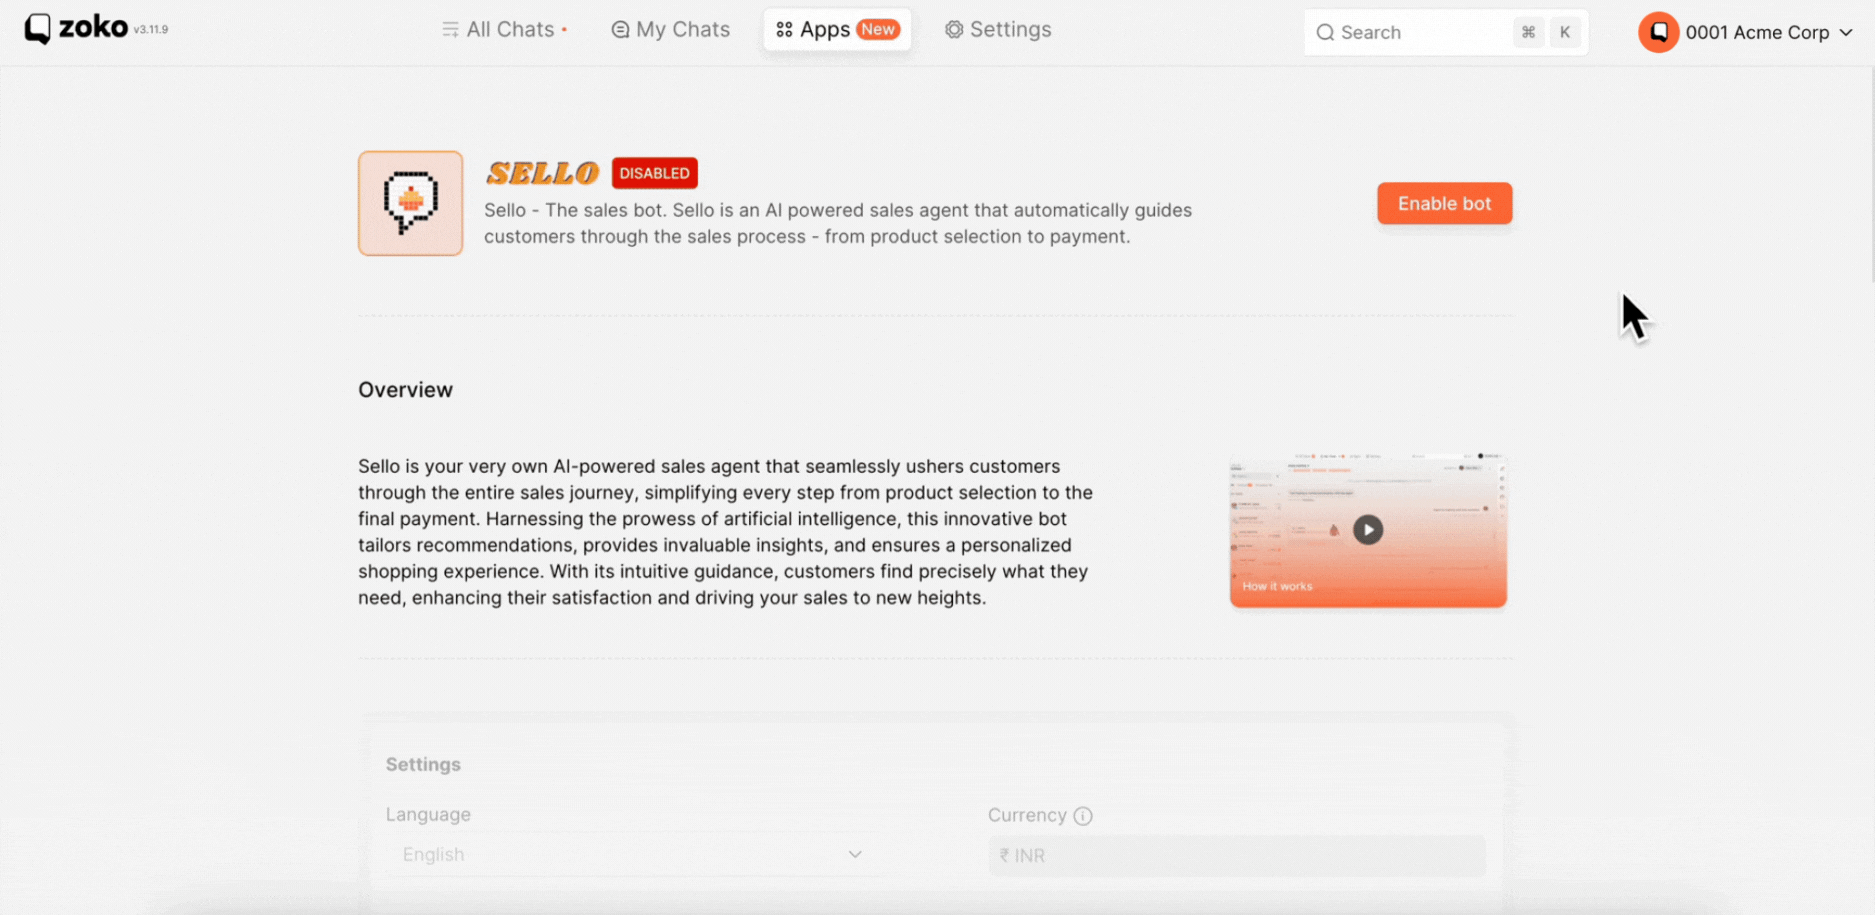
4. Select the language from the dropdown you want to set. (Note: Currently supports English language only)
5. Store currency will be set as the default, matching the currency you've configured in your WhatsApp Catalog on your Meta Business Manager.
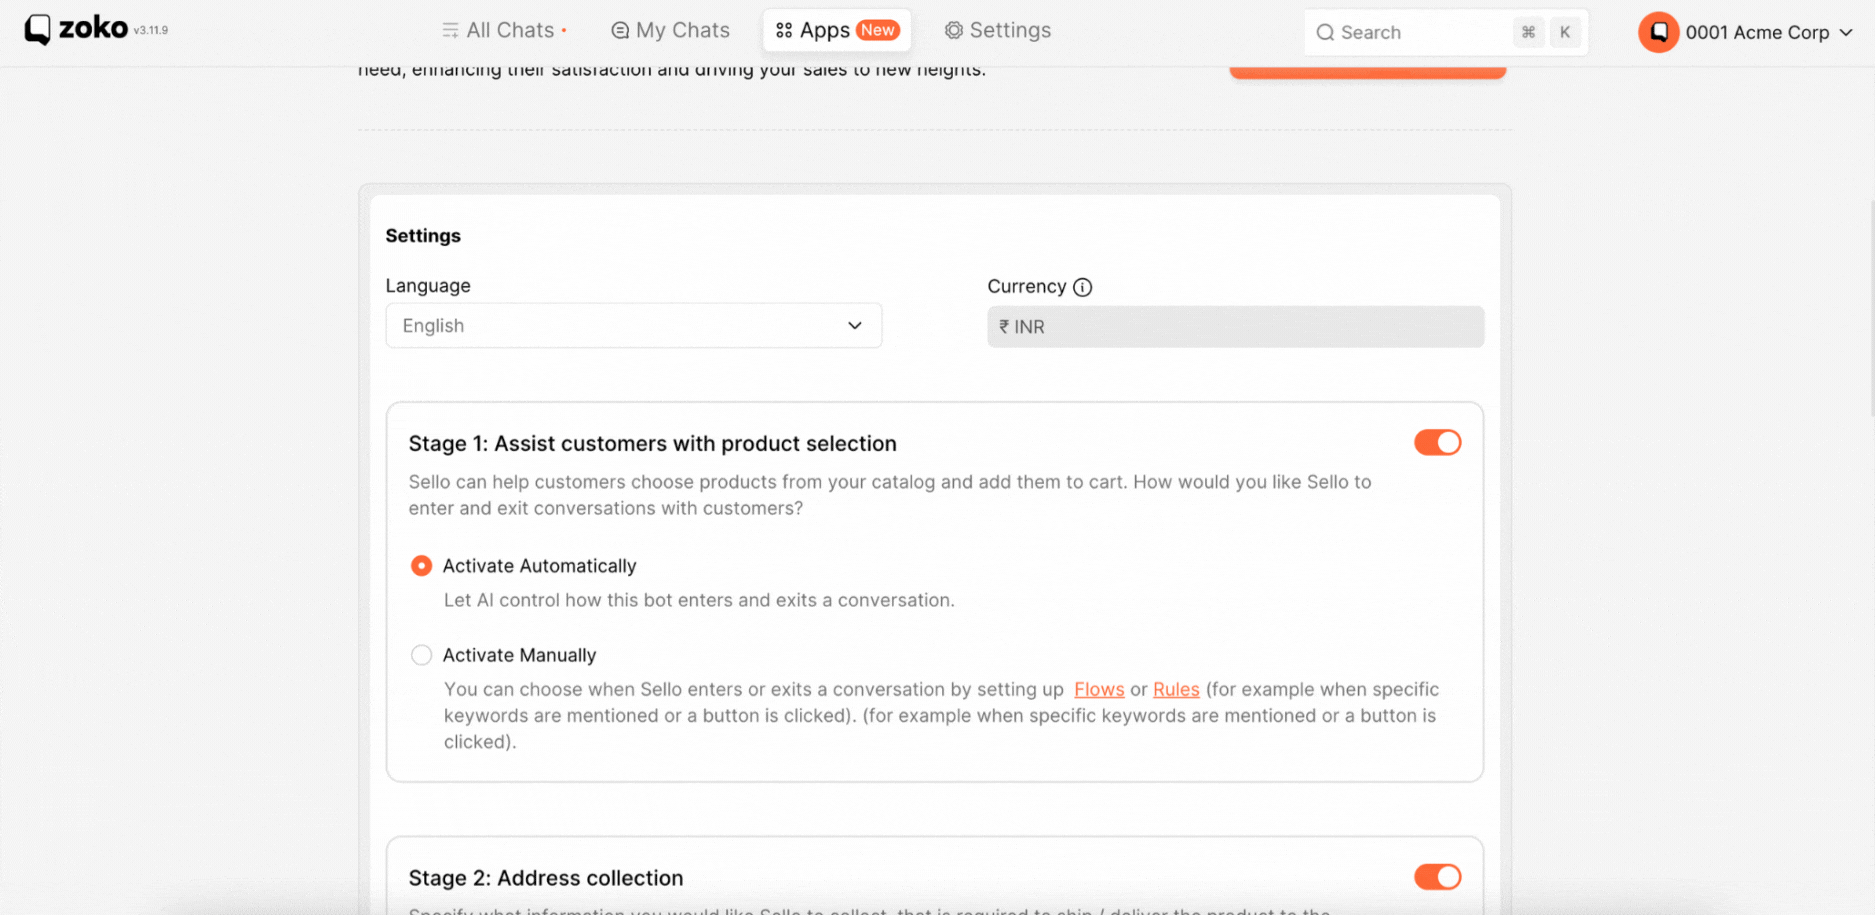
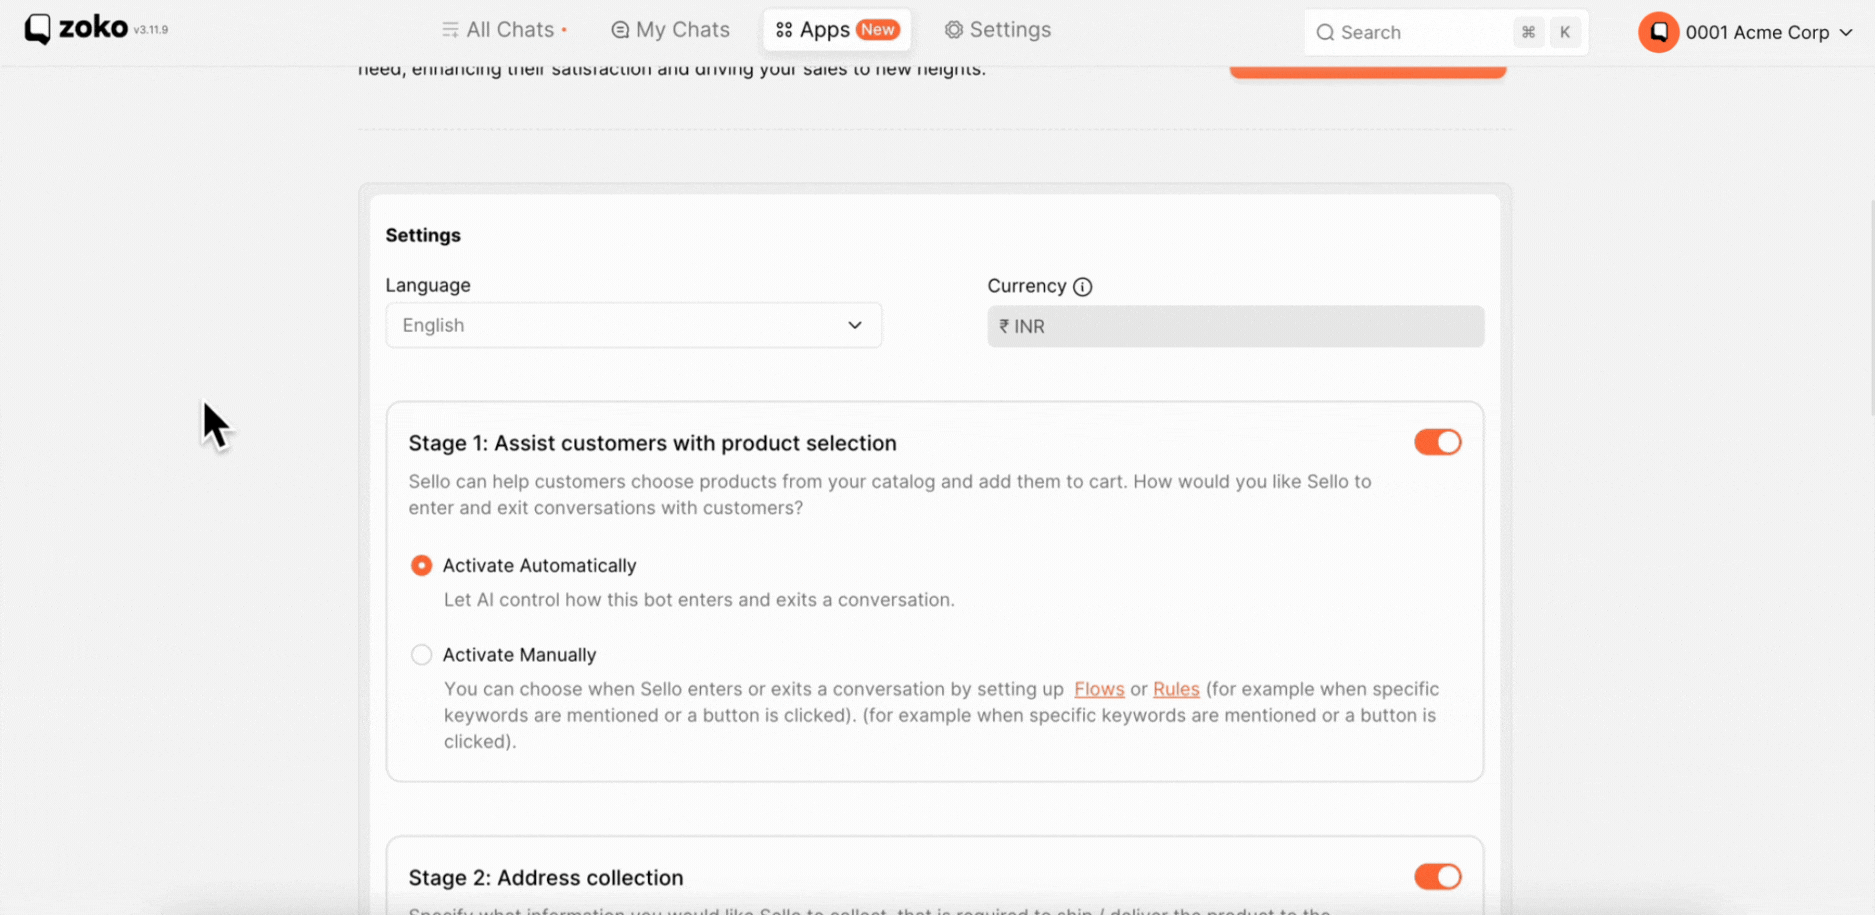
6. Next, customize your mode and configure the settings. Ensure that each stage has an enable/disable button, allowing you to choose how you want to set up Sello.
(Stage 1) Assist Customers with Product Selection:
This bot will assist and prompt customers to choose products from your catalog and add them to the cart.
- Activate automatically (Default AI Control)
- Activate manually (Choose when Sello enters or exits using Flows or Rules, e.g., based on keywords or button clicks) - This setting lets you choose when Sello becomes active or inactive based on specific triggers.
In our case, we have set it to Default Activate automatically.
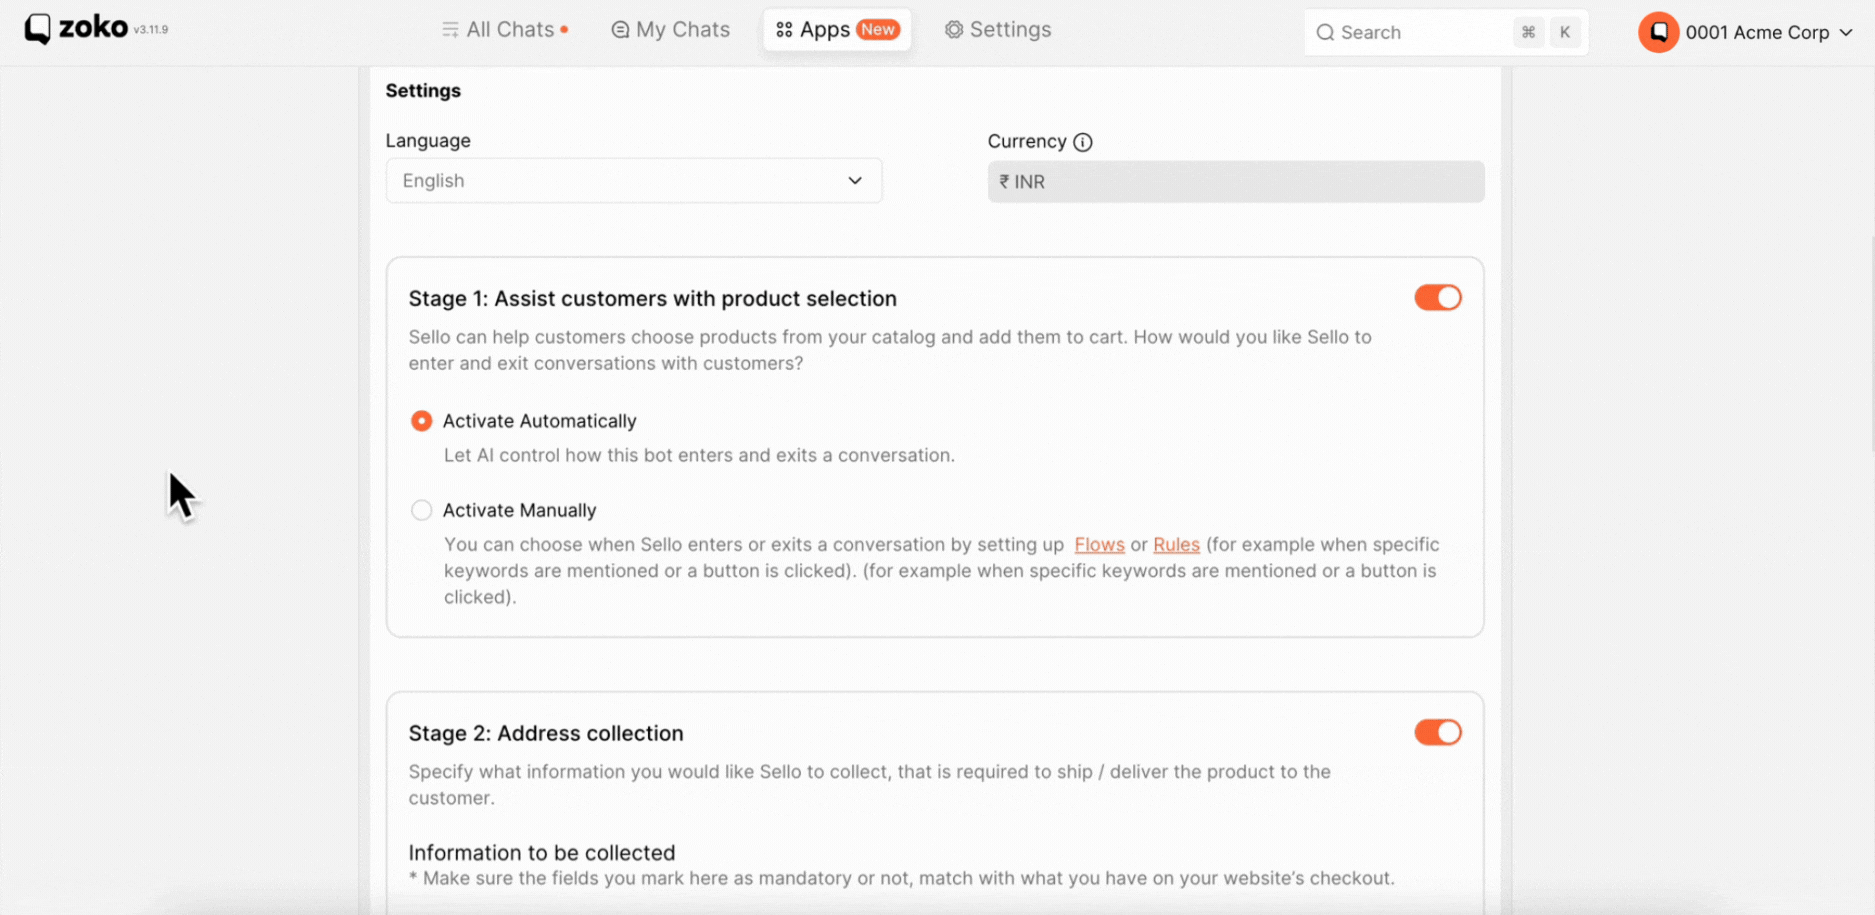
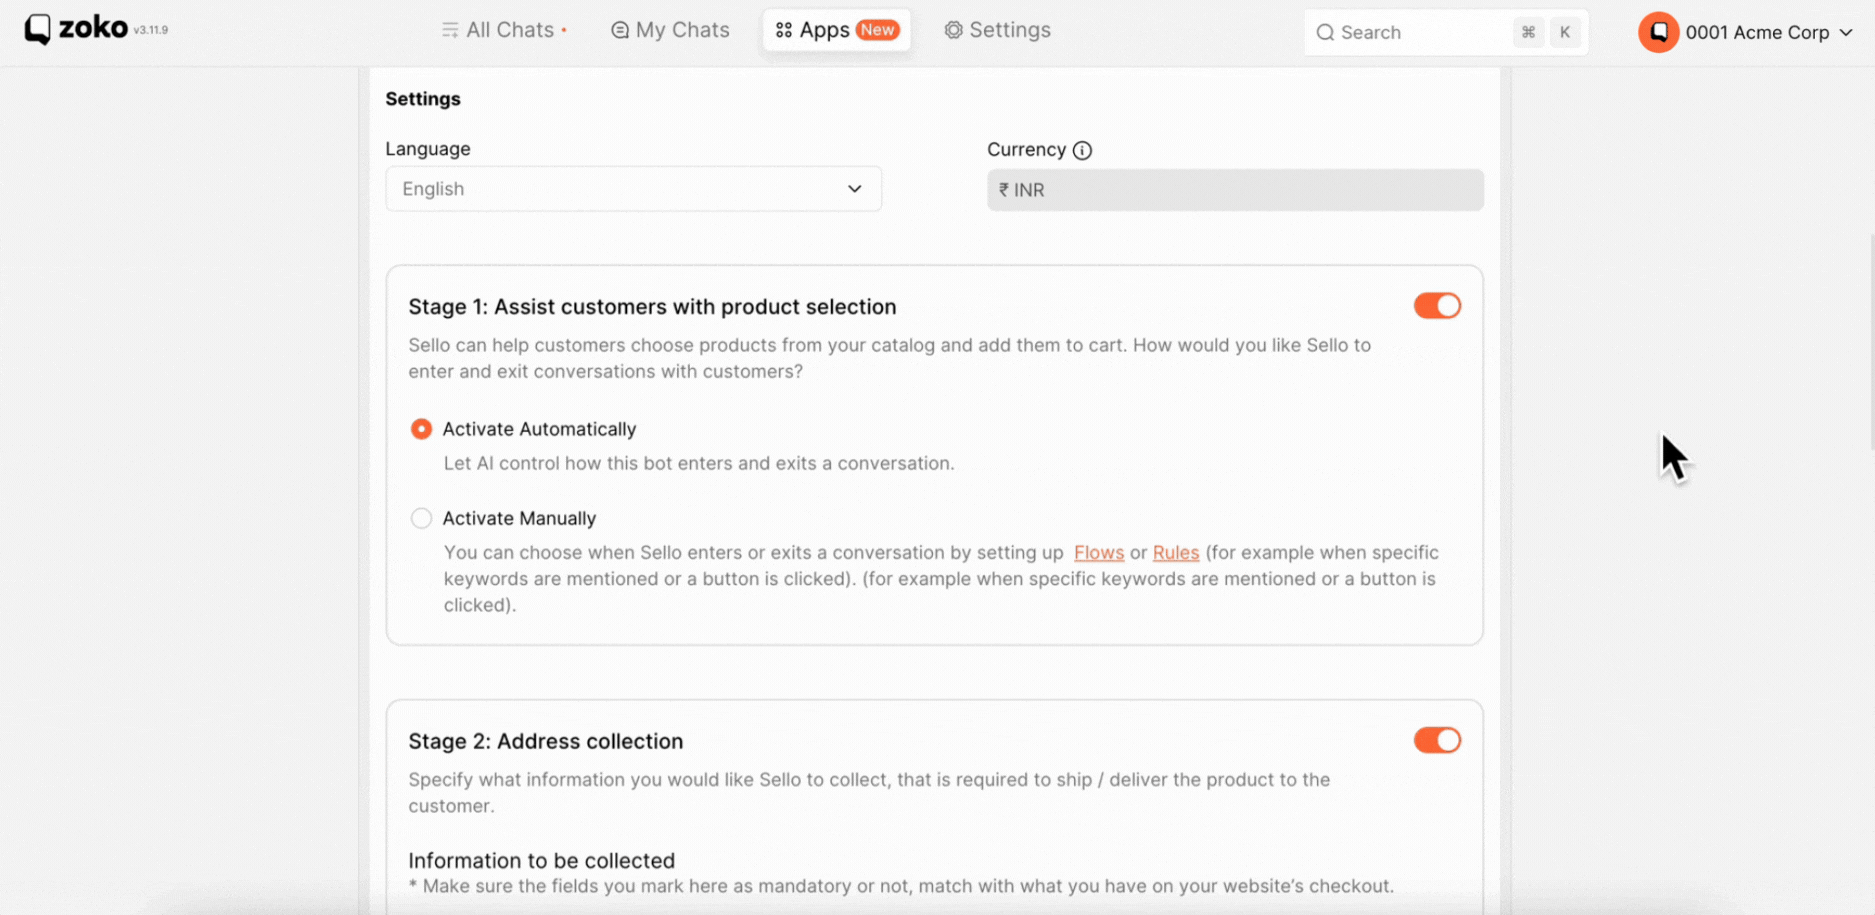
(Stage 2) Customize Address Collection:
Specify the information Sello needs to collect for shipping or delivery. When Sello requests the customer's address, it will also seek reconfirmation.
Note: Ensure the mandatory fields here match your website’s checkout. Sello will ask customers about the details you've specified.
In our case, we've selected all the fields.

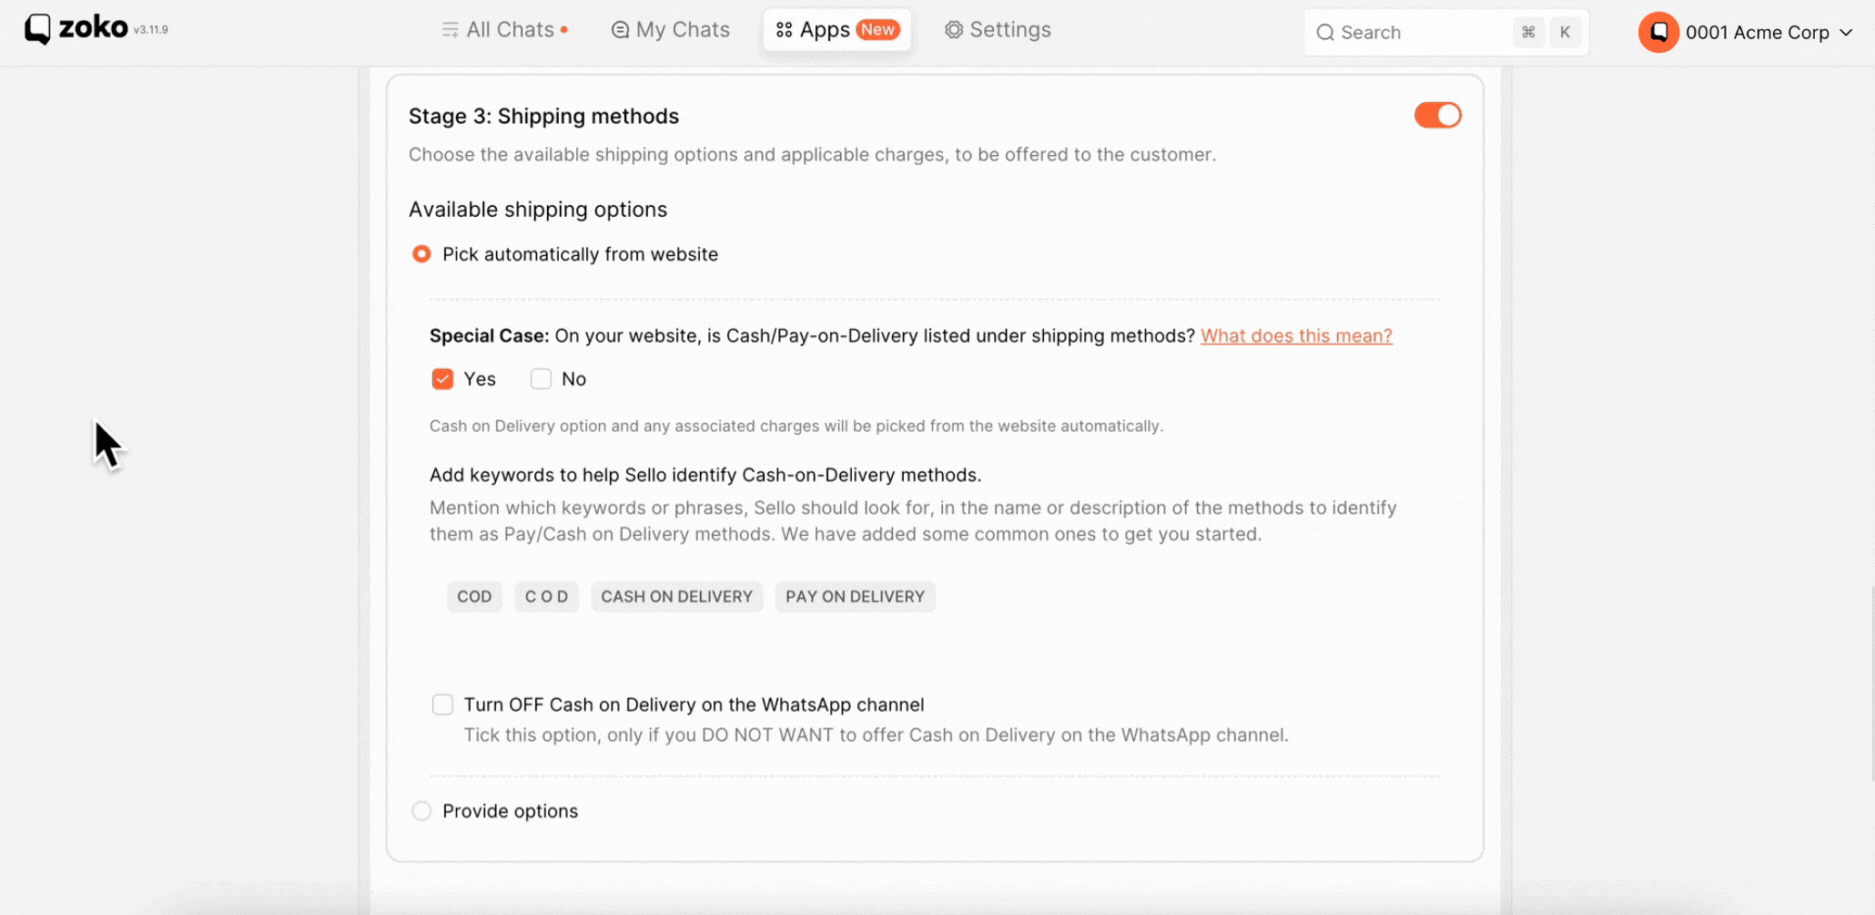
(Stage 3) Choose Shipping Method:
Select the available shipping options and their applicable charges to present to the customer. There are two options:
- Pick Automatically from your Website:
- Let the AI bot seamlessly fetch shipping details directly from your website settings.
- (Special Note: If Cash/Pay-on-Delivery options are available on your website, choose "Yes/No".) Refer to our article to understand better - On your website, is Cash/Pay-on-Delivery
- Manual Provide Options:
- Take control and manually define your preferred shipping options.
As your customers make a purchase, the bot will guide them through choosing a shipping method, whether it's standard or fast shipping. In our case, we've selected, Pick Automatically from your Website and special case marked as No.
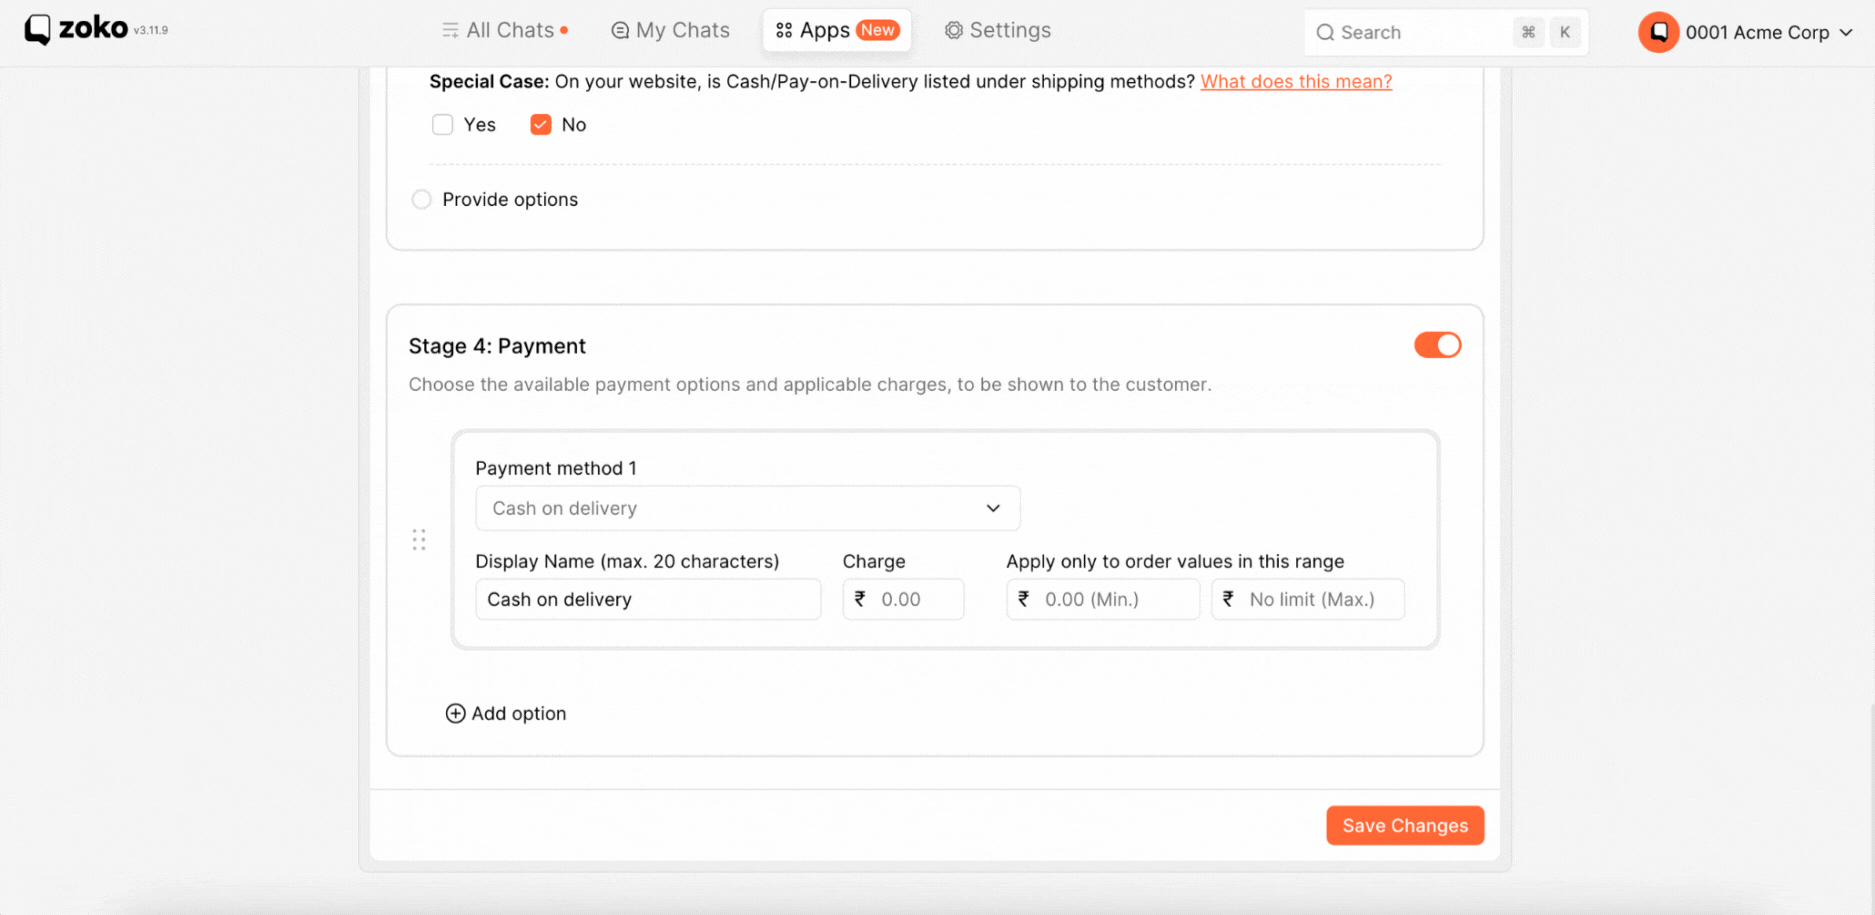
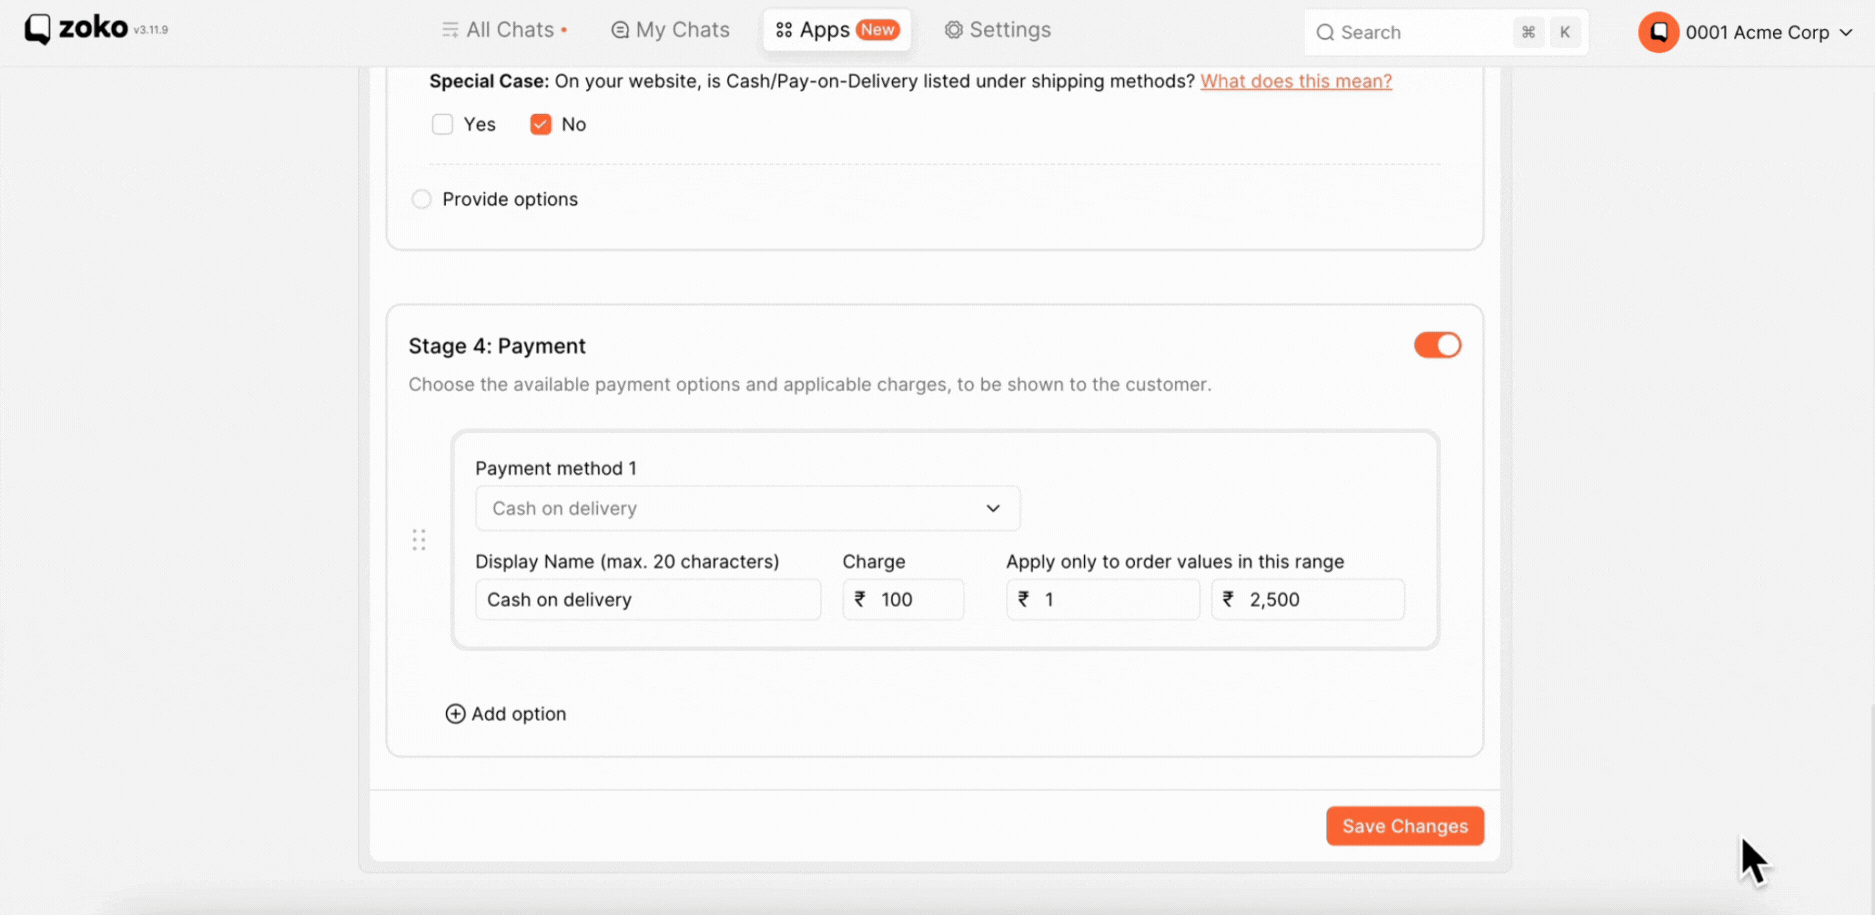
(Stage 4) Choose Payment Options:
Select from a variety of payment options and their associated charges to present to your customers. When the bot prompts customers to choose a payment option, it triggers a link, taking them to the payment page.
Note: If you opt for the Razorpay payment option, ensure that you have integrated Razorpay. If not, refer to our article on How to Integrate Razorpay Payment.
Here are three payment options:
- Razorpay Payment: If the user chooses this option, the bot triggers a link, directing the customer to the payment page where they can complete the transaction.
- Cash on Delivery (COD): If the user selects this option, the bot triggers a double-confirm message, asking the customer to confirm the order.
- Website Checkout: If the user chooses this option, the bot triggers the checkout link, leading the user to the Shopify checkout page for payment.
To Set up this:
1. Select the Payment Method from the dropdown.
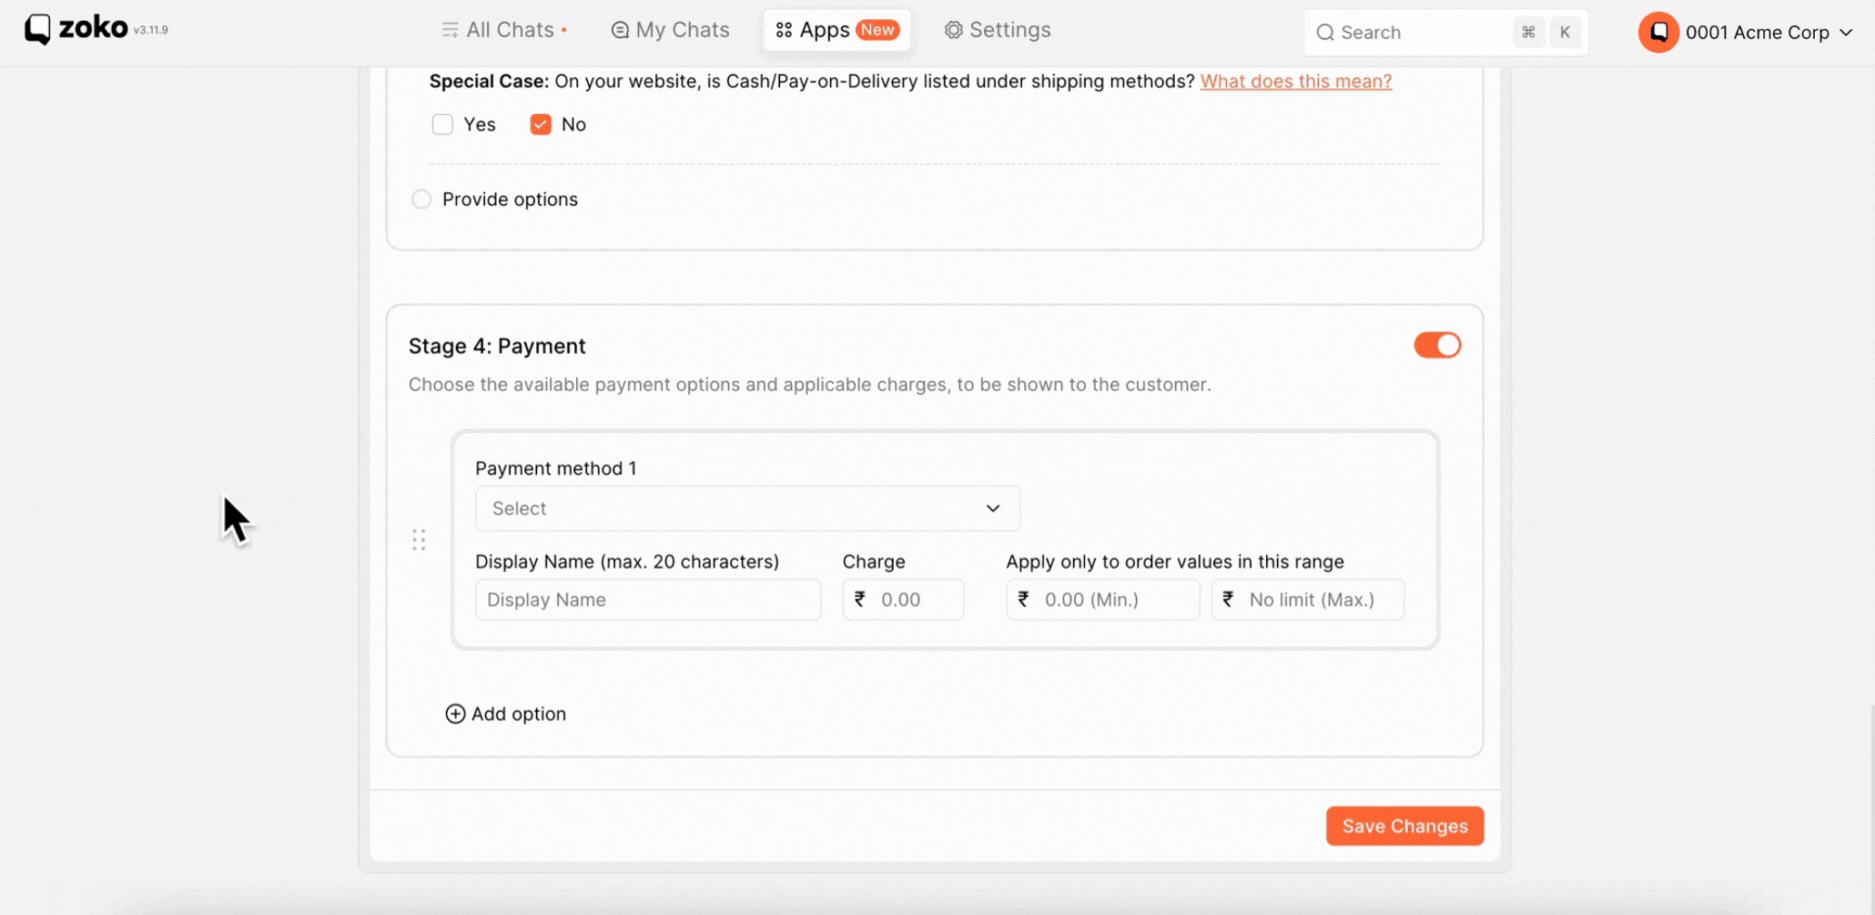
2. The display name will automatically appear in the field when you choose the payment method, or you can type your own Display name in the field.
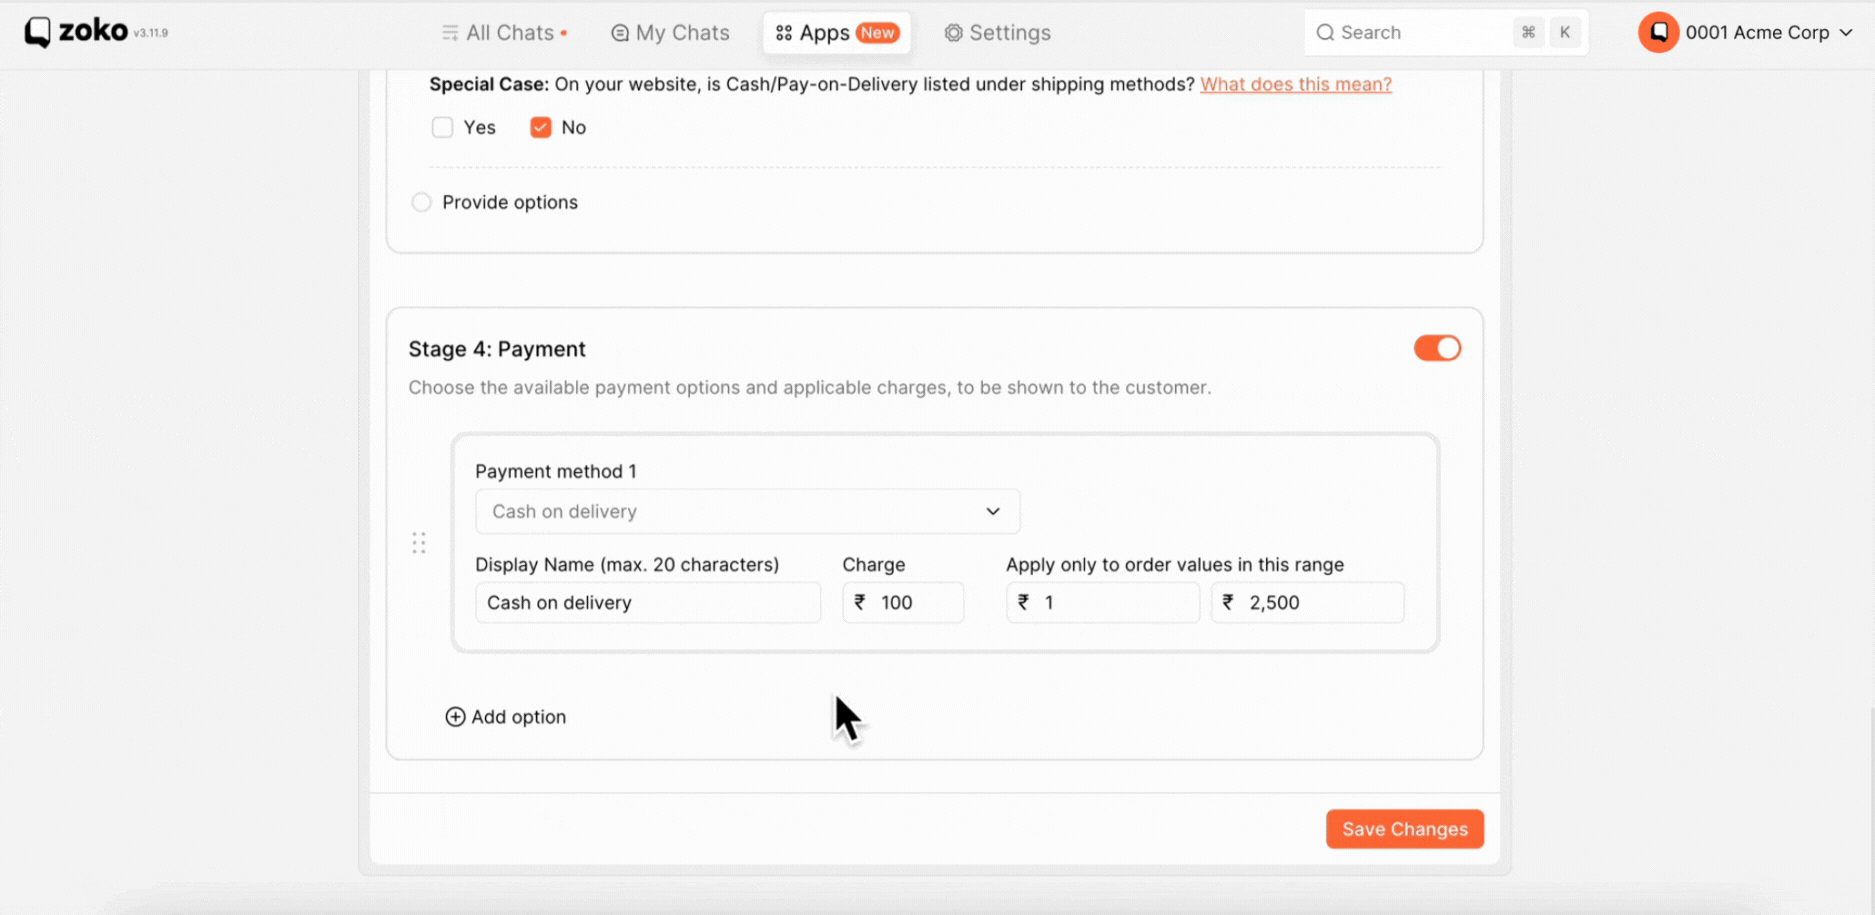
3. Specify the charge and define the order value in the field. The charge applies if the order value falls within the specified range. For example, if you set the charge at ₹50, with an order value of ₹1 and a maximum of ₹1000, the ₹50 charge applies to orders below ₹1000; for orders above ₹1000, no charge is applicable.
In our case, we have chosen Cash on Delivery (COD), set the charge at ₹100, and established an order value range from ₹1 to ₹2500.
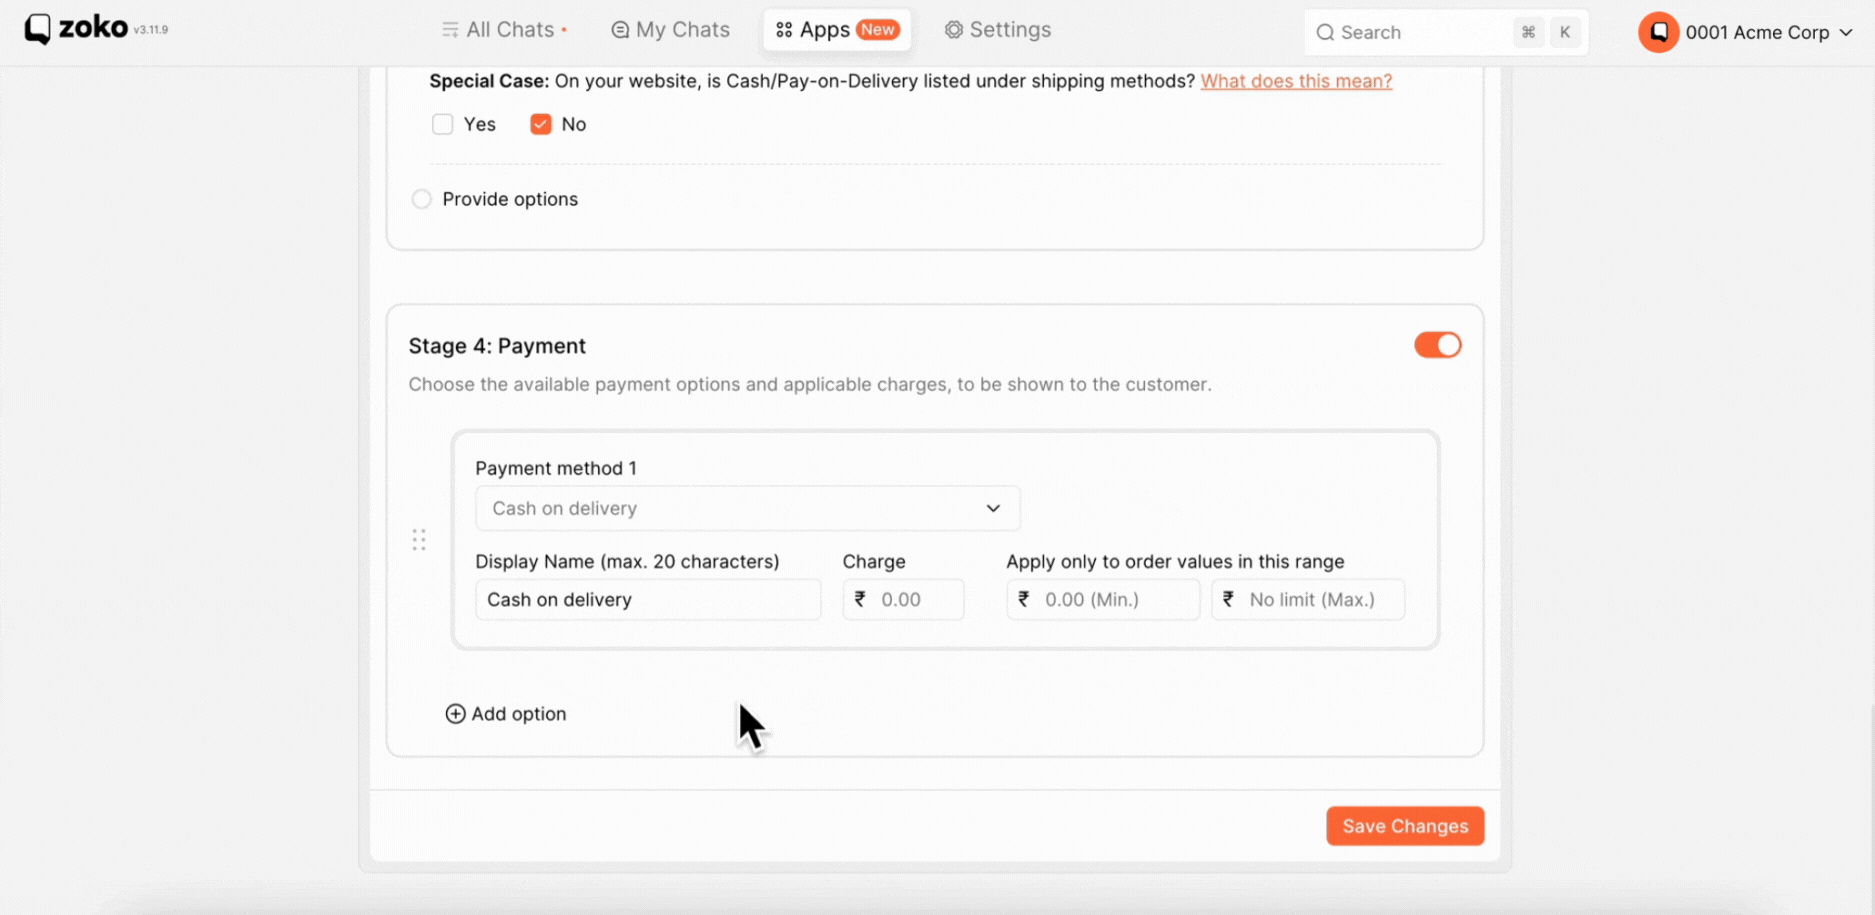
4. You have the option to add multiple options by clicking on +Add option.
Once all these steps are set up, click on Save Changes.
That’s it! You have successfully set up. Now, watch as the bot effortlessly guides your customers through the entire sales process, making their experience seamless and delightful. Sit back and let Sello work its magic!
Keywords: Gretting messages, ChatGPT, Bot, Automate messages, Conversations, Sello, Sales, Products.