

How to Manage Spam Chats and Auto-Close Them
Learn how to manage spam chats on Zoko using the SPAM tag and automation.
Share on WhatsApp
.png)
You cannot block chats due to META restrictions. However, if you’re receiving a large number of spam messages and don’t want these chats to get assigned to your team, there’s a simple way to manage them by adding a SPAM tag.
Once a chat is tagged as SPAM, an automation rule detects the tag and automatically closes the conversation. This ensures spam chats never enter your team’s workflow and helps keep the inbox clean.
Before tagging spam customers, it’s important to identify them correctly. Look for common signs such as unsolicited messages, repetitive queries, or suspicious activity. This step is crucial to ensure only genuine spam chats are tagged.
To do this:
Adding SPAM Tag:
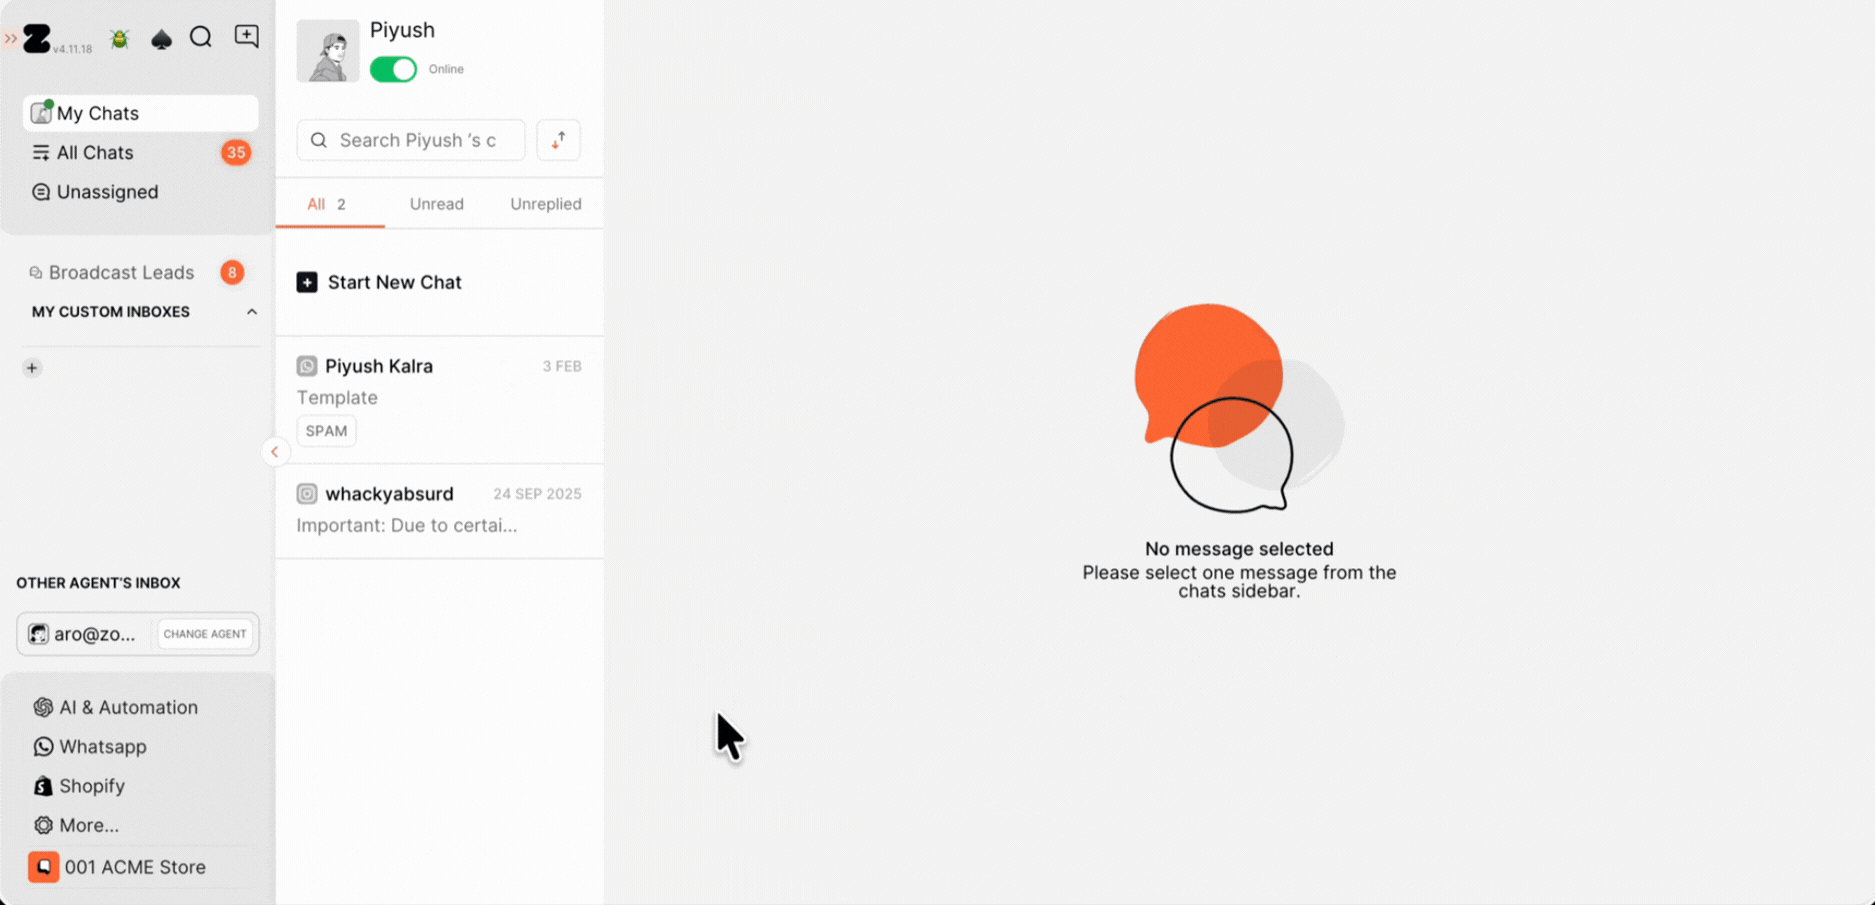
1. Select the customer whose messages you've identified as spam.
Within the chat, click on Add Tag.

2. Click on Create New Tag, enter the tag name as SPAM, and then click Add Tag(s).

Setting up Automation Rule:
Once the SPAM tag is added, an automation rule will take care of the rest.
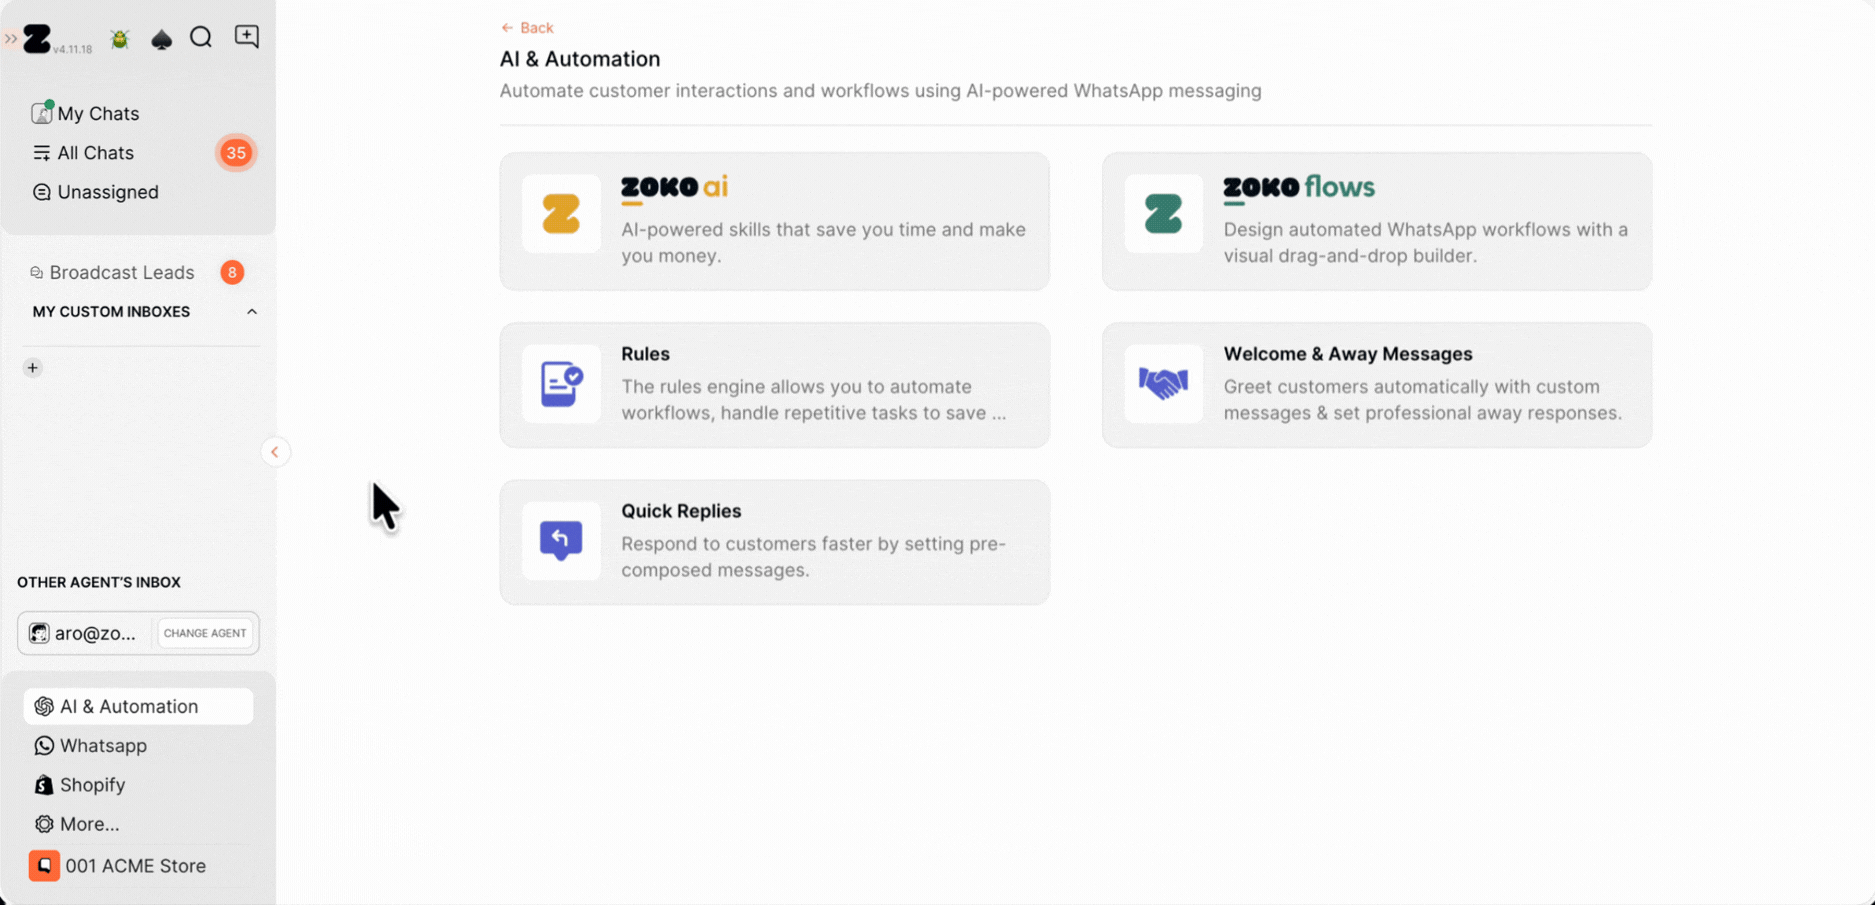
1. Go to AI & Automation.
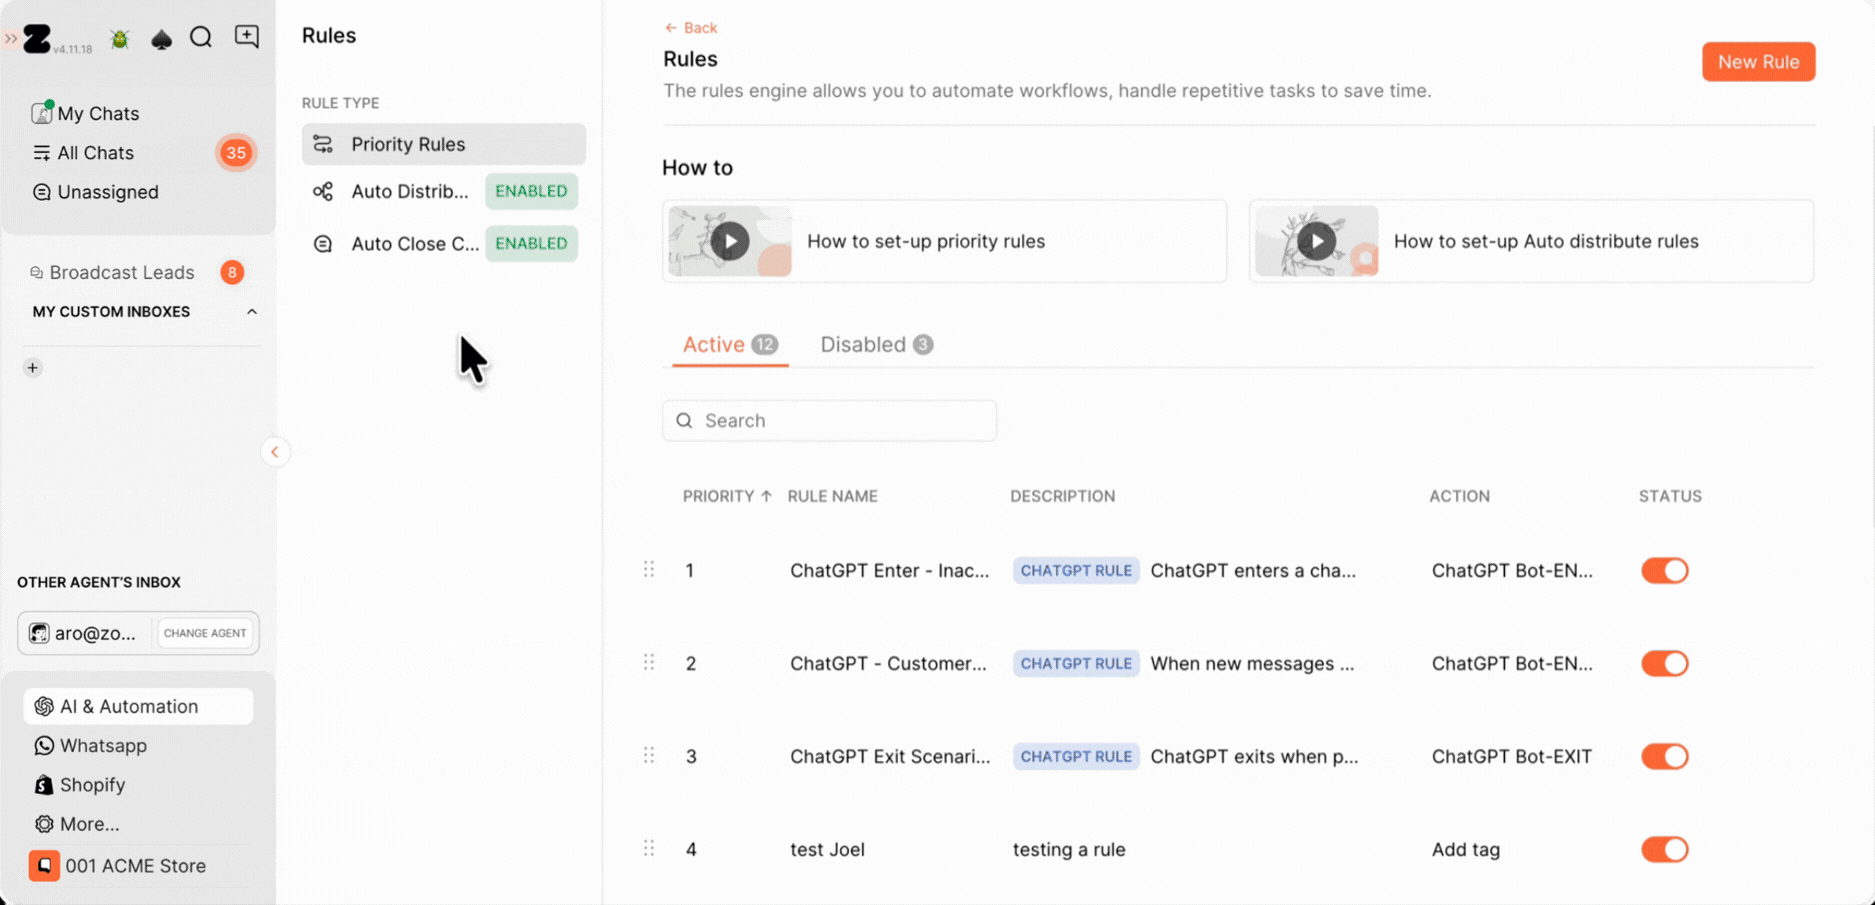
2. Click on Rules.
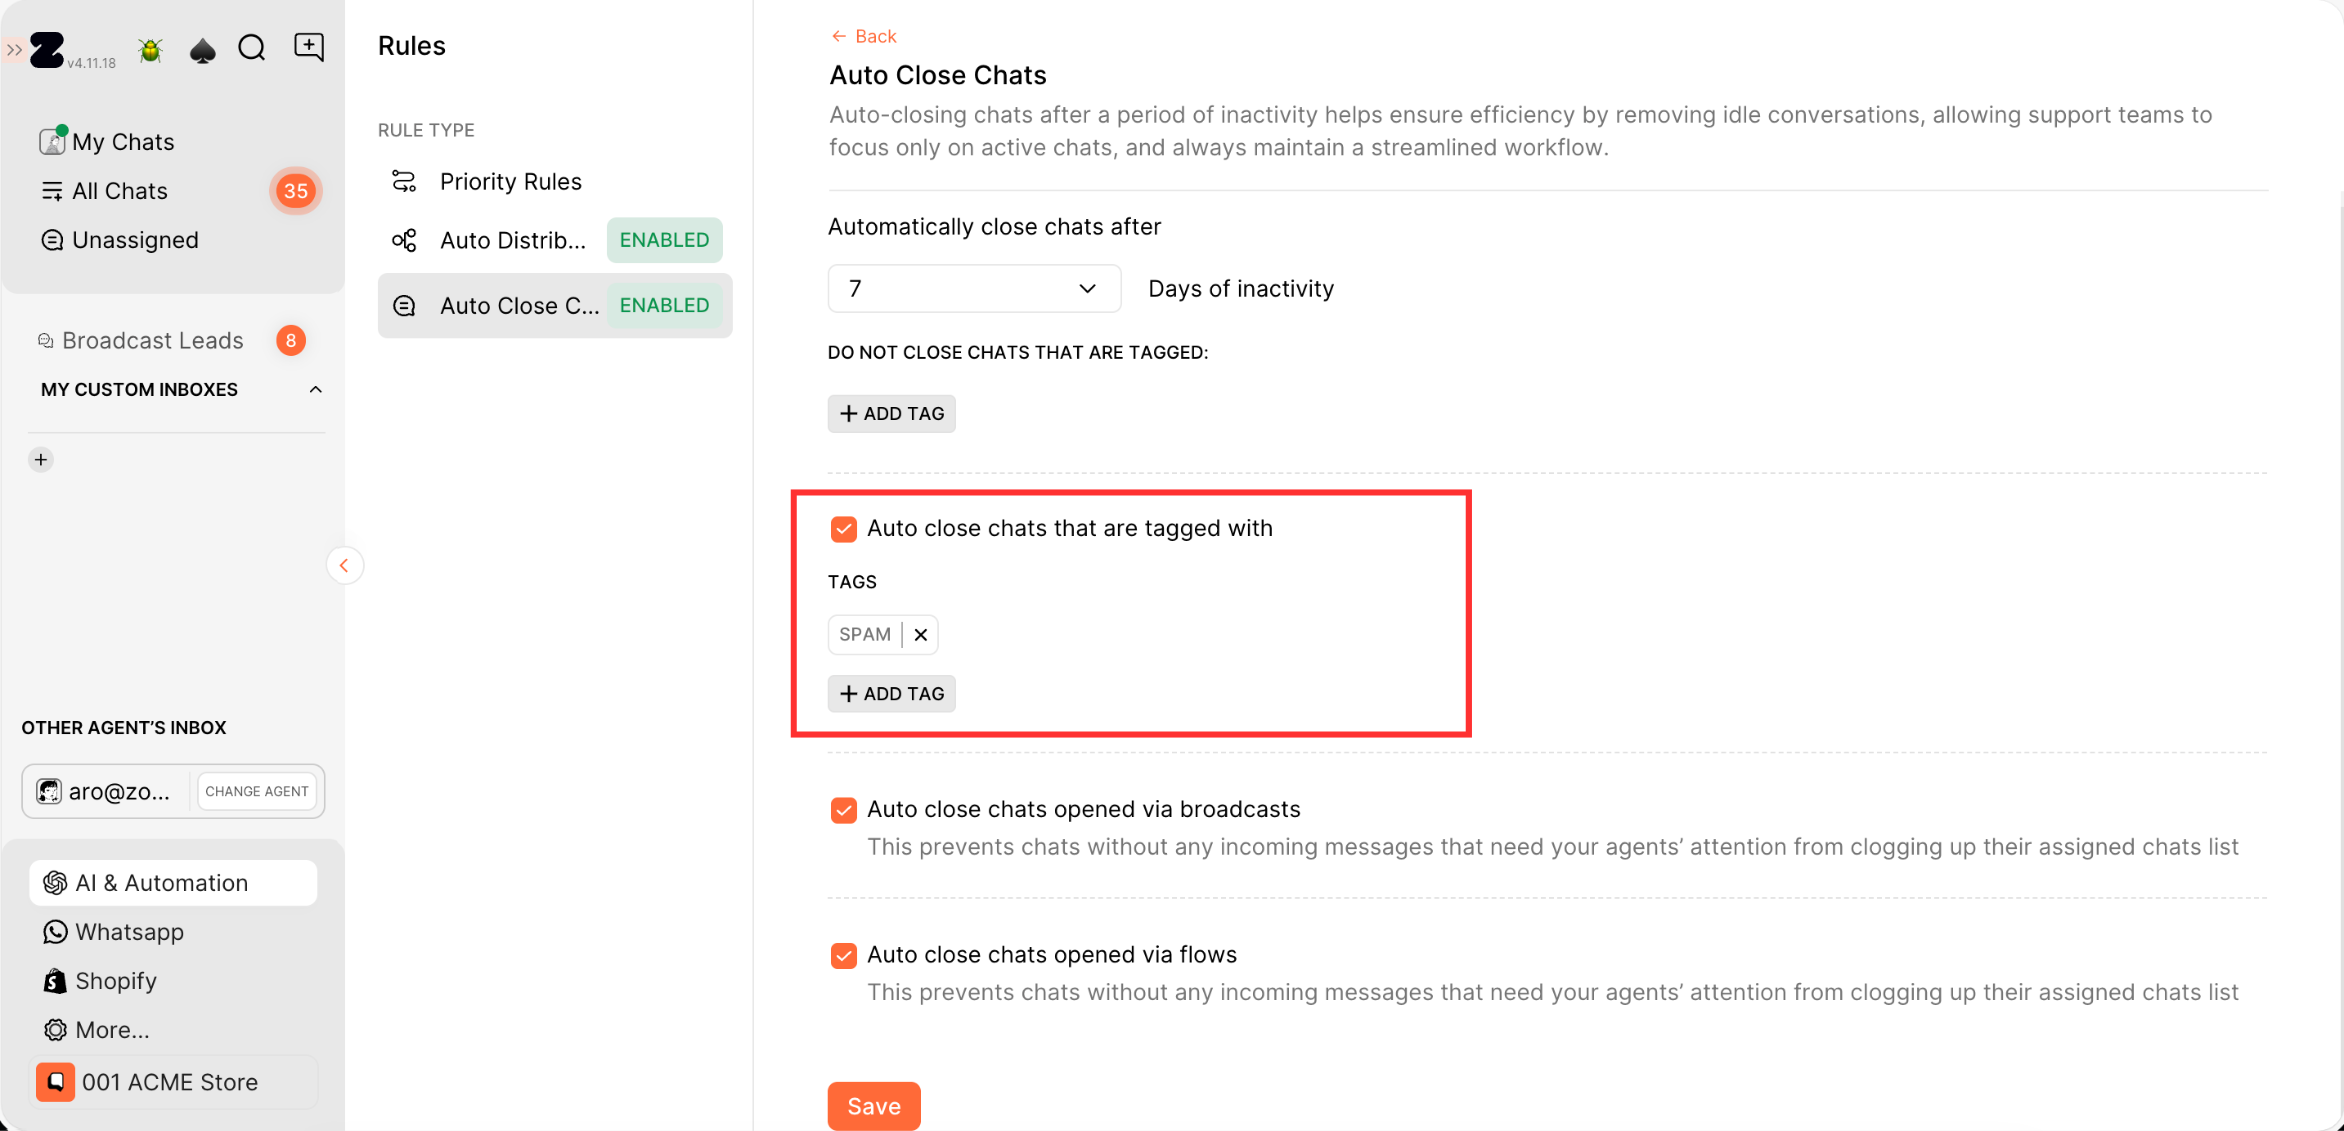
3. Click on Auto Close Chats.
4. You will see that the SPAM tag is already available here. This tag is created by the system by default, so there’s no need to create it again.
If you want to use a different tag name, such as SPAM_ or S-P-A-M, you can create a new one by clicking on + Add Tag and adding the tag you want.
Keywords: Spam, Block, Automation, Tag, Spam customer, Rule, Incoming message.