How to Enable Click to Chat Widget
Learn how to enable the chat widget that will appear on your website.
You can enable the Click-to-Chat button feature on your website through Zoko, allowing your audience to conveniently reach you via WhatsApp, Instagram, or Facebook. When customers click the widget, a window opens where they can choose their preferred channel to connect with you.
To do this:
1. Go to Shopify option.
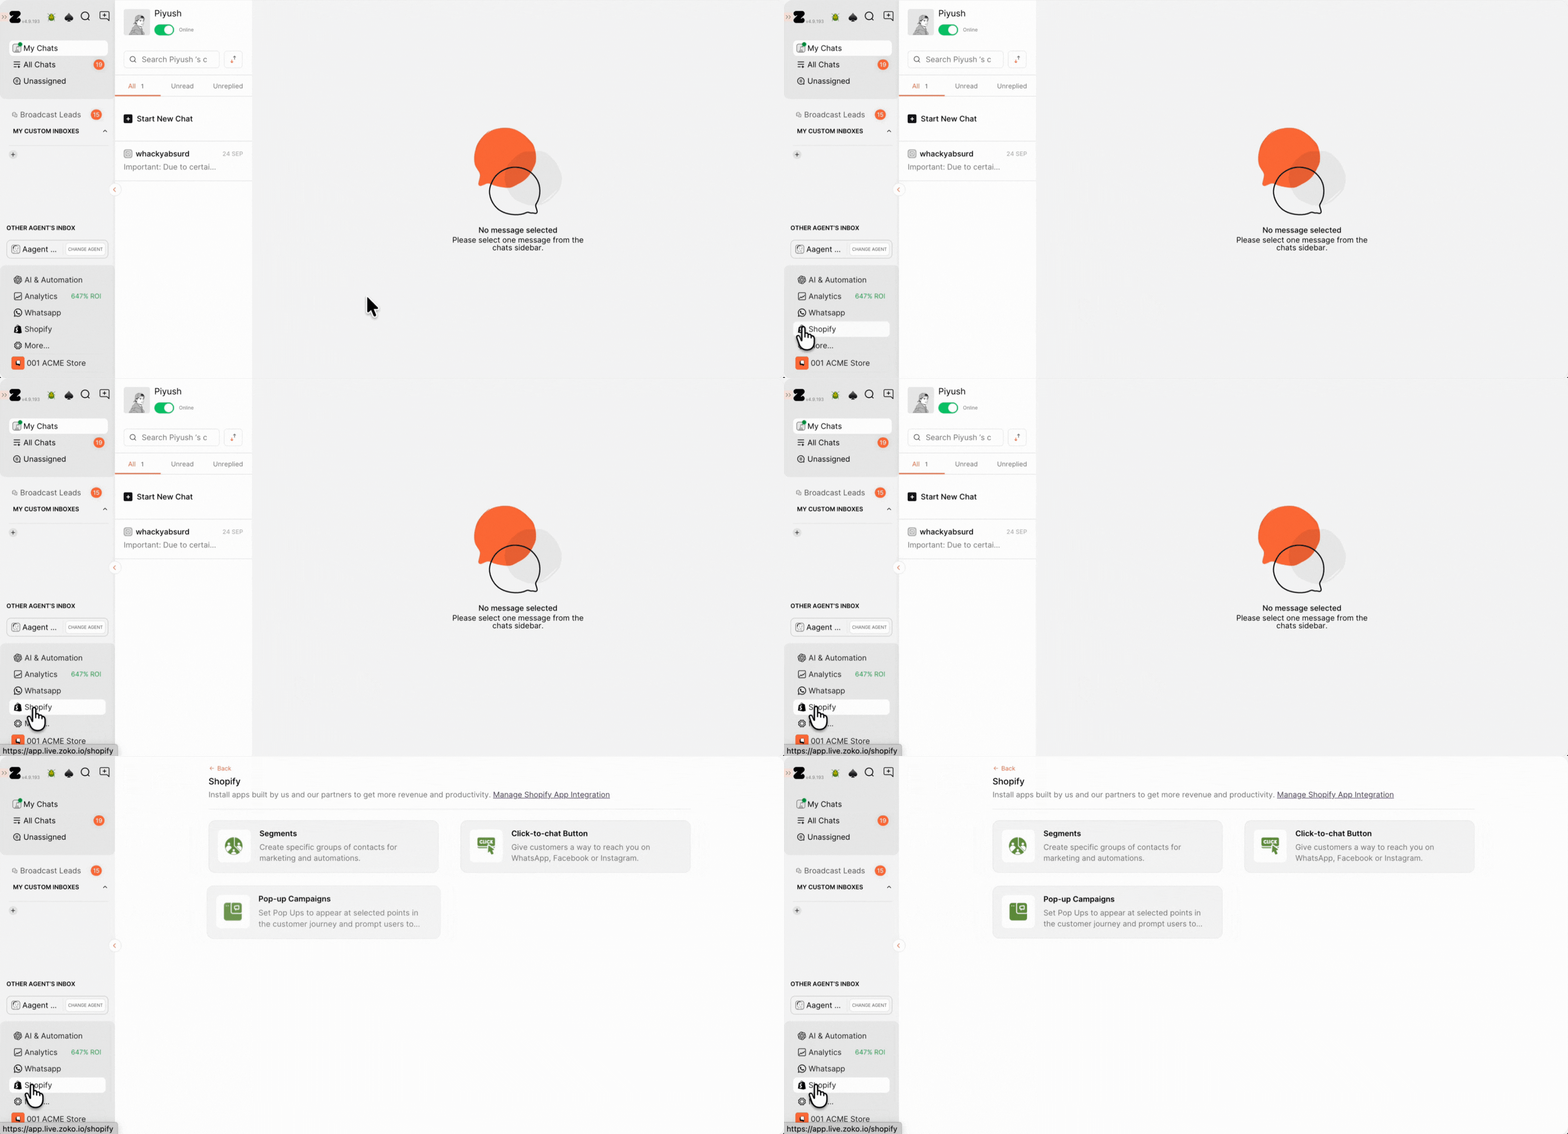
2. Select Click-to-Chat Button.

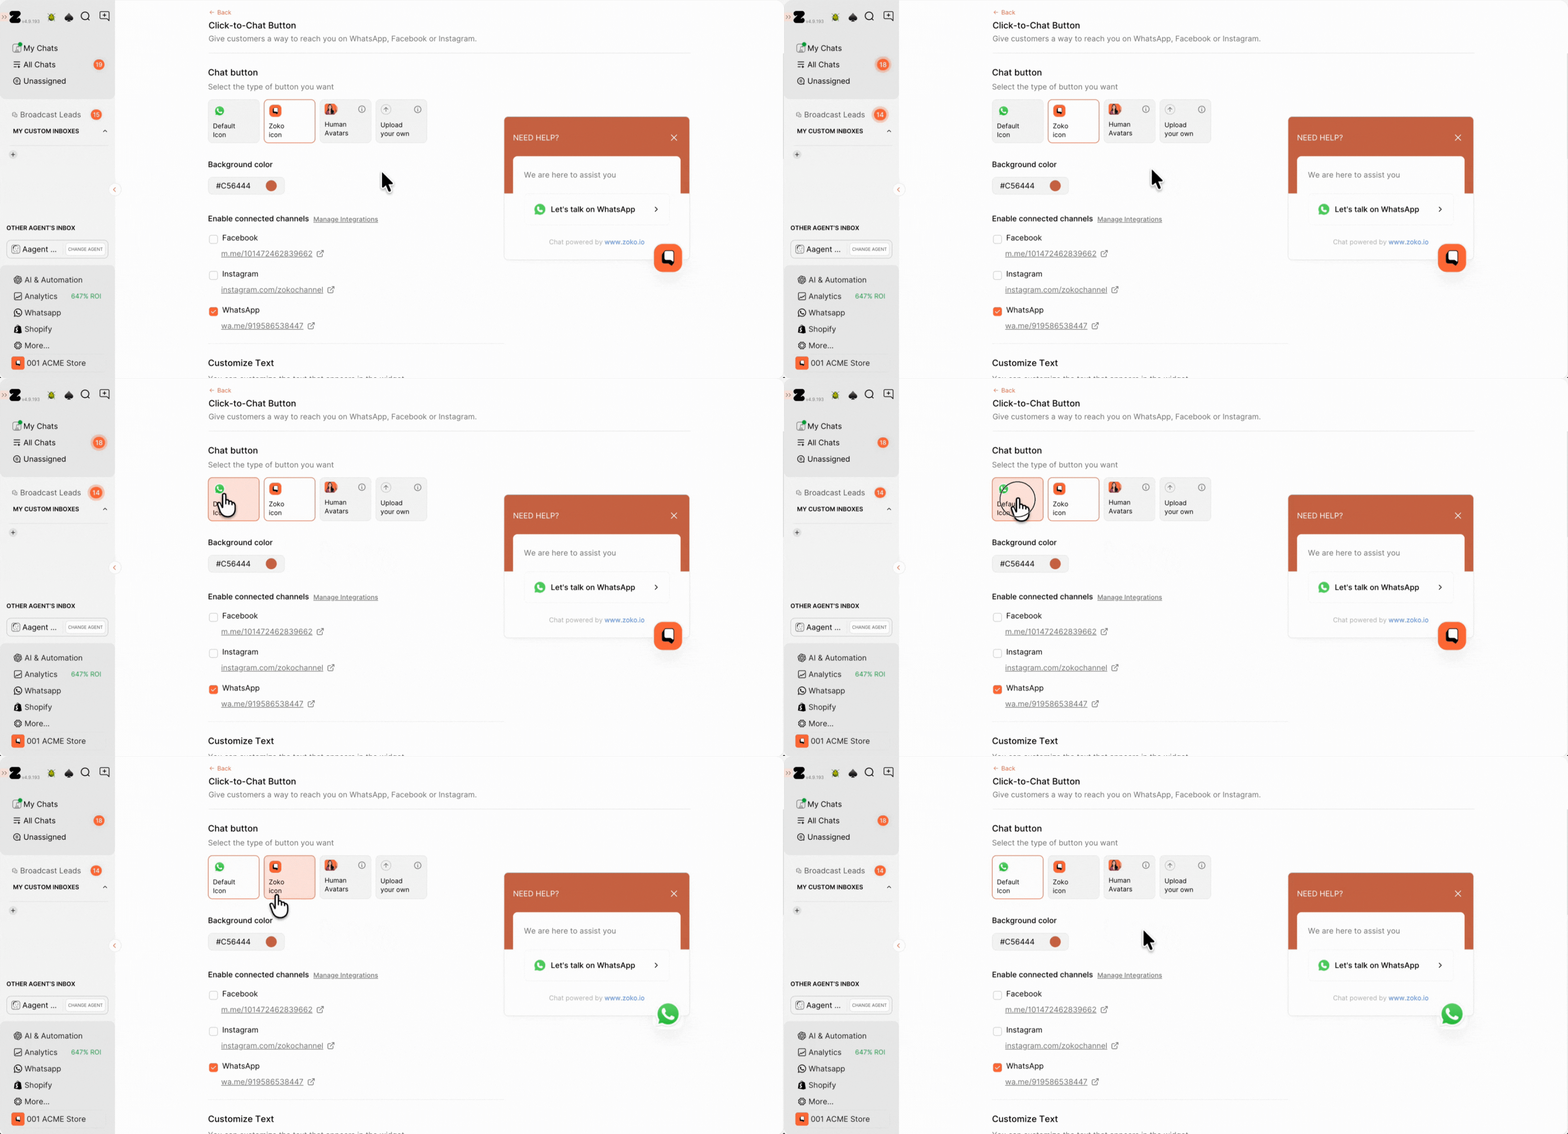
3. You can see 4 type of chat buttons options, the differences between these options:
- Default Icon: Displays the default WhatsApp logo.
- Zoko Icon: Allows you to use the Zoko icon.
- Human Avatars: Shows 1 to 10 randomly selected friendly avatar faces.
- Upload your own: This option allows you to upload your own or any custom logo. (The recommended dimensions for the logo are 112 x 112px in JPEG format)
You can select any of these button designs. (In our case, we selected Default Icon)
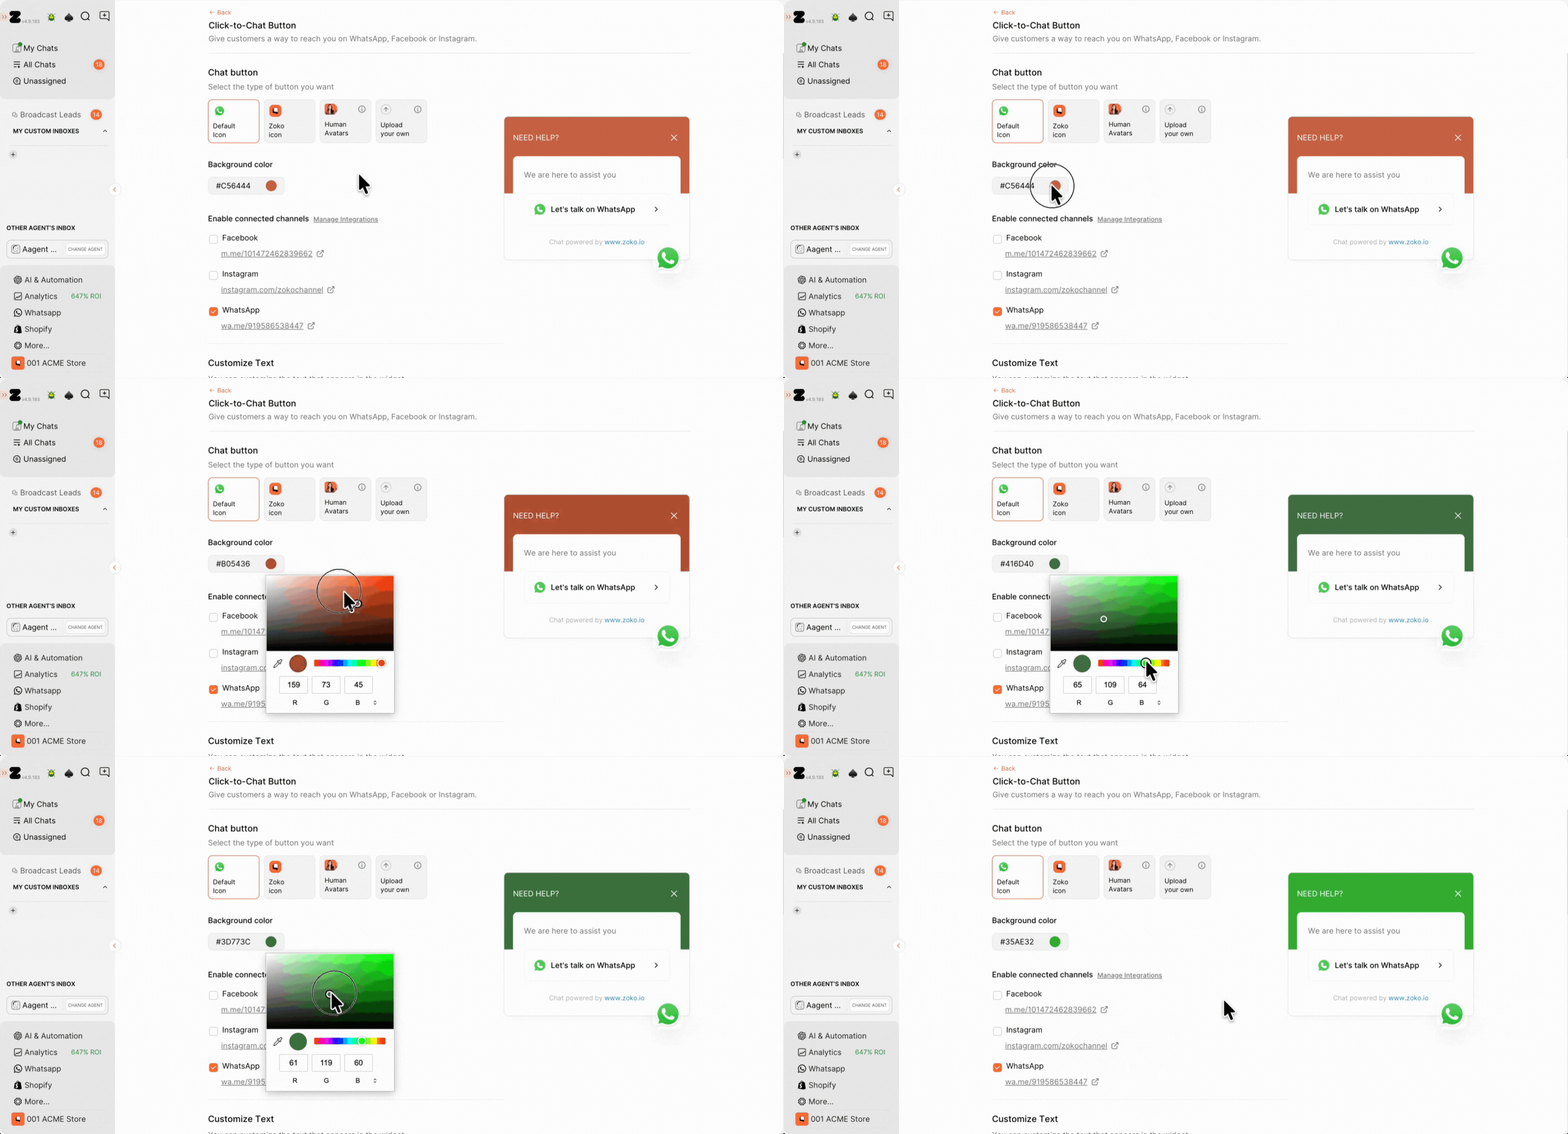
4. You can also change the background color of the widget. Just click on the color dot and move the cursor around to pick a color, or adjust the color using HEX, RGB, or HSL values.
Pro tip: A sample preview of your background design appears on the right side.
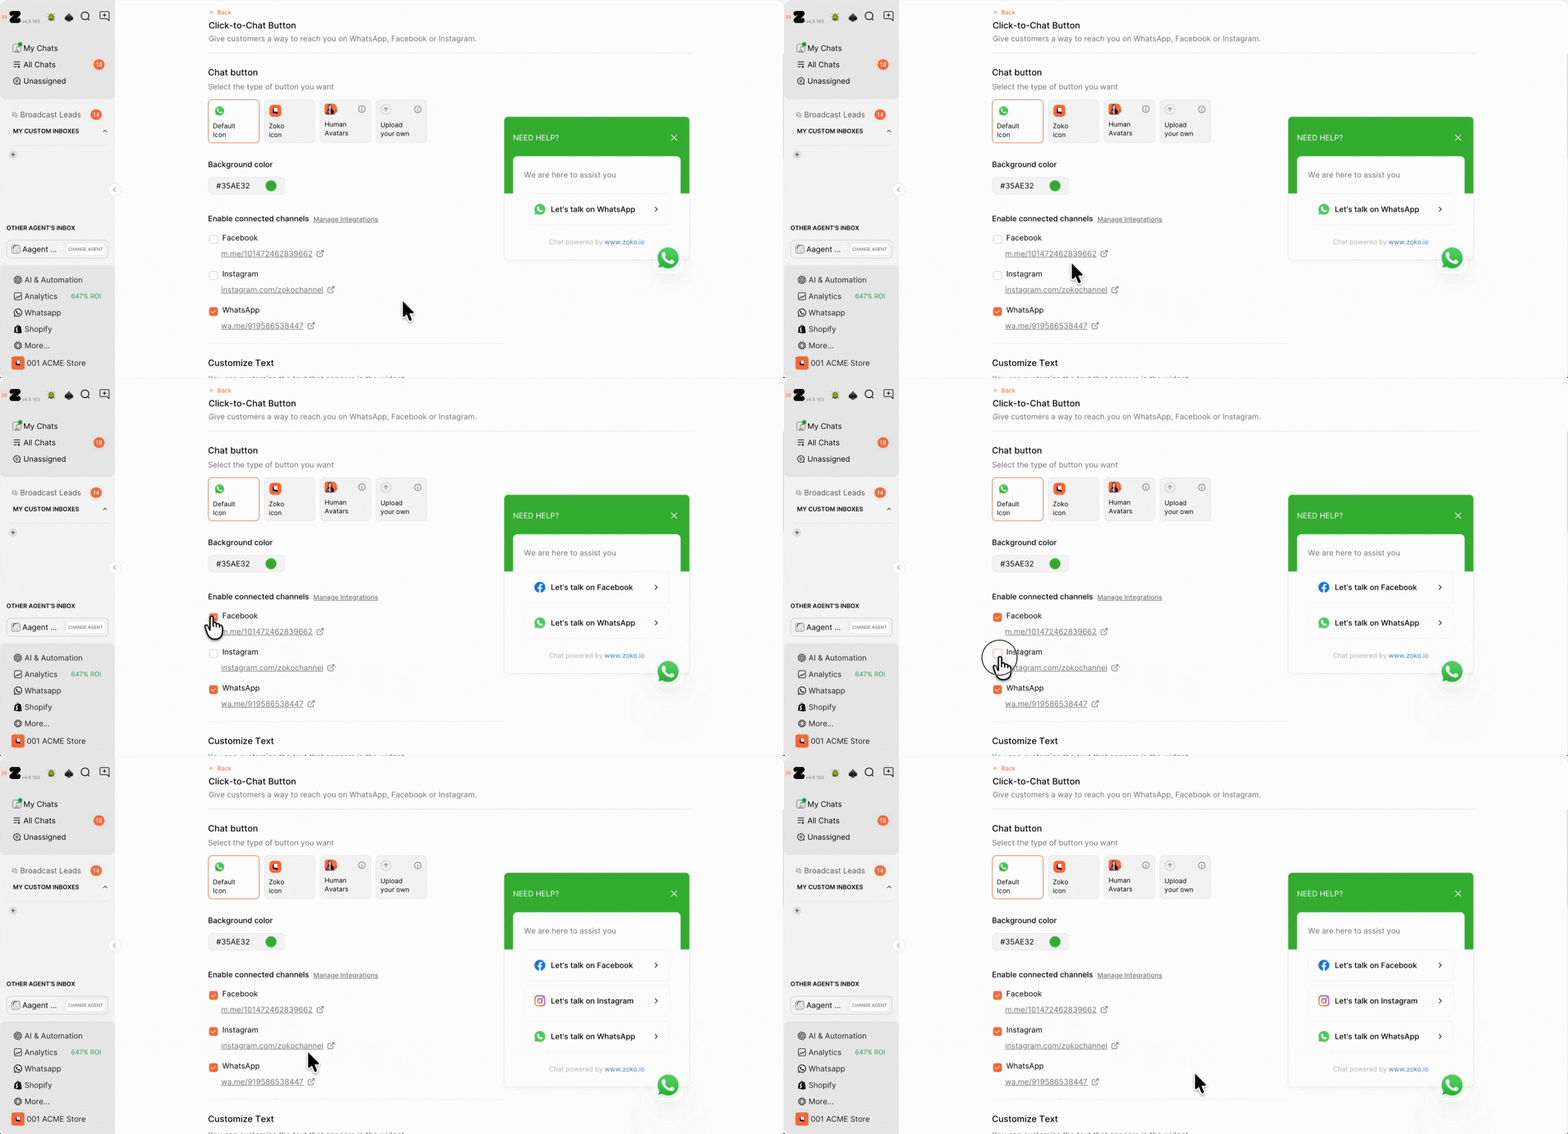
5. Choose the communication channels you want to include in the widget. (In our case, we selected all available options.)
Ensure that you have integrated Facebook and Instagram to click these options; otherwise, they won't be clickable.
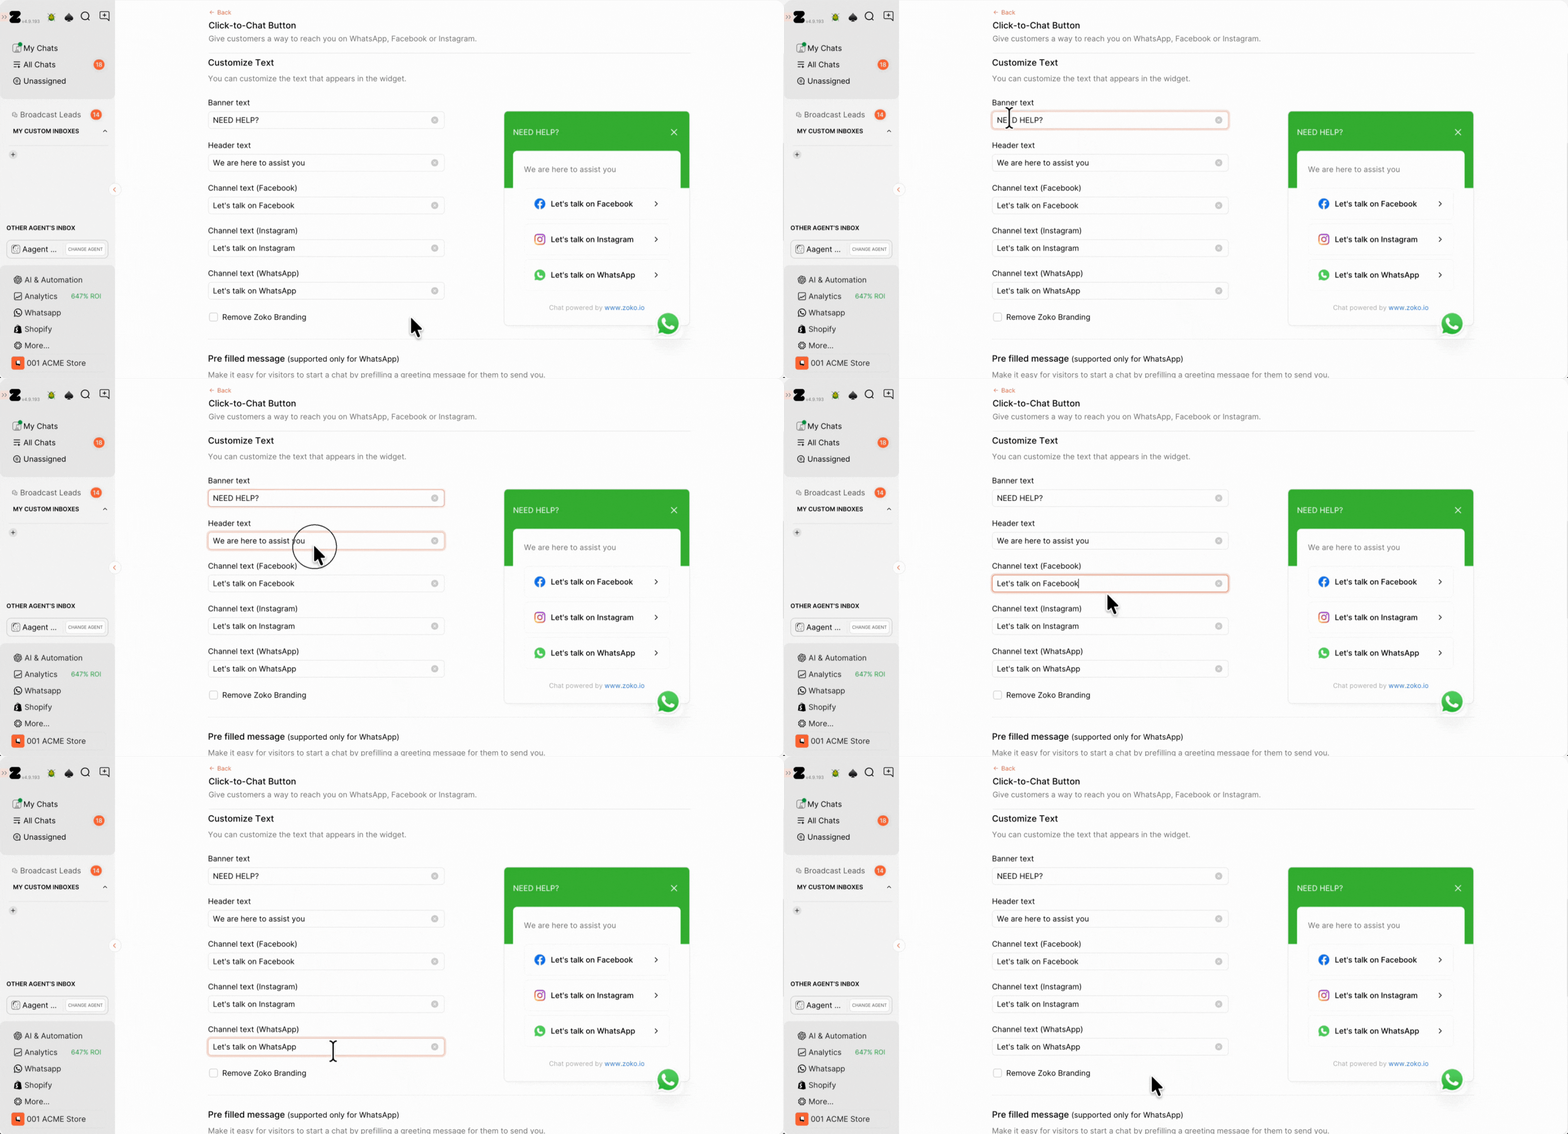
6. You have the flexibility to personalize the display text that appears in the widget of your website to match your brand tone and preferences.
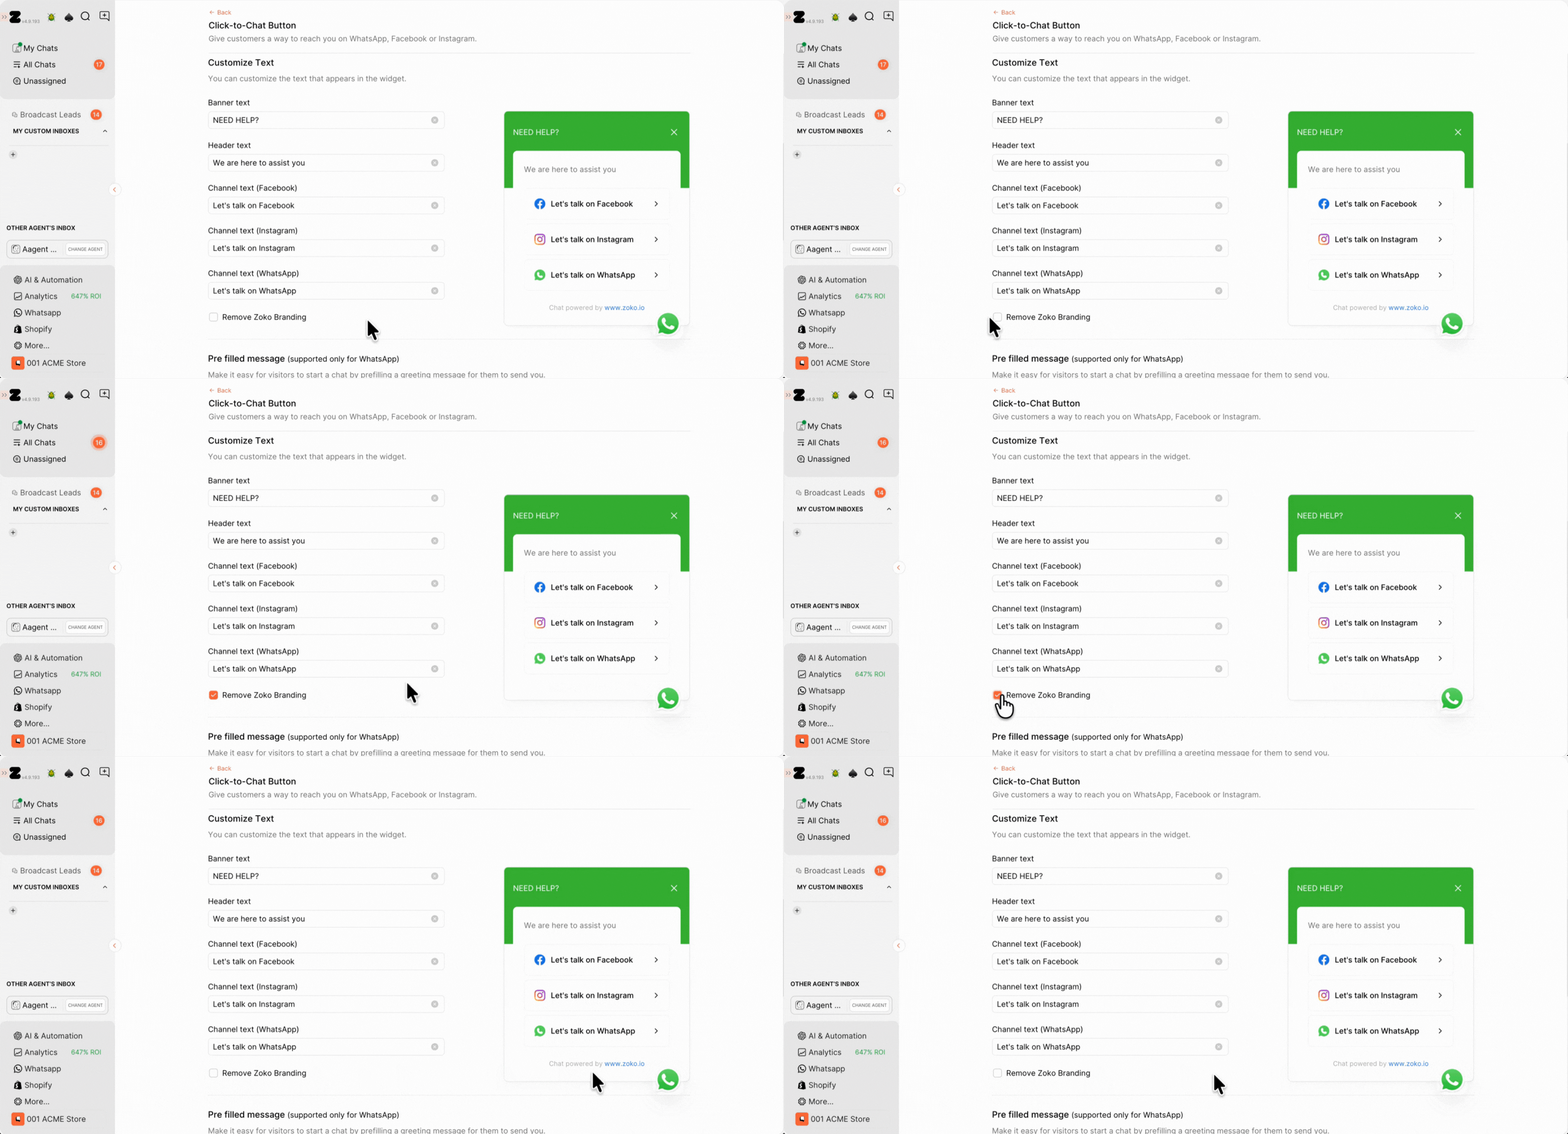
7. [Optional] You can remove Zoko branding from the widget If you are on the Max pricing plan.
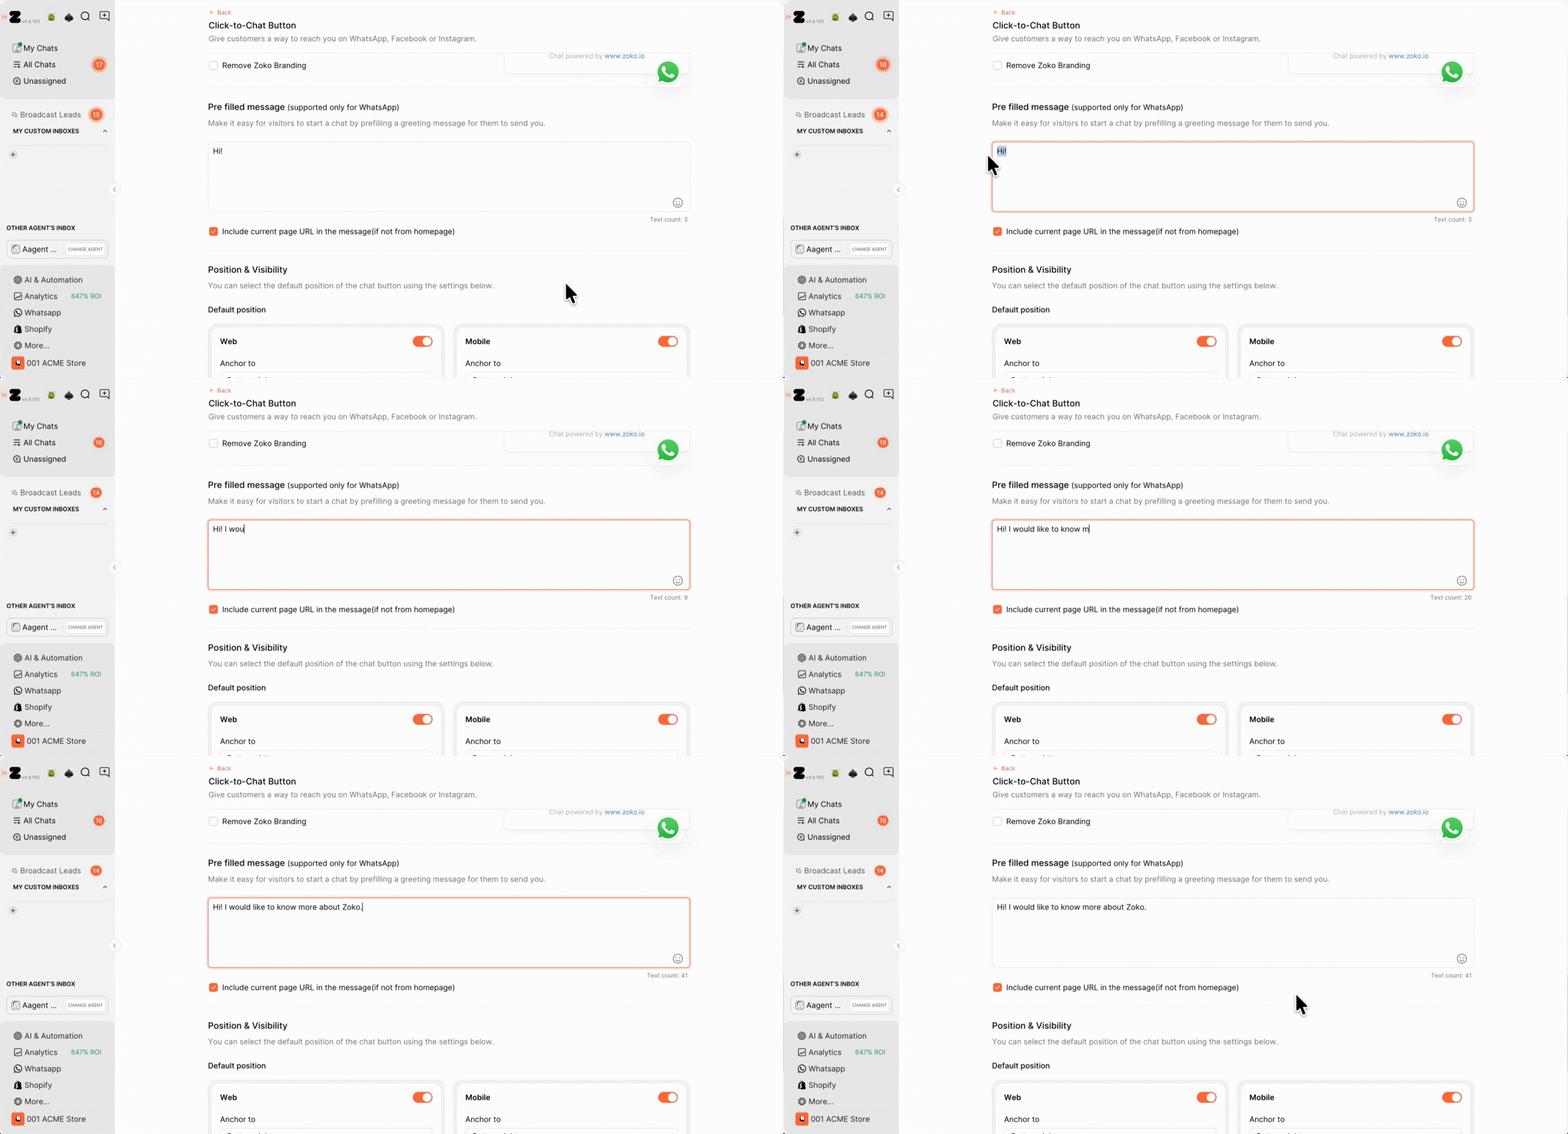
8. Make it easier for customers to start a chat by setting a pre-filled message that automatically appears when they click the WhatsApp chat button. Refer to our article to understand better Setting the prefilled text in the chat widget.
Note: Prefilled messages are supported only for WhatsApp.
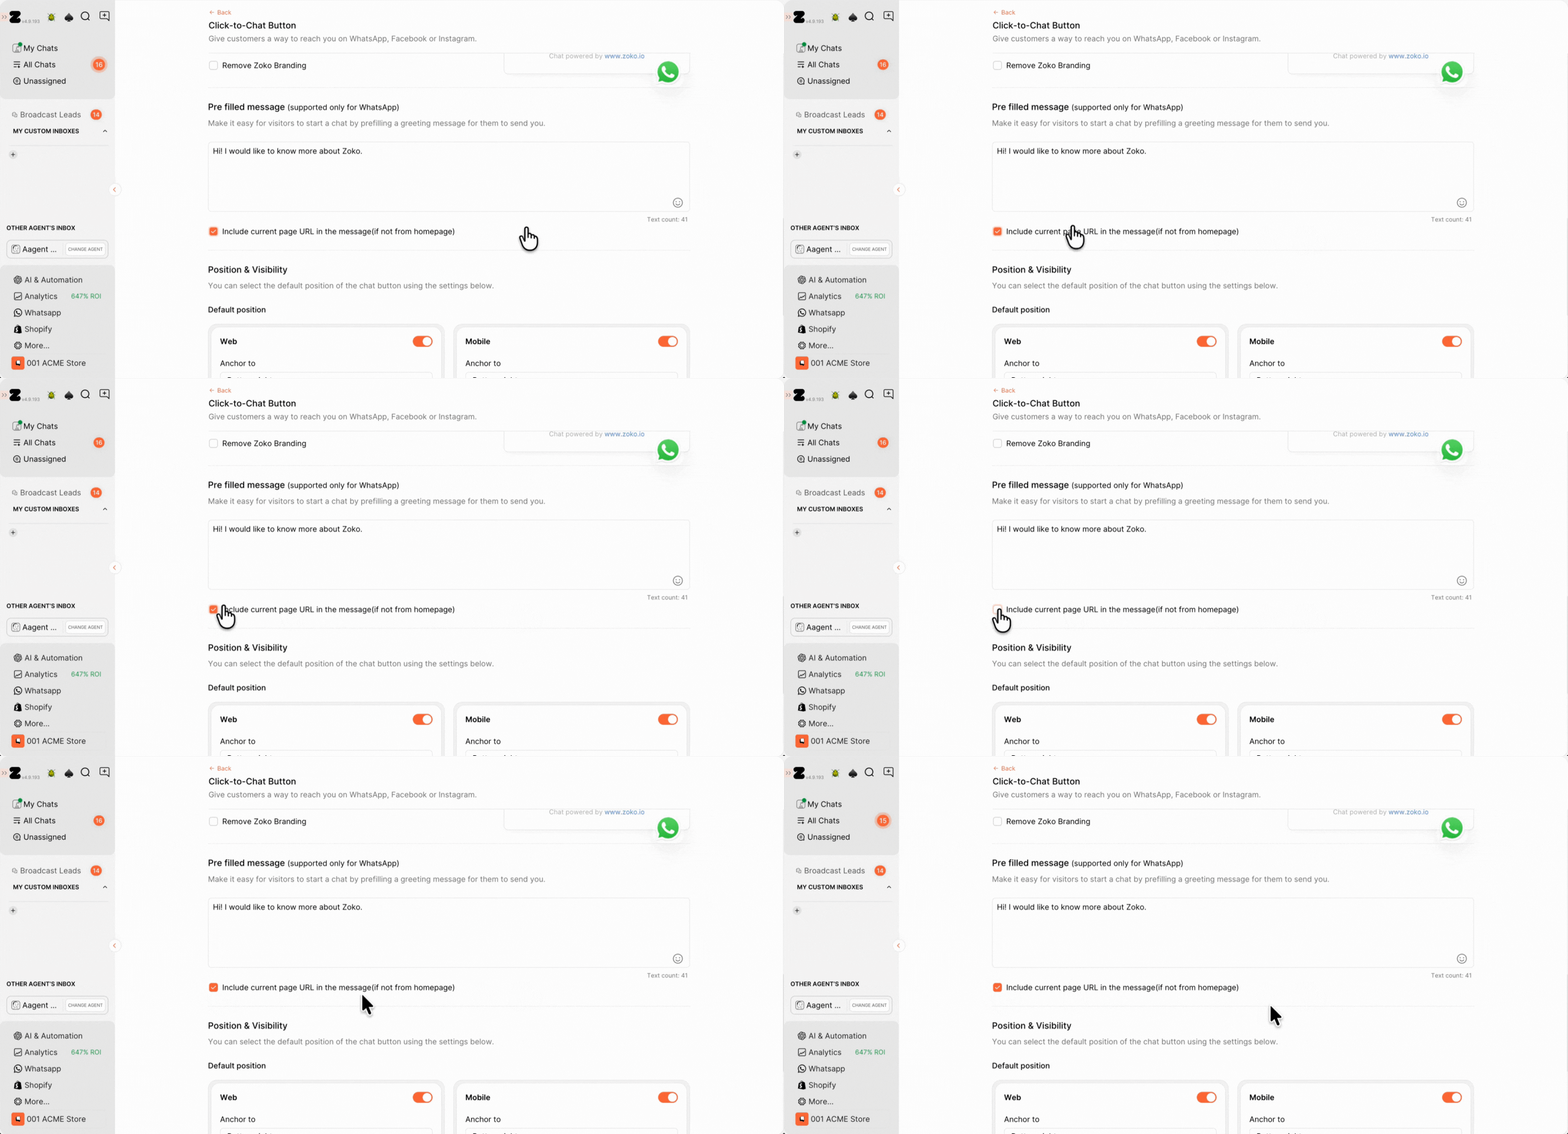
Pro tip: Tick the option to include the current page URL in the message (for all pages except the homepage). For example, If ticked, when customer click on widget, the message will automatically become prefilled text + the website URL where the customer is currently browsing. So you know what page the customer was coming from.
9. Manage Position & Visibility (Web and Mobile.)
- You can enable or disable the widget using the toggle switch.
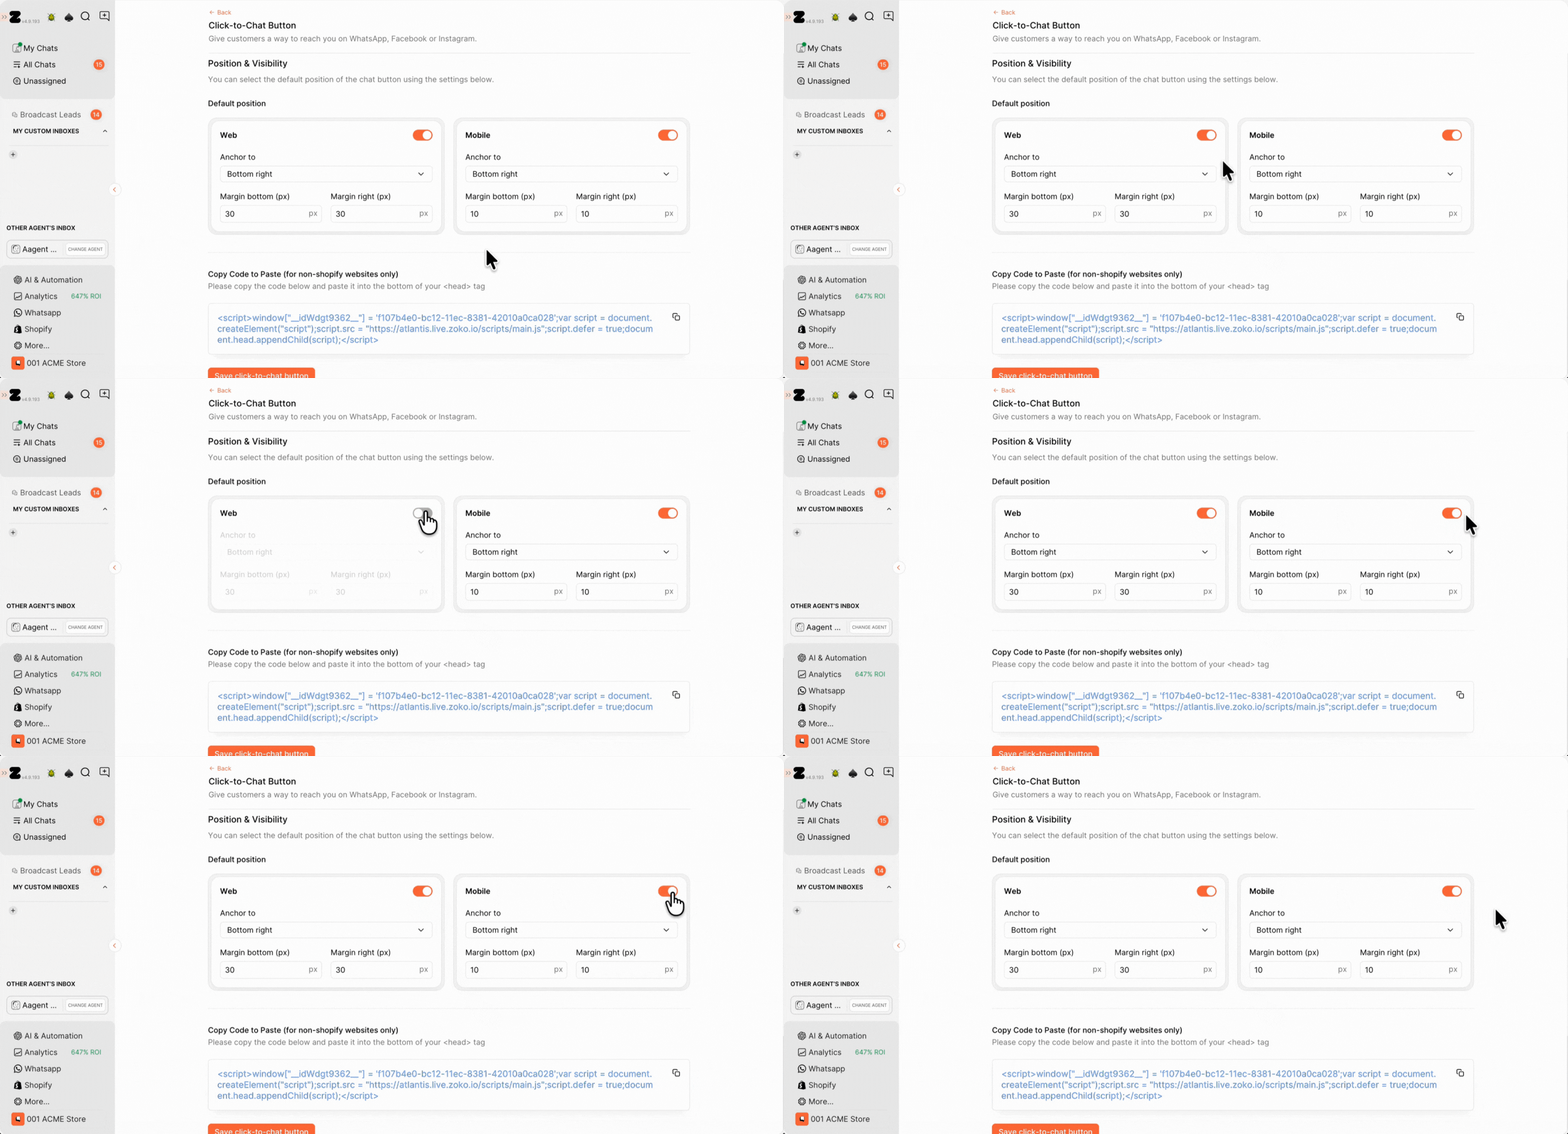
- You can also change the widget position, which will appear on your website, by clicking on the dropdown menu and selecting bottom left or right.
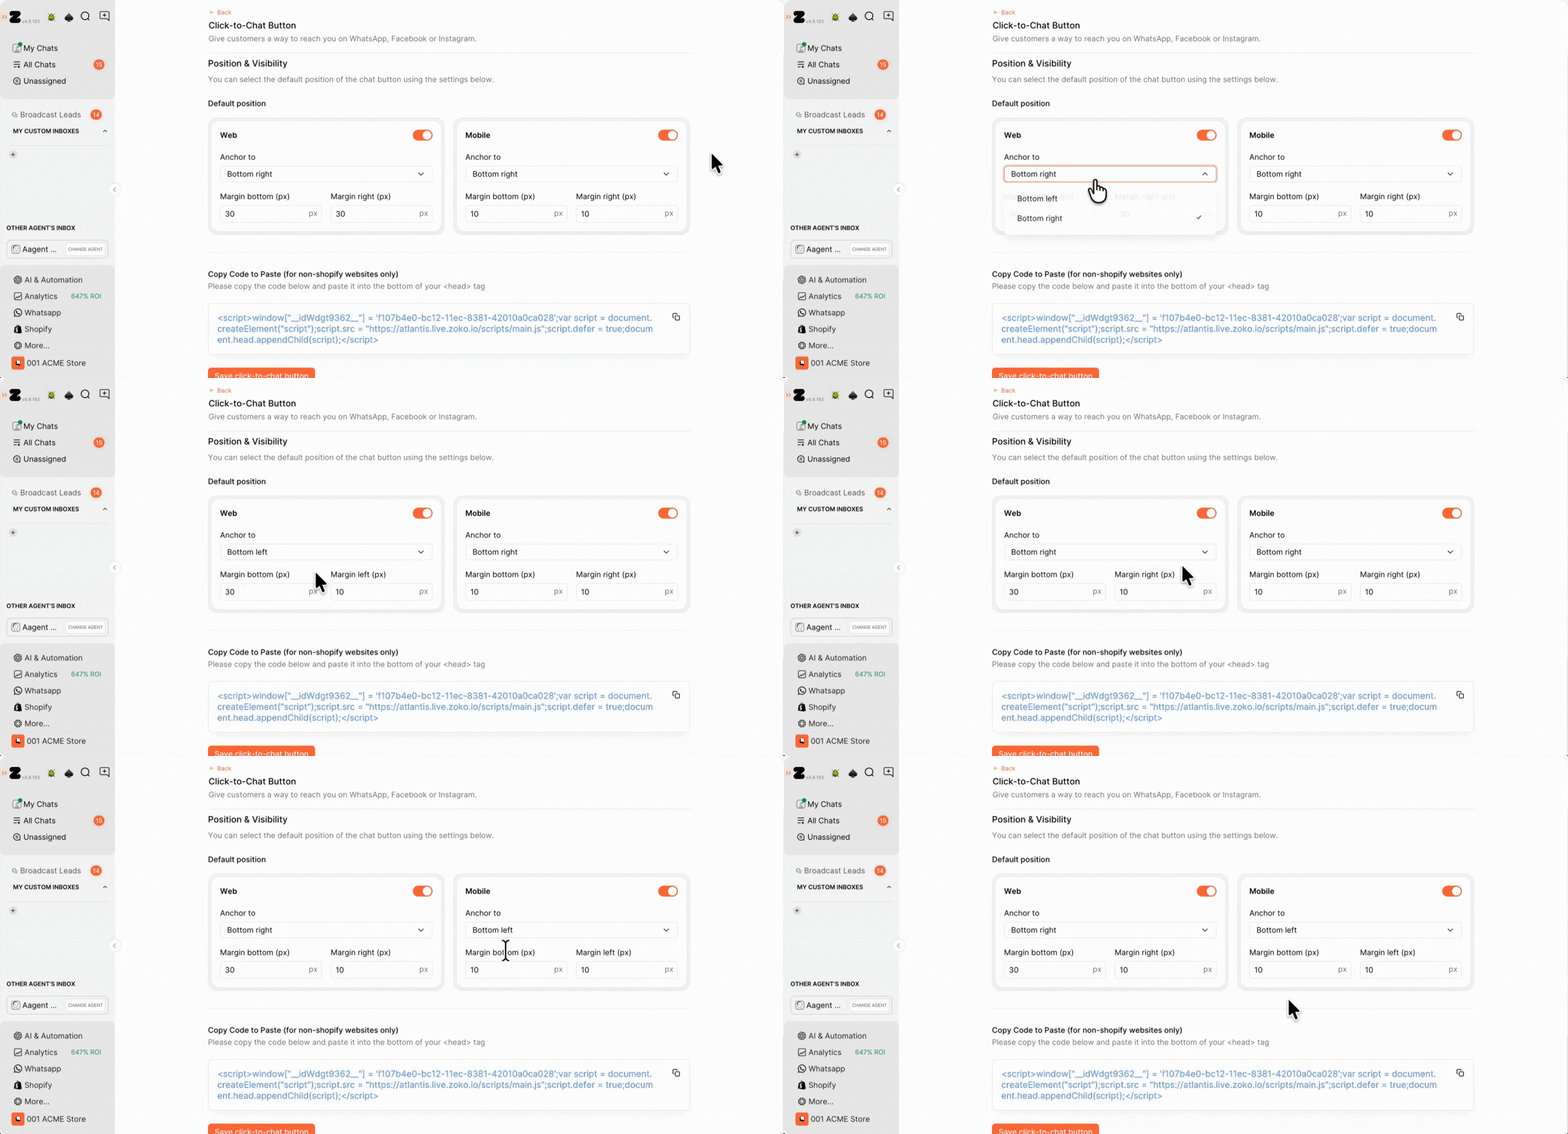
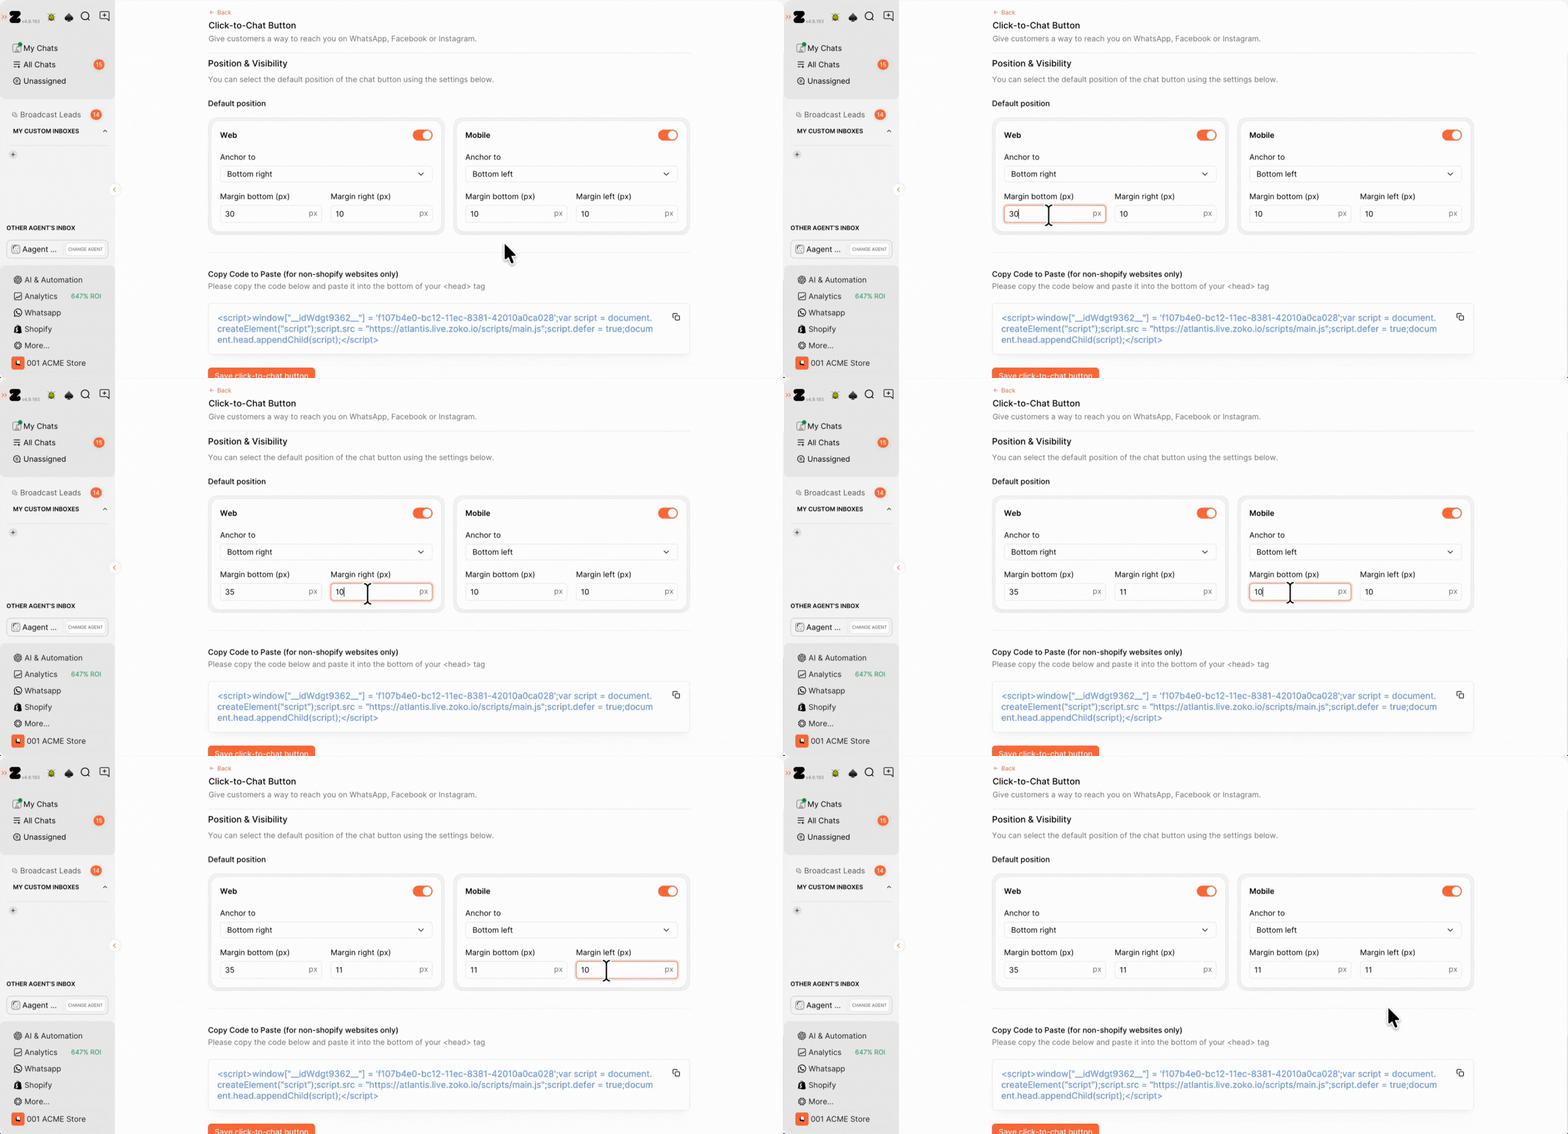
- You can adjust the margin bottom size to change where the widget appears on your website.
9. If your website is not on Shopify, you can copy and paste the code snippet into the bottom of your <head> tag. It may be necessary to manually update the HTML source code and insert the click-to-chat button snippet within the <head> tag. In such cases, we strongly recommend consulting a web developer or an expert to ensure the correct implementation of the click-to-chat button.
Modifying the HTML source code of a website carries a certain level of risk, particularly for individuals without technical expertise. To avoid potential issues, it's advisable to seek assistance from professionals with experience in website development and customization.
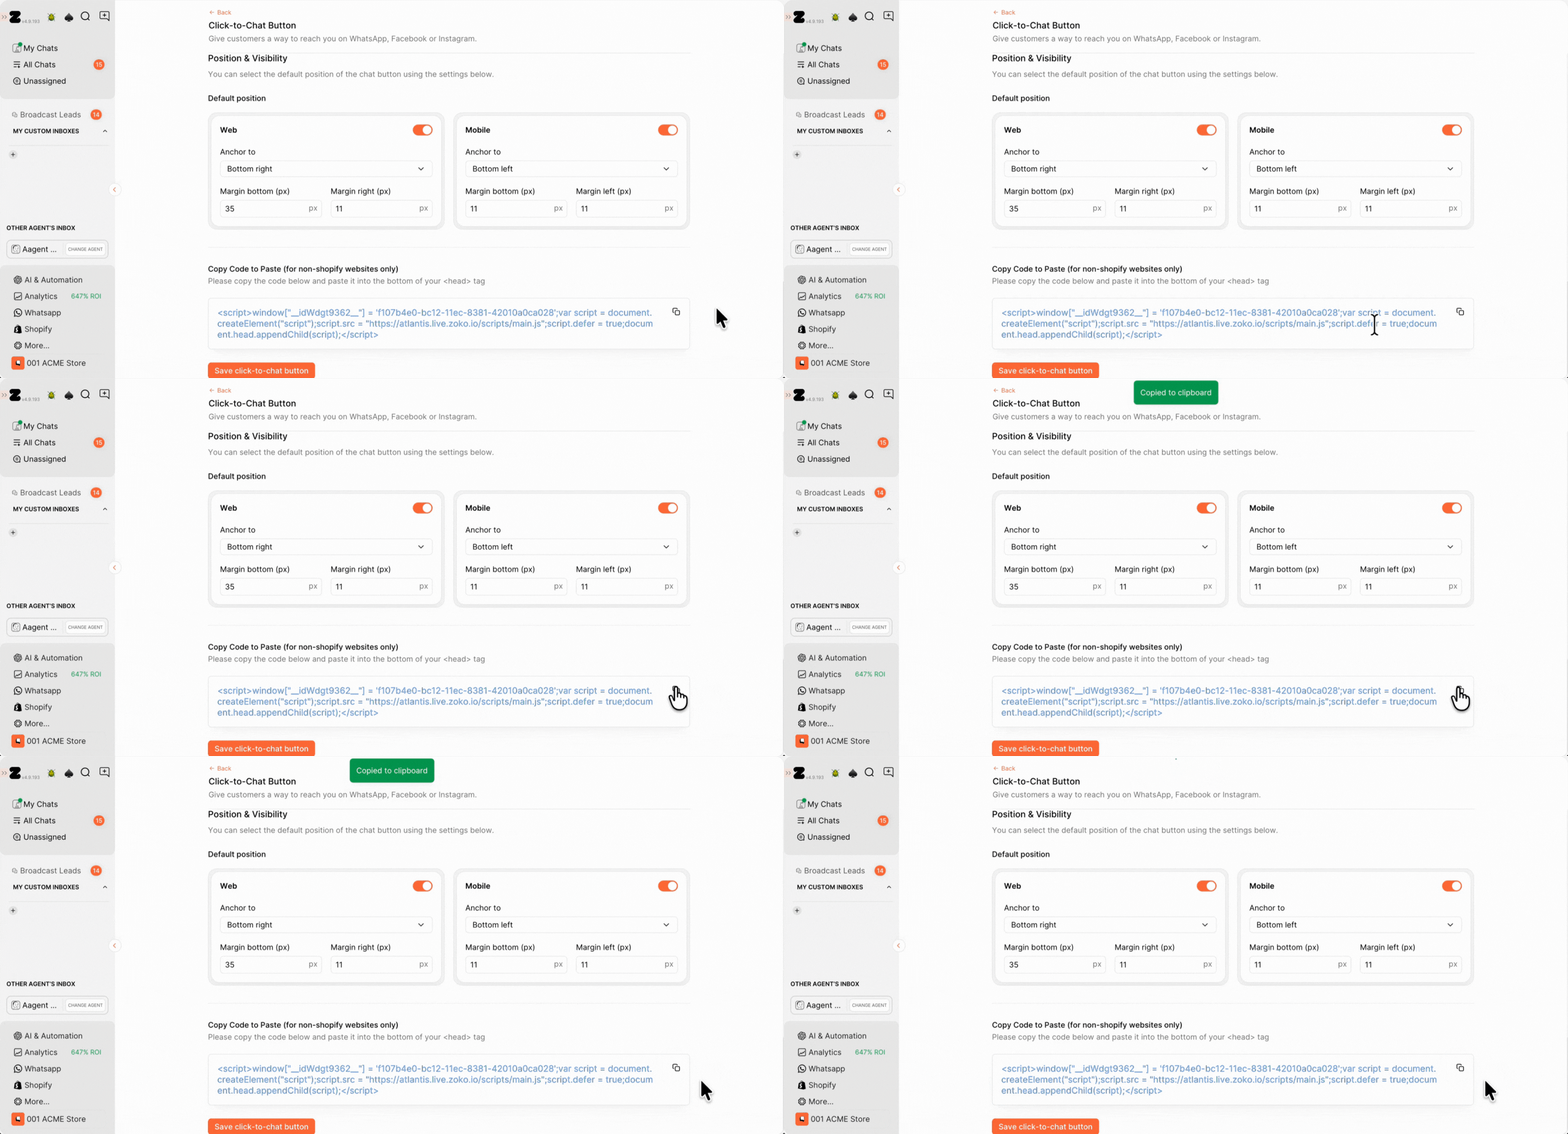
10. Click on Save click to chat button.
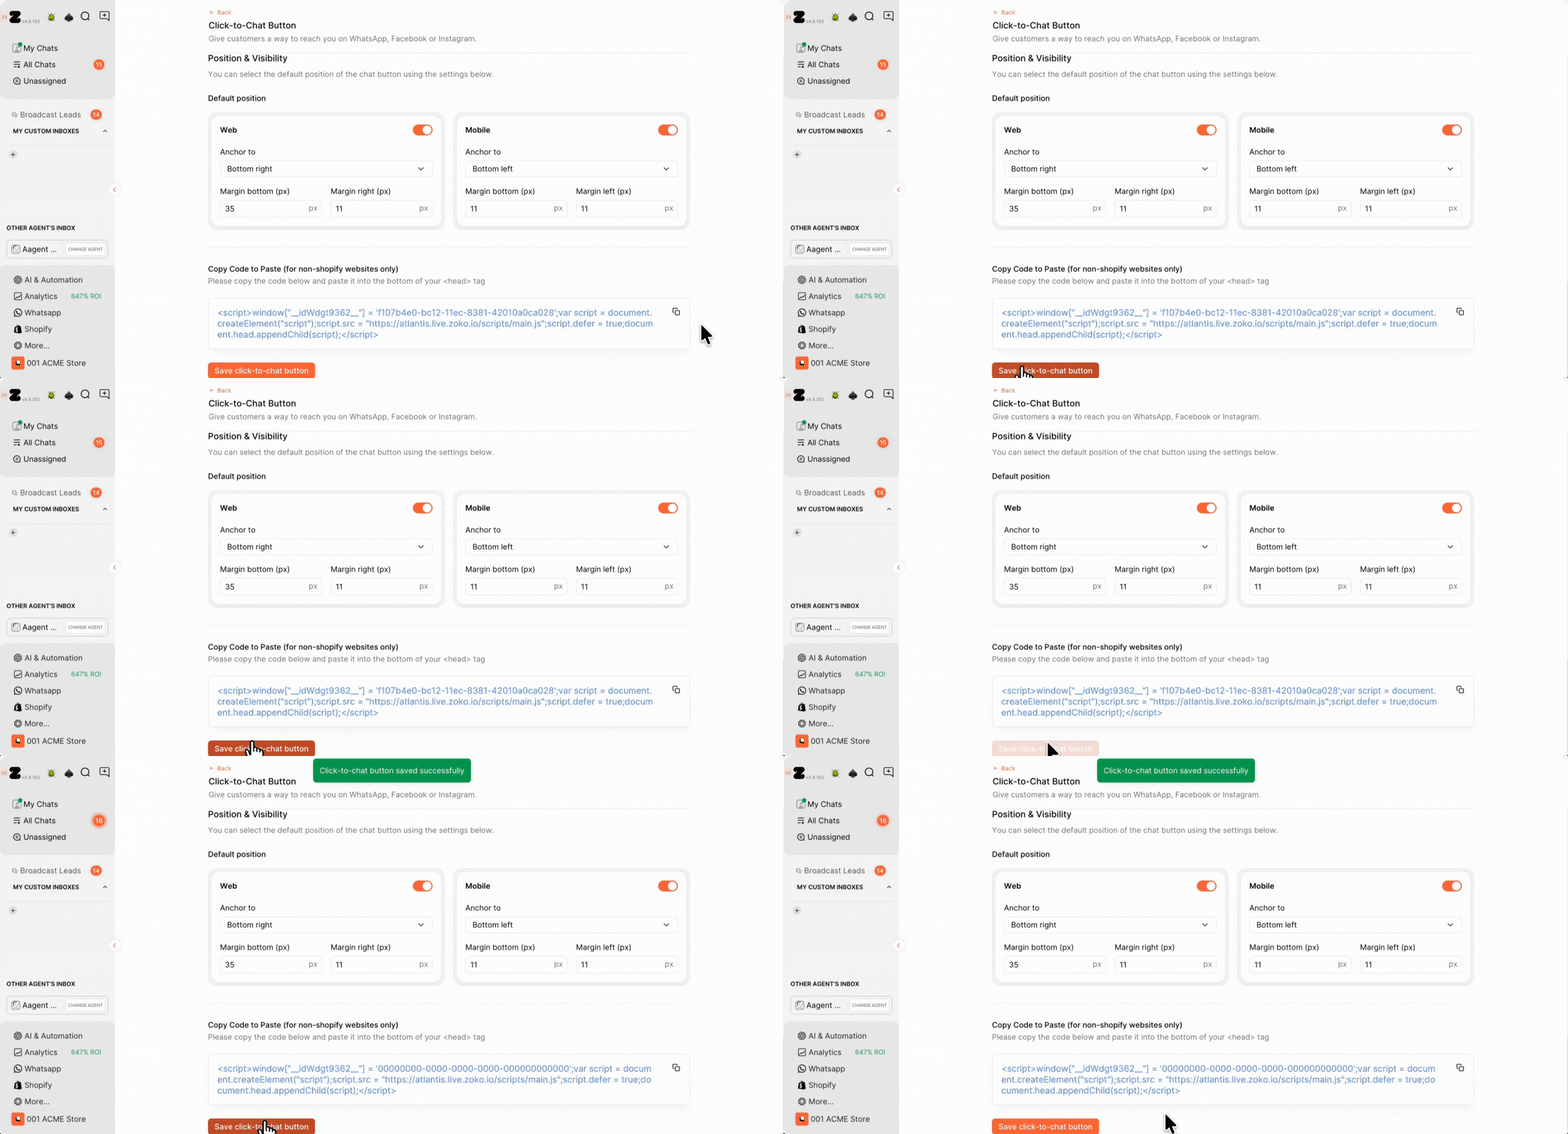
Always remember to hit the save click to chat button after making any changes or modifications.
Keywords: WhatsApp widget, Button widget, pre-filled message, WhatsApp icon, click to chat widget.


.png)