

How to Create a Zoko Account
Learn how to create a Zoko account and start using the platform.
Share on WhatsApp
.png)
Creating a Zoko account and connecting your WhatsApp number takes less than 5 minutes. In this article, I’ll show you how to create your Zoko account and set up your WhatsApp API account correctly.
So, what you will need during the sign-up process:
1. Admin access to your Meta Business Manager account.
2. Phone number that you wish to connect to Zoko. The number should be able to get a voice or SMS OTP to verify that you are the right owner of the brand.
3. If the number is currently active on WhatsApp, you’ll need to delete the WhatsApp account. Note: Uninstalling the app isn’t enough, the account must be deleted.
4. If you do not have a number, you can also opt for a virtual number that Meta provides.
To do this:
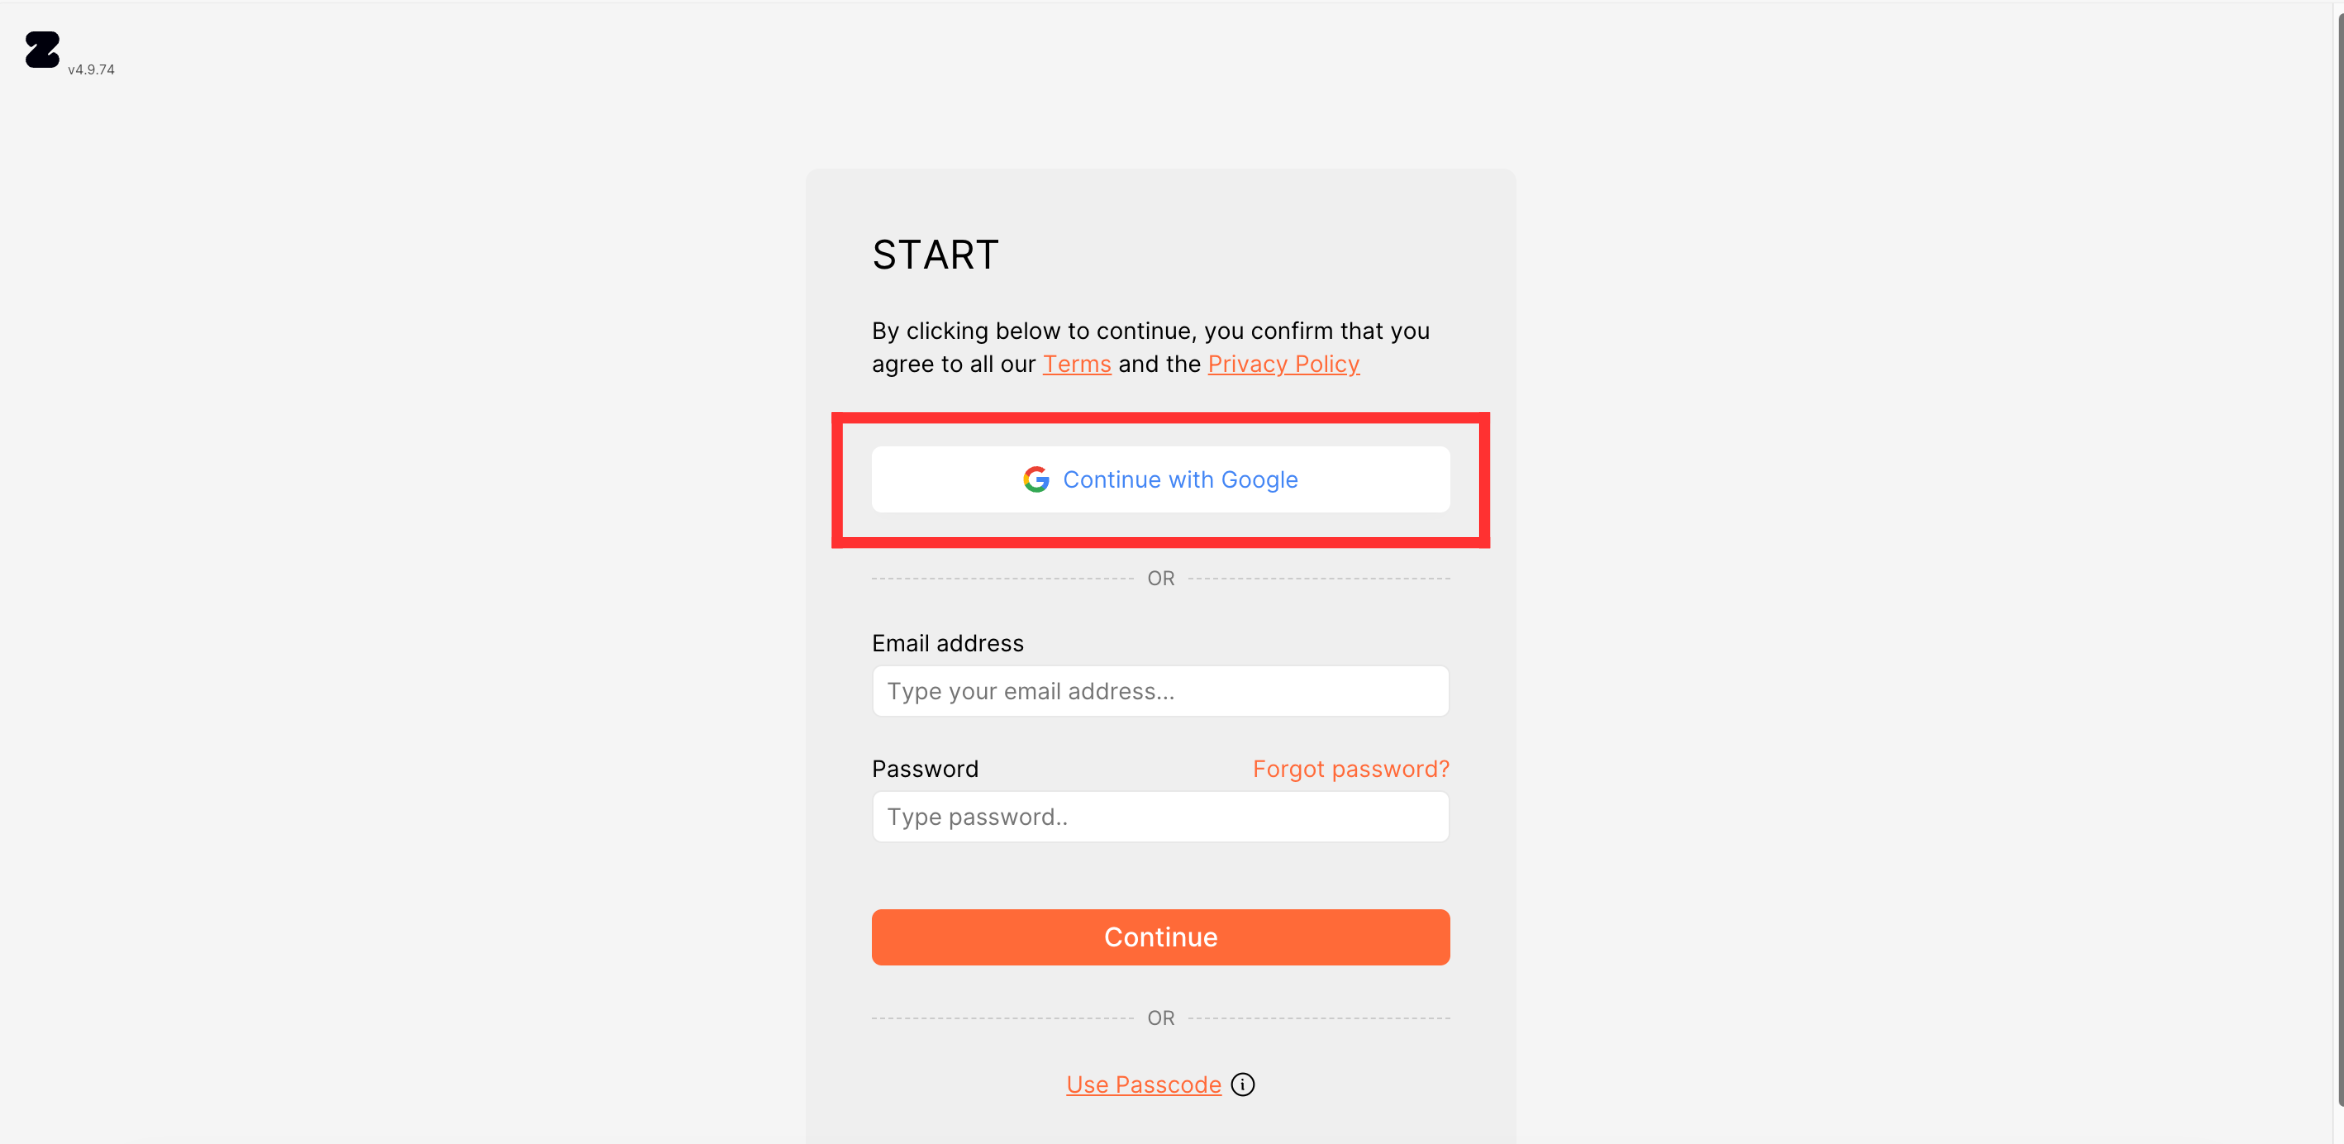
1. Go to the Zoko Sign-up Page.
2. Enter your email ID and password in the provided fields and click on Continue.

OR
Alternatively, if you wish to sign up using your Google account, click on the Continue with Google button. This will open a pop-up window where you can complete the sign-up process.
3. If the number you wish to connect to Zoko was already on WhatsApp API through another provider (like Twilio or Gupshup), choose YES. Otherwise, select NO. In our case, we selected NO and click on Continue.
4. Enter the phone number you want to register for WhatsApp API or if you don't have one, you can select Give me a free number, which will generate a virtual US number you can use.
Important Note: When you choose a virtual number, Meta will check if your Meta Business Manager is verified before allowing you to send messages. Hence, I would rcommend using a virtual dummy number only if your Meta Business Manager is verified.
In our case, we selected Give me a free number.
5. Enter your business website in the provided field and click Validate.
6. Next, enter your display name - this is the name that will be visible to your customers on WhatsApp.Make sure your business name matches what you want your customers to see.
Your country and business email will be pre-filled by default - you can modify them if needed.
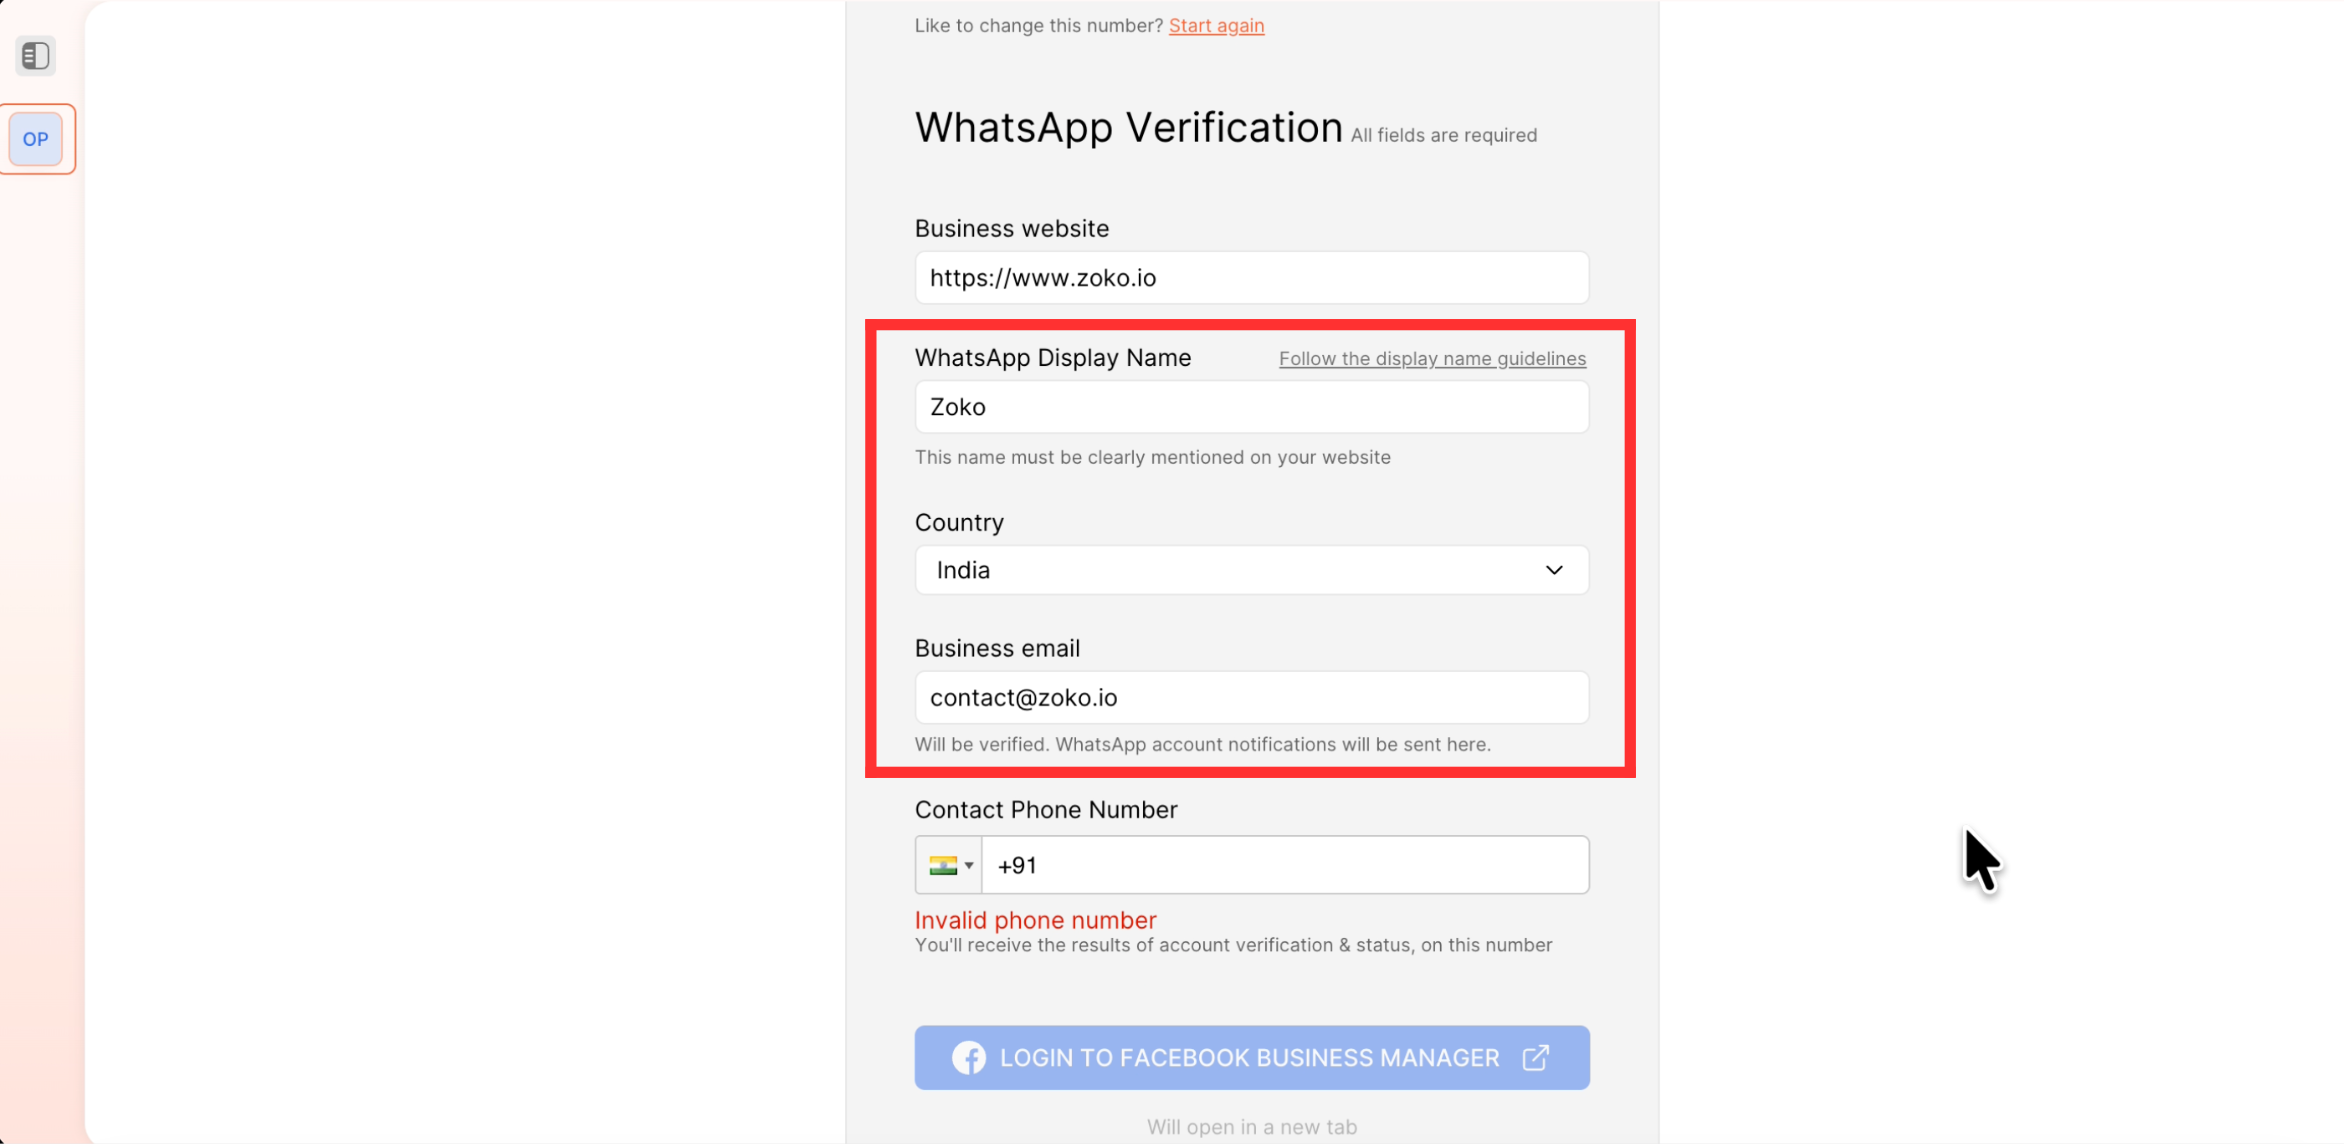
7. Enter the contact phone number - this is where you will receive updates about your account verification and status and click on Login with Facebook Business Manager.
8. If you’re already logged in, a pop-up will appear. Click Continue as to proceed. If you’re not logged in, you’ll be prompted to log in directly.
10. Click on Get Started.

11. Review all your business details, update any details if needed, and then click Confirm.
12. You’ll now be asked to add a WhatsApp phone number that you want to connect. Since we opted for a virtual number, we’ll click Use a display name only and then Next.
Note: If you’re using your own number, choose Add a new number, this will trigger an OTP for verification.
13. Click on Get Started again.
14. Review all your details carefully, and when everything looks good, click Confirm.
15. Wait for a few moments, then click Finish. You’ll be automatically redirected to your Zoko Dashboard once your account is ready.

The Last Step is to Test Your Account
Once your account is active, it’s time to test if messaging works correctly.
- Scan the QR code displayed on your screen using your phone.
- Send the pre-filled message from your WhatsApp to your official WhatsApp number.
- Within a few minutes, you’ll receive your first message on the Zoko Dashboard.
- Click Pick up chat and hit Enter.
That's it! Your WhatsApp API account is now live with Zoko!
PS: The next steps would be to set up billings on the Meta and Zoko dashboard. Check our guides on:
- Setup WhatsApp Billing: How to Setup WhatsApp API Payment
- Setup Zoko Billing: How to Set Up Billing
Keywords: Zoko, Create zoko account, WhatsApp account, API, Business account, Meta business account.