How to Build a Flow for Pop-Up Campaign
Learn how to build a flow for pop up campaign in FlowHippo.
Pop-up campaigns are an effective way to engage with potential customers and capture leads on your website. However, to make the most out of your pop-up campaigns, you need to have a flow in place that can help you manage your leads and follow up with them in a timely manner. In this article, we will show you how to build a flow for pop-up campaigns that sends a message once the leads are captured.
Follow these steps to build a workflow for pop-up campaigns:
1. Go to FlowHippo.
2. Click on Create New Flow.
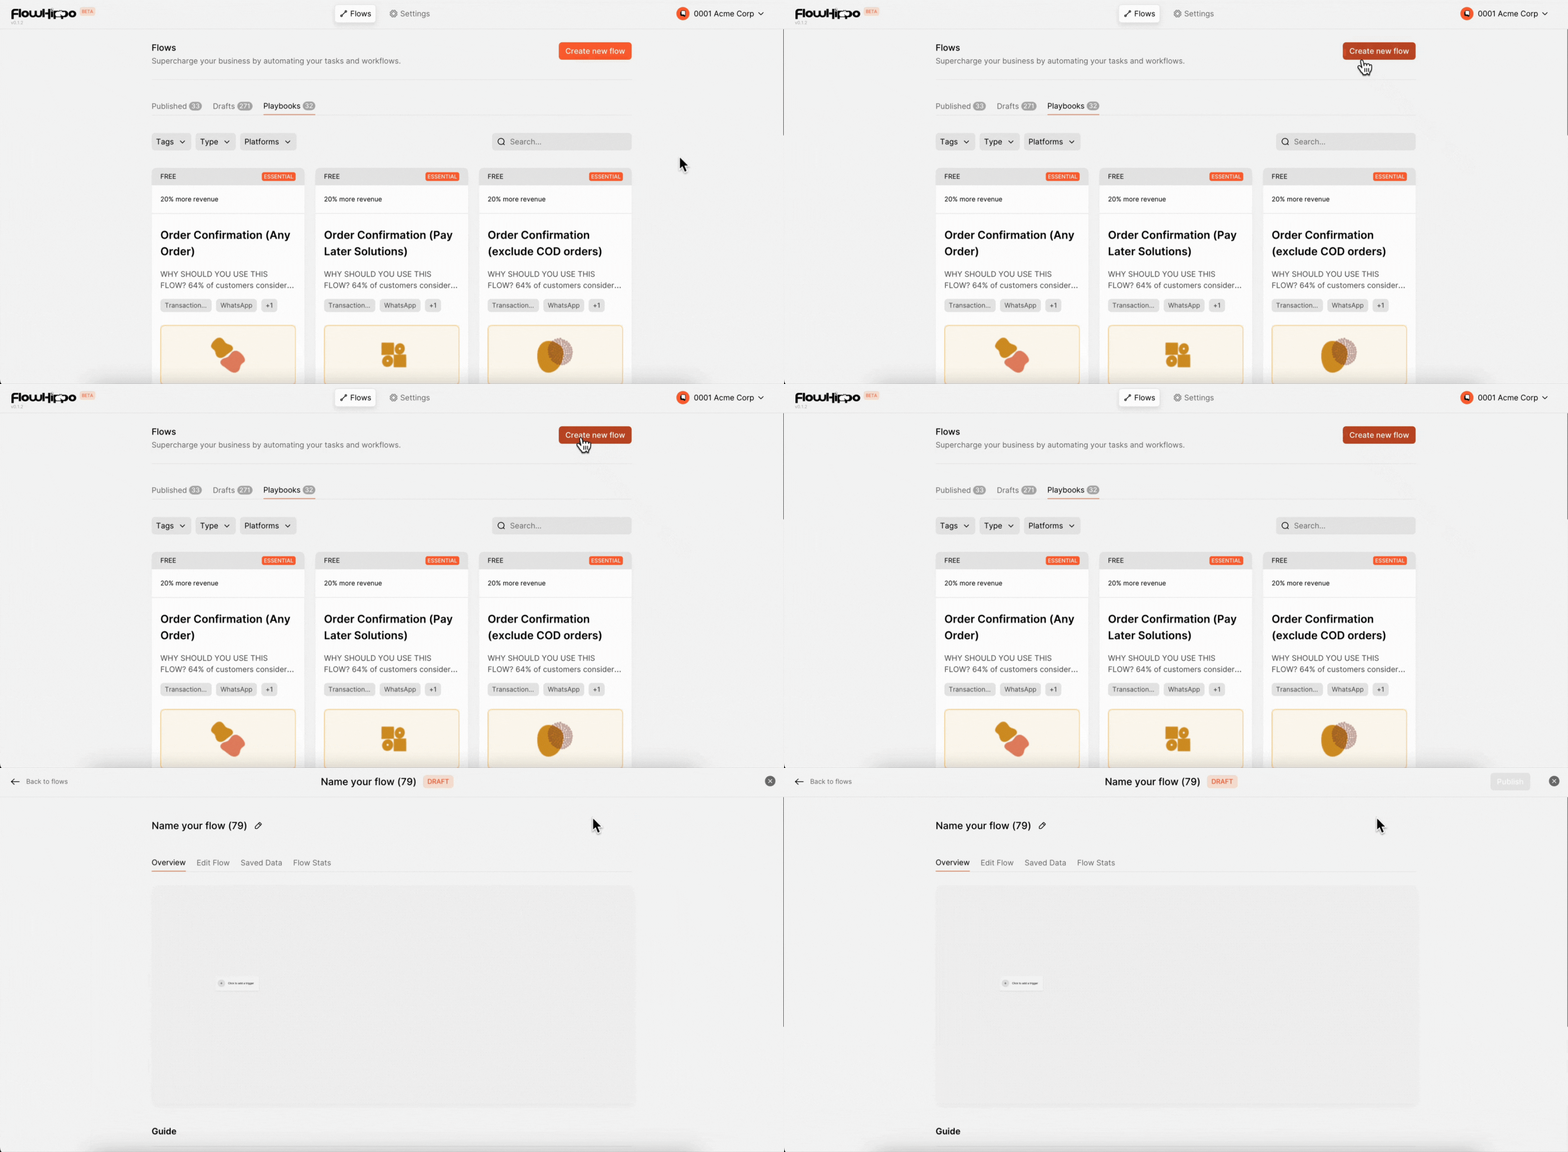
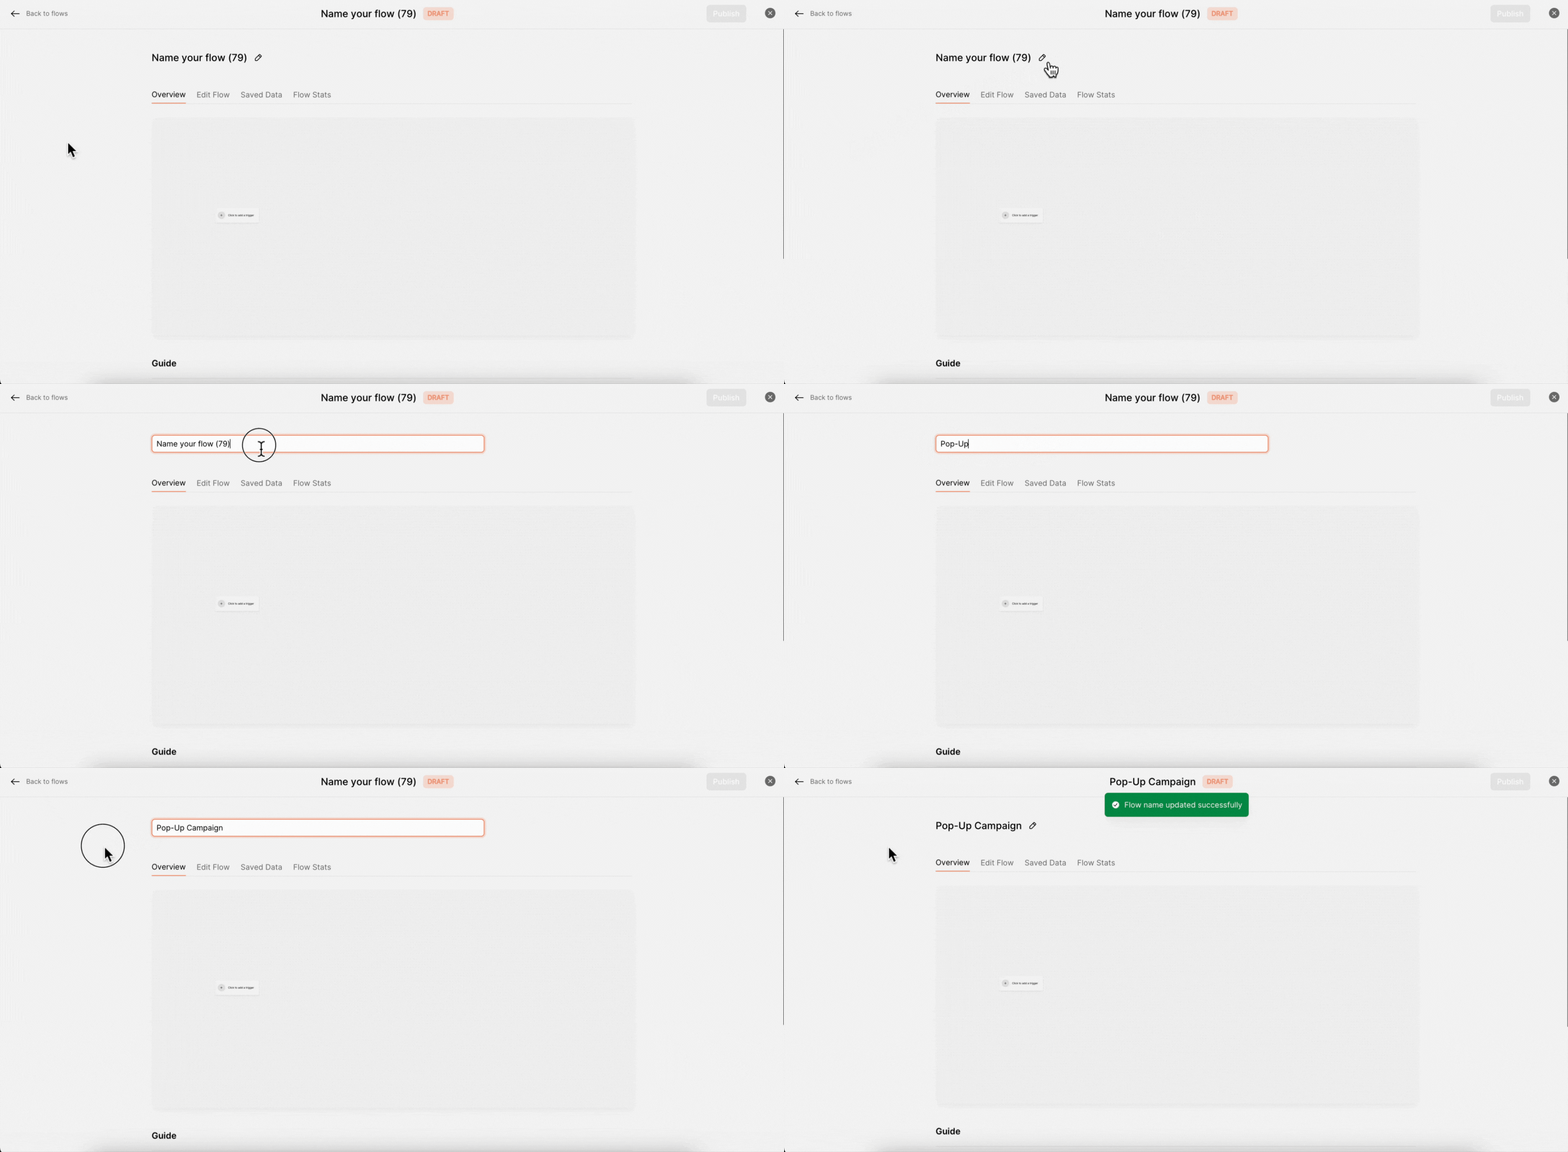
3. You can change the Flow name by clicking on Edit icon. In our case, we set the flow name as Pop-up Campaign.
4. Click on Edit to open the canvas designer.
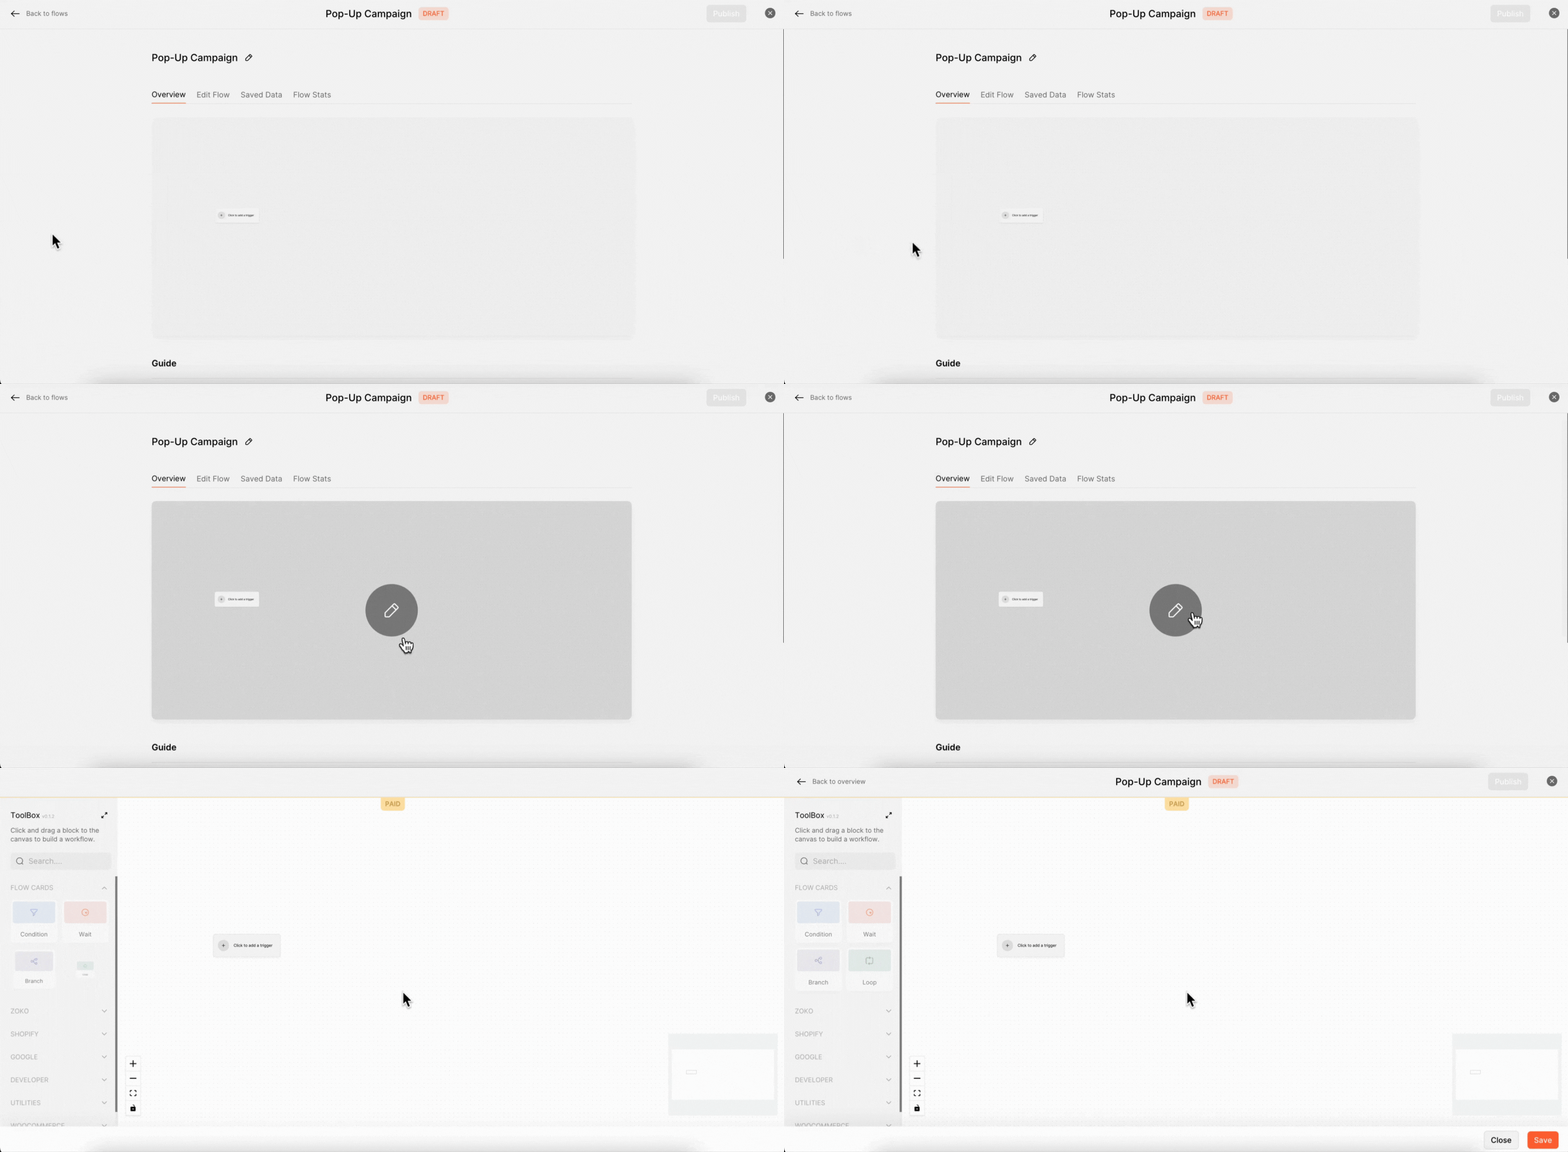
Step 1: Set Up Trigger Point
1. Click on Add a Tigger.
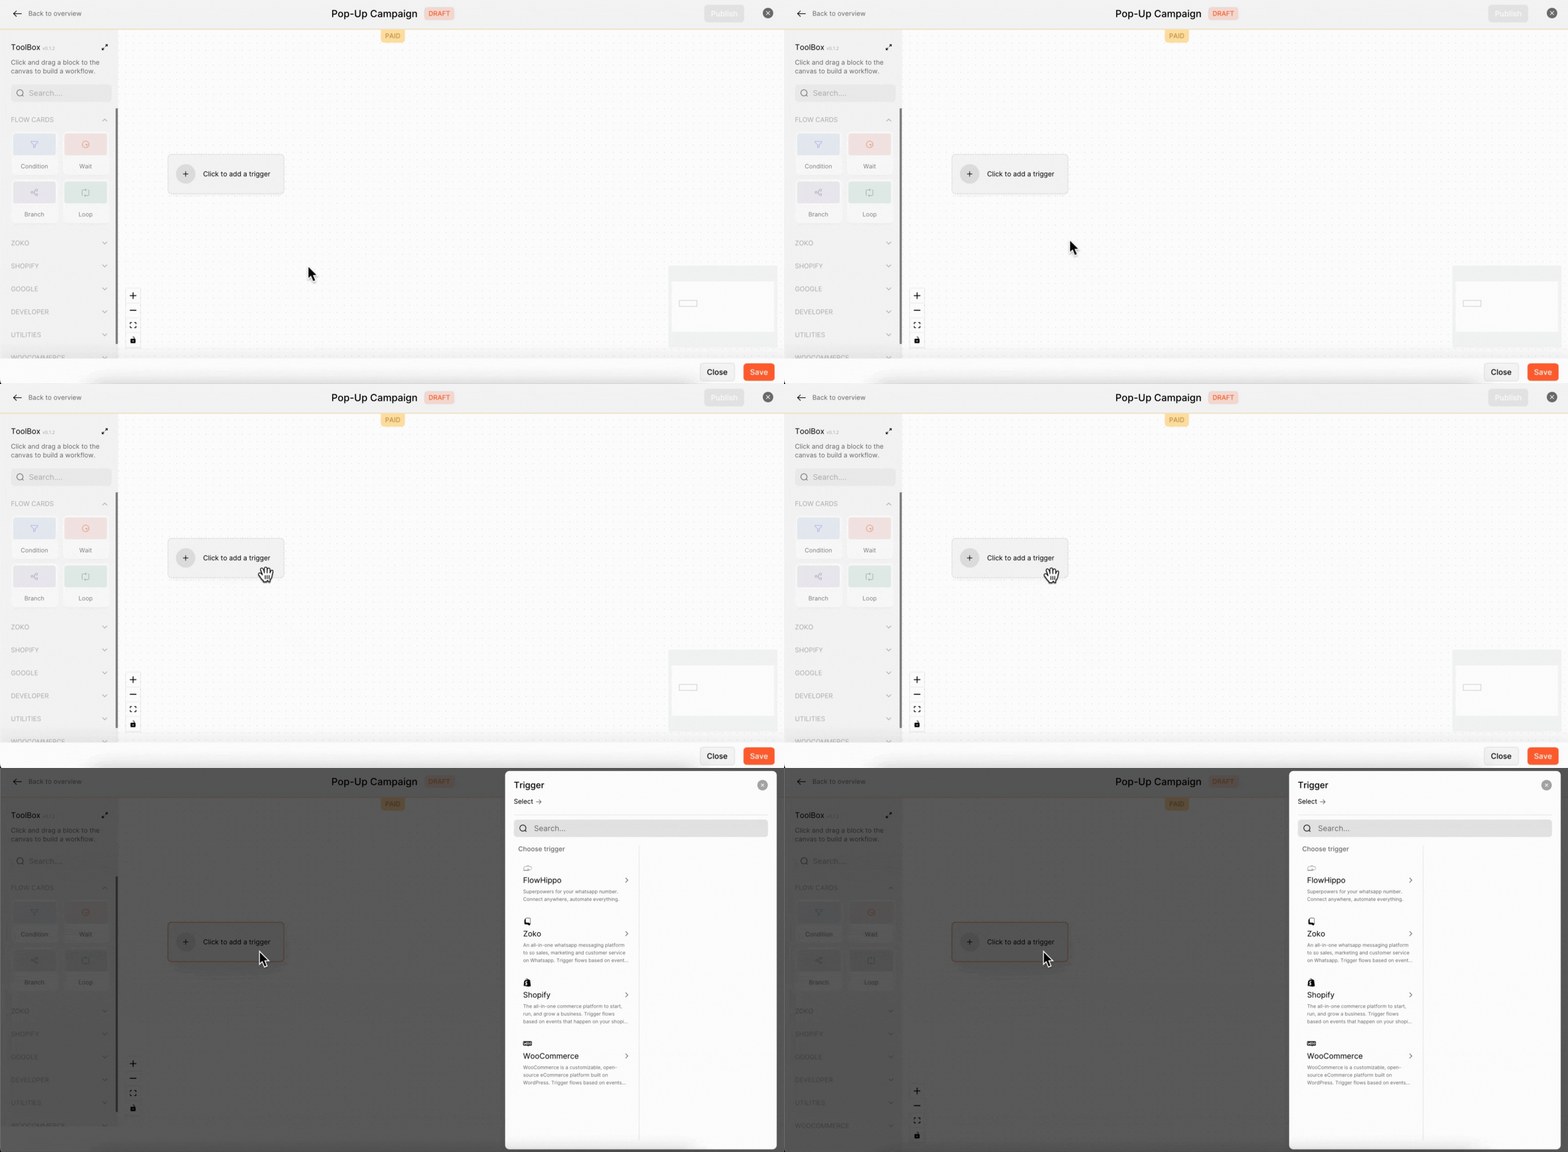
2. Select Zoko and click on Contact Tag Added.
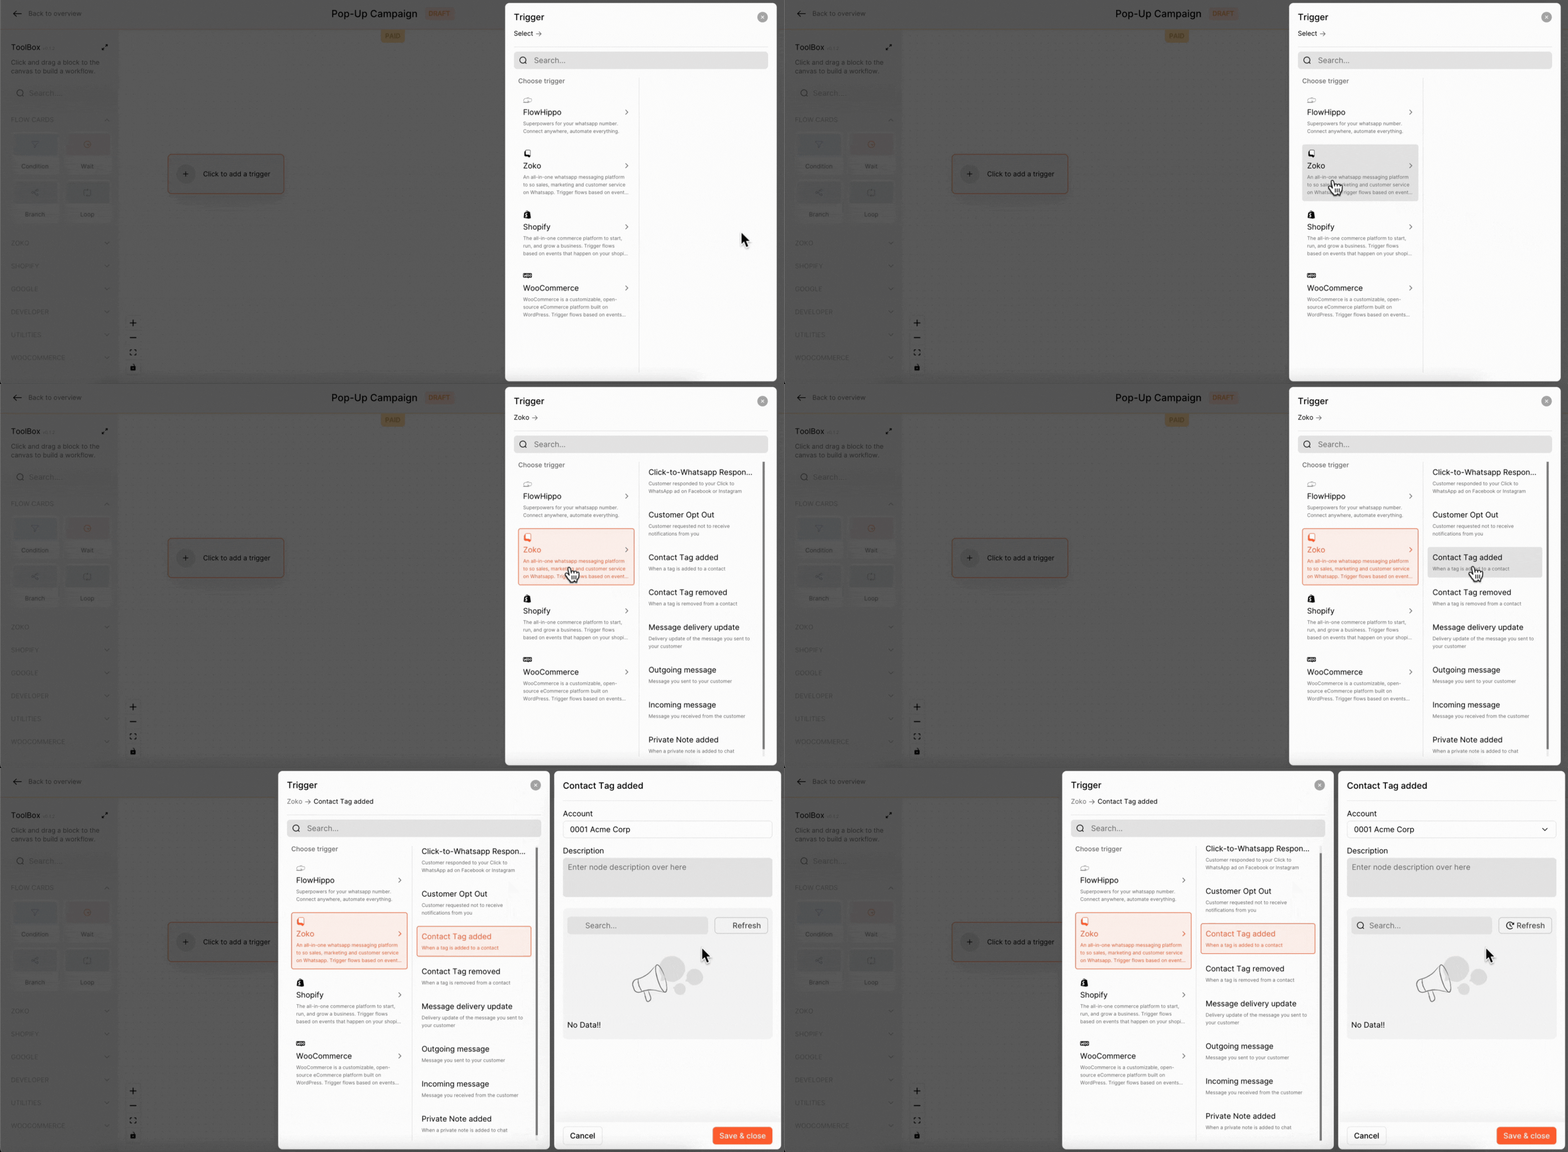
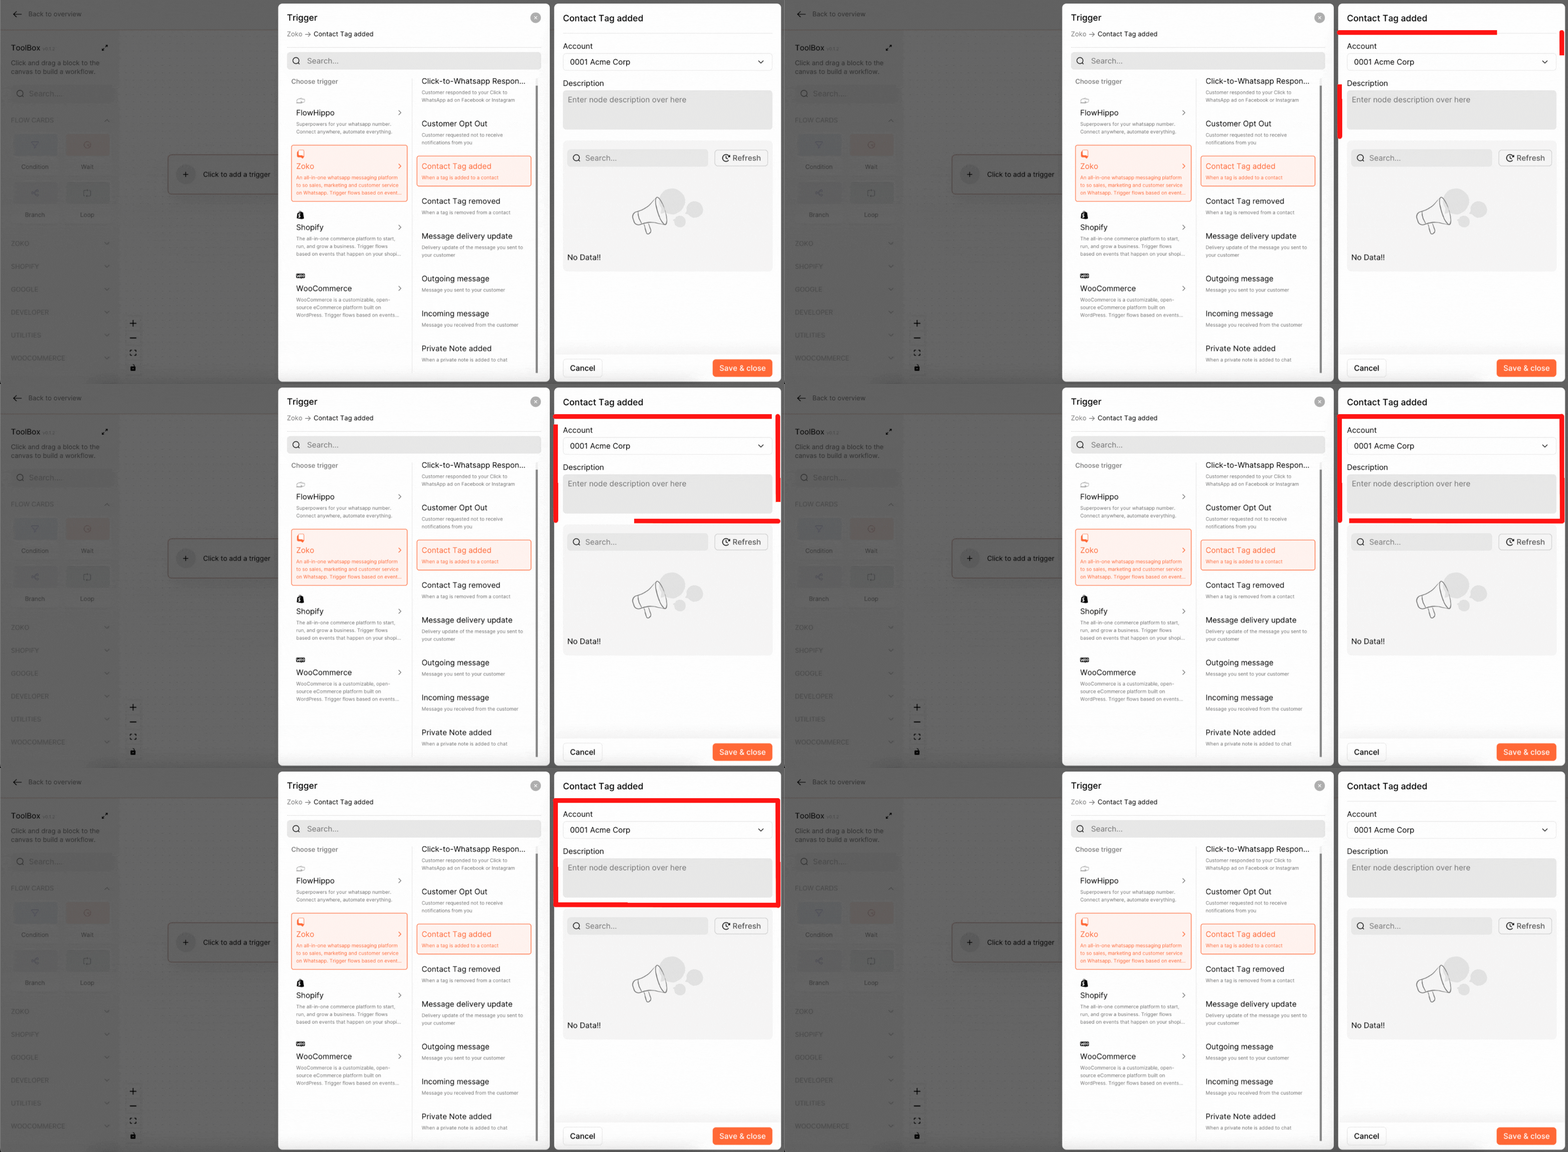
3. Select the account from the drop down and give the name of the description.
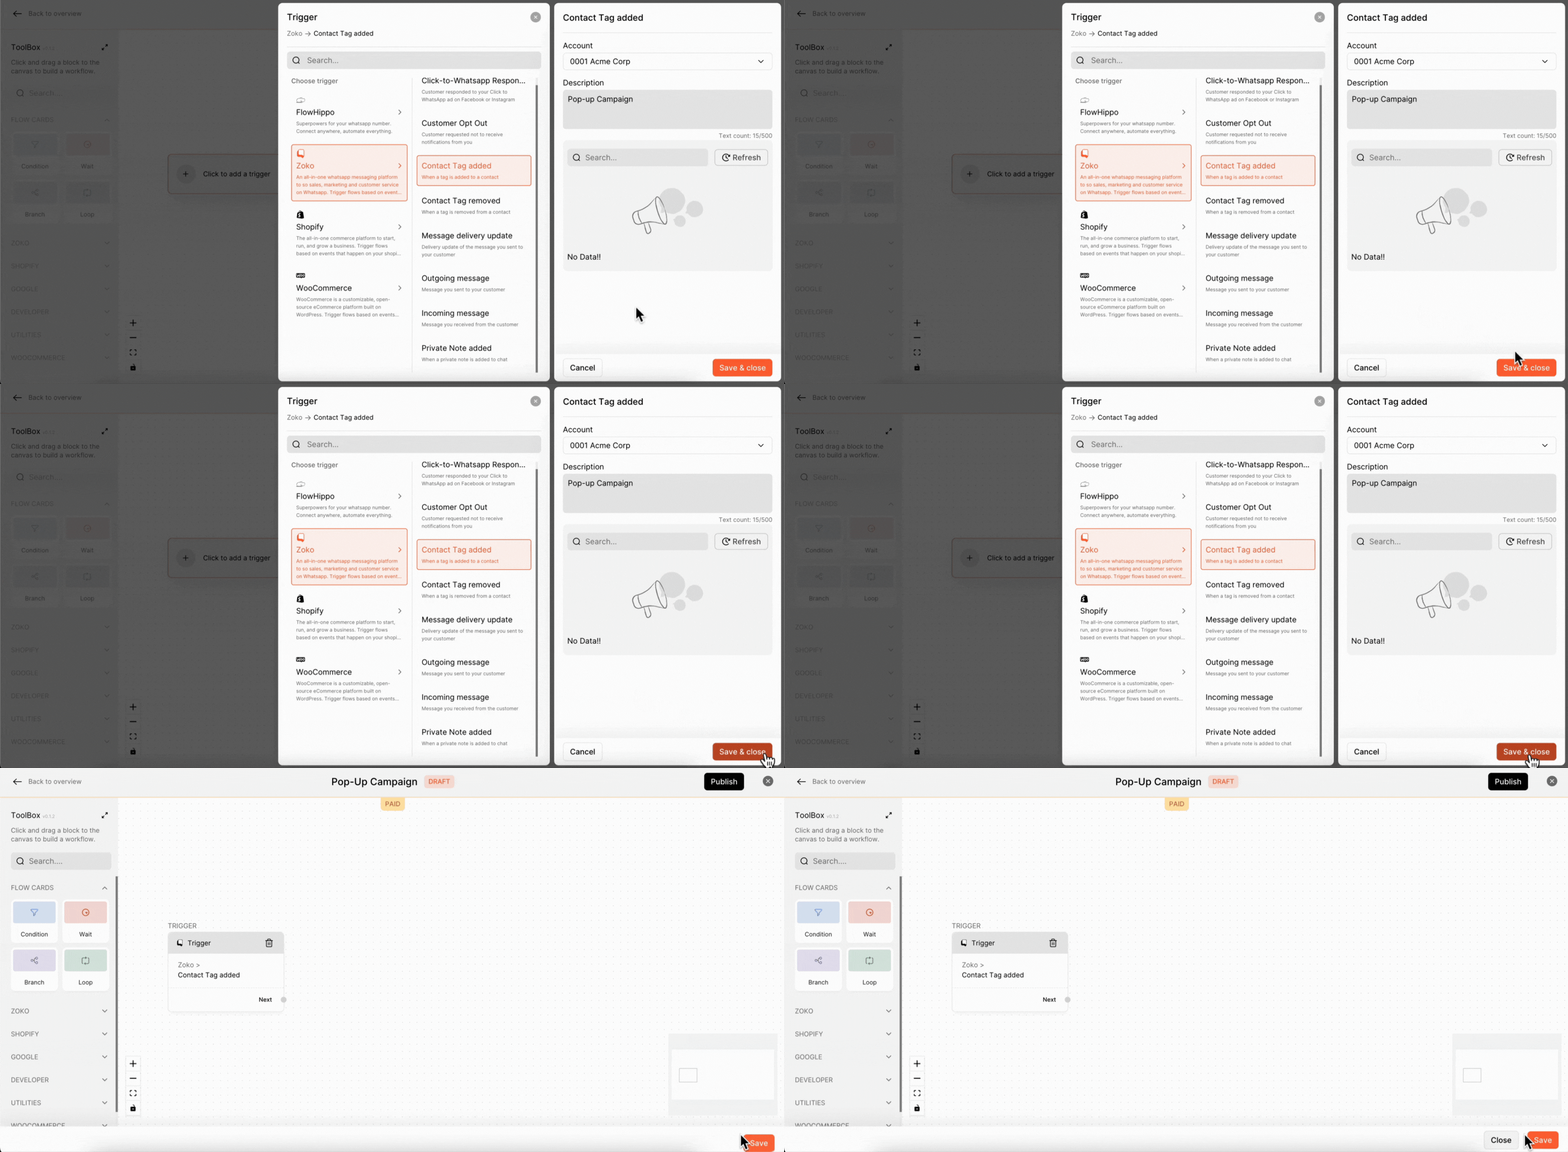
4. Click on Save & Close.
Step 2: Configure the Condition Node
1. Drag the Condition node from the toolbox.
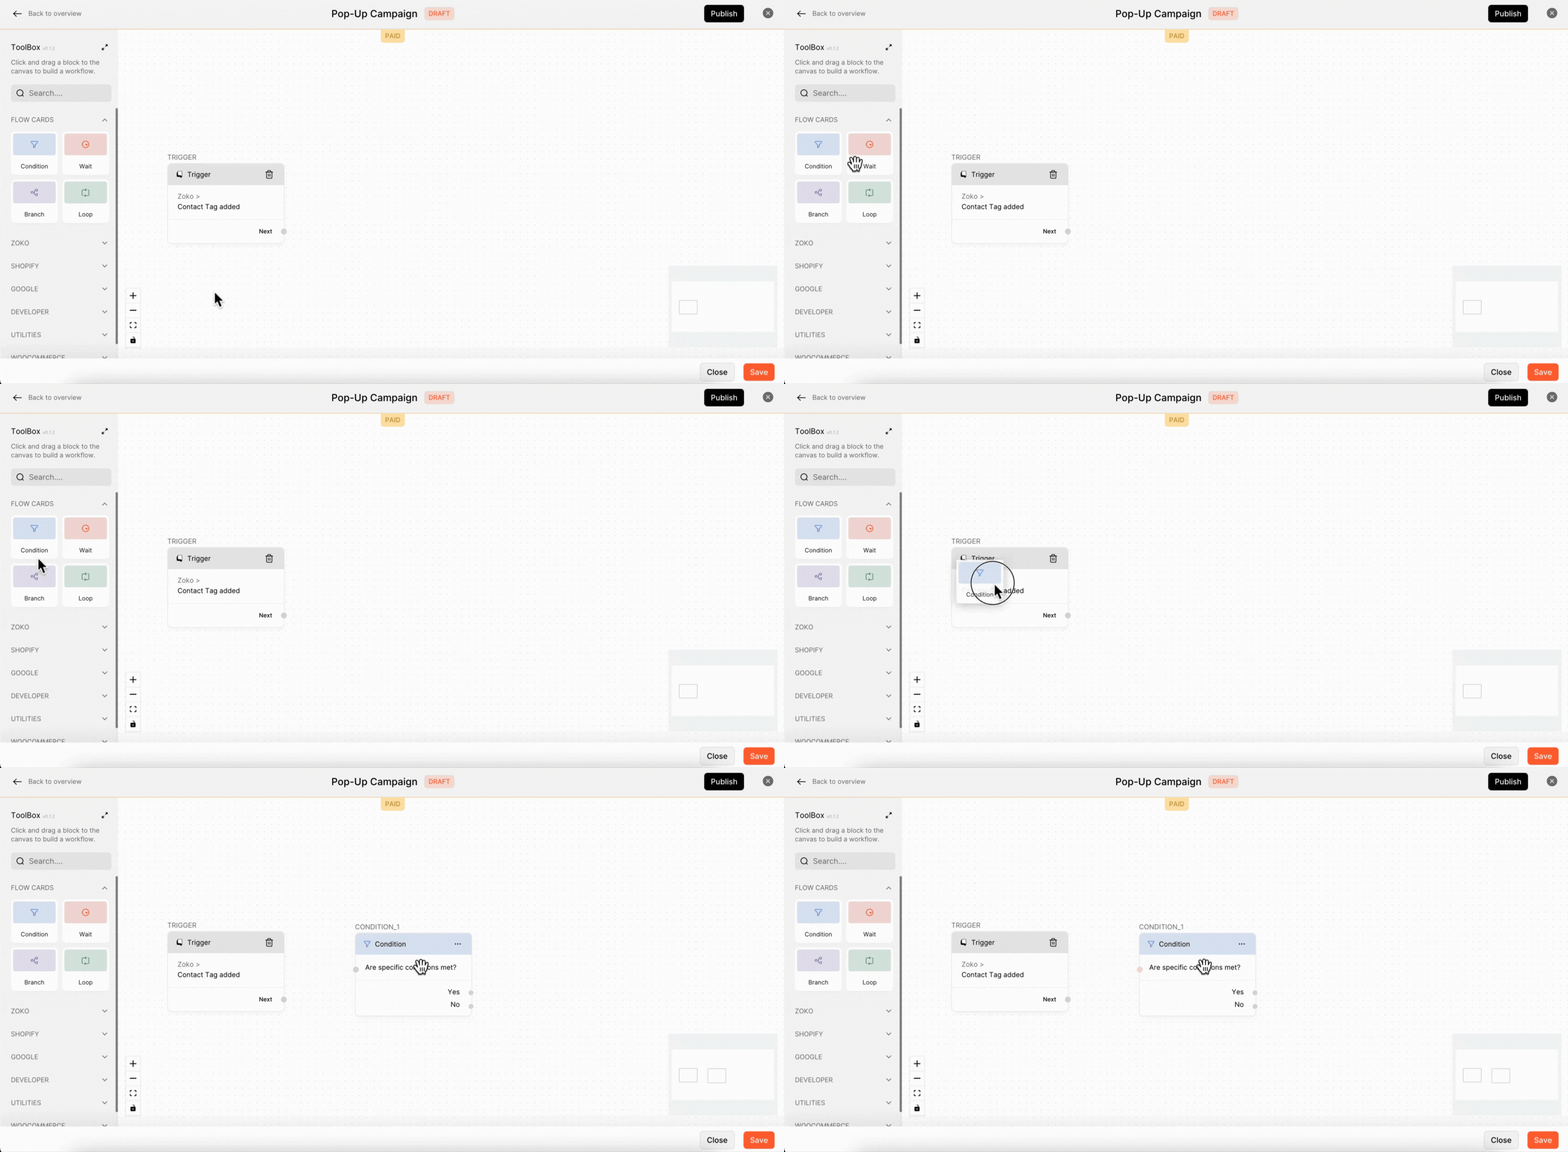
2. Click on Condition node.
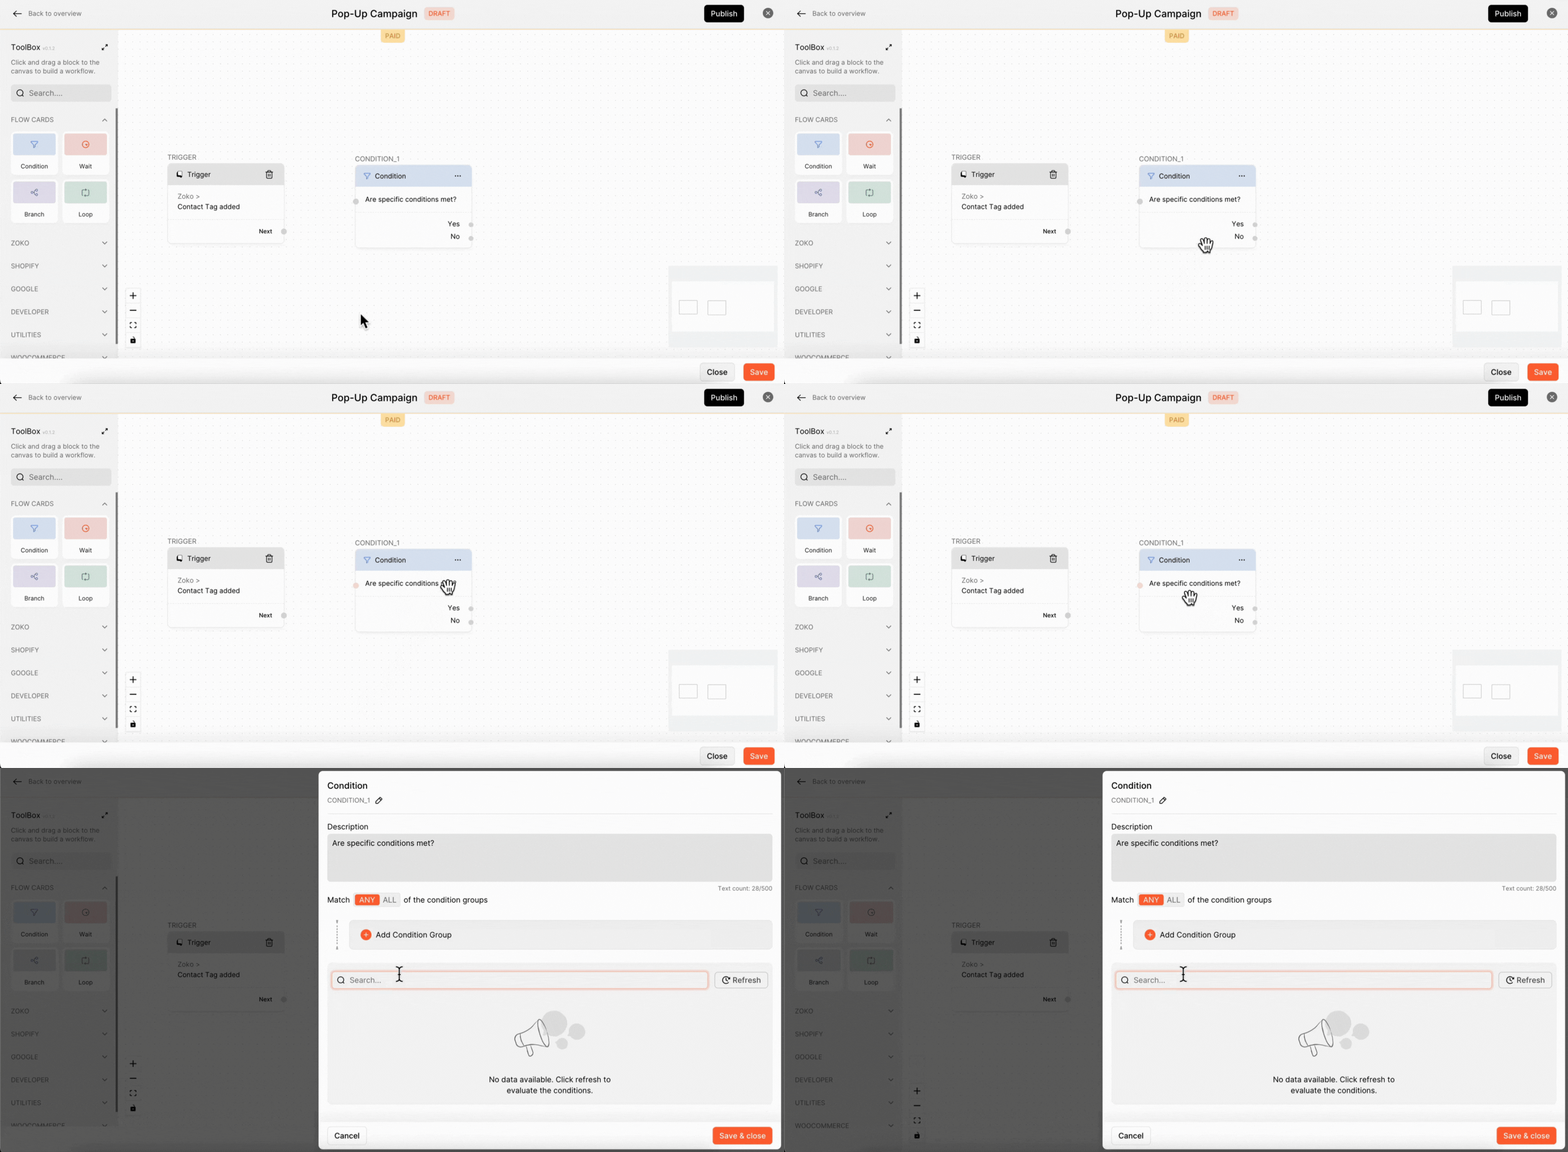
3. You can give the name of the description here. In our case, we added the description name as “20% discount campaigns”
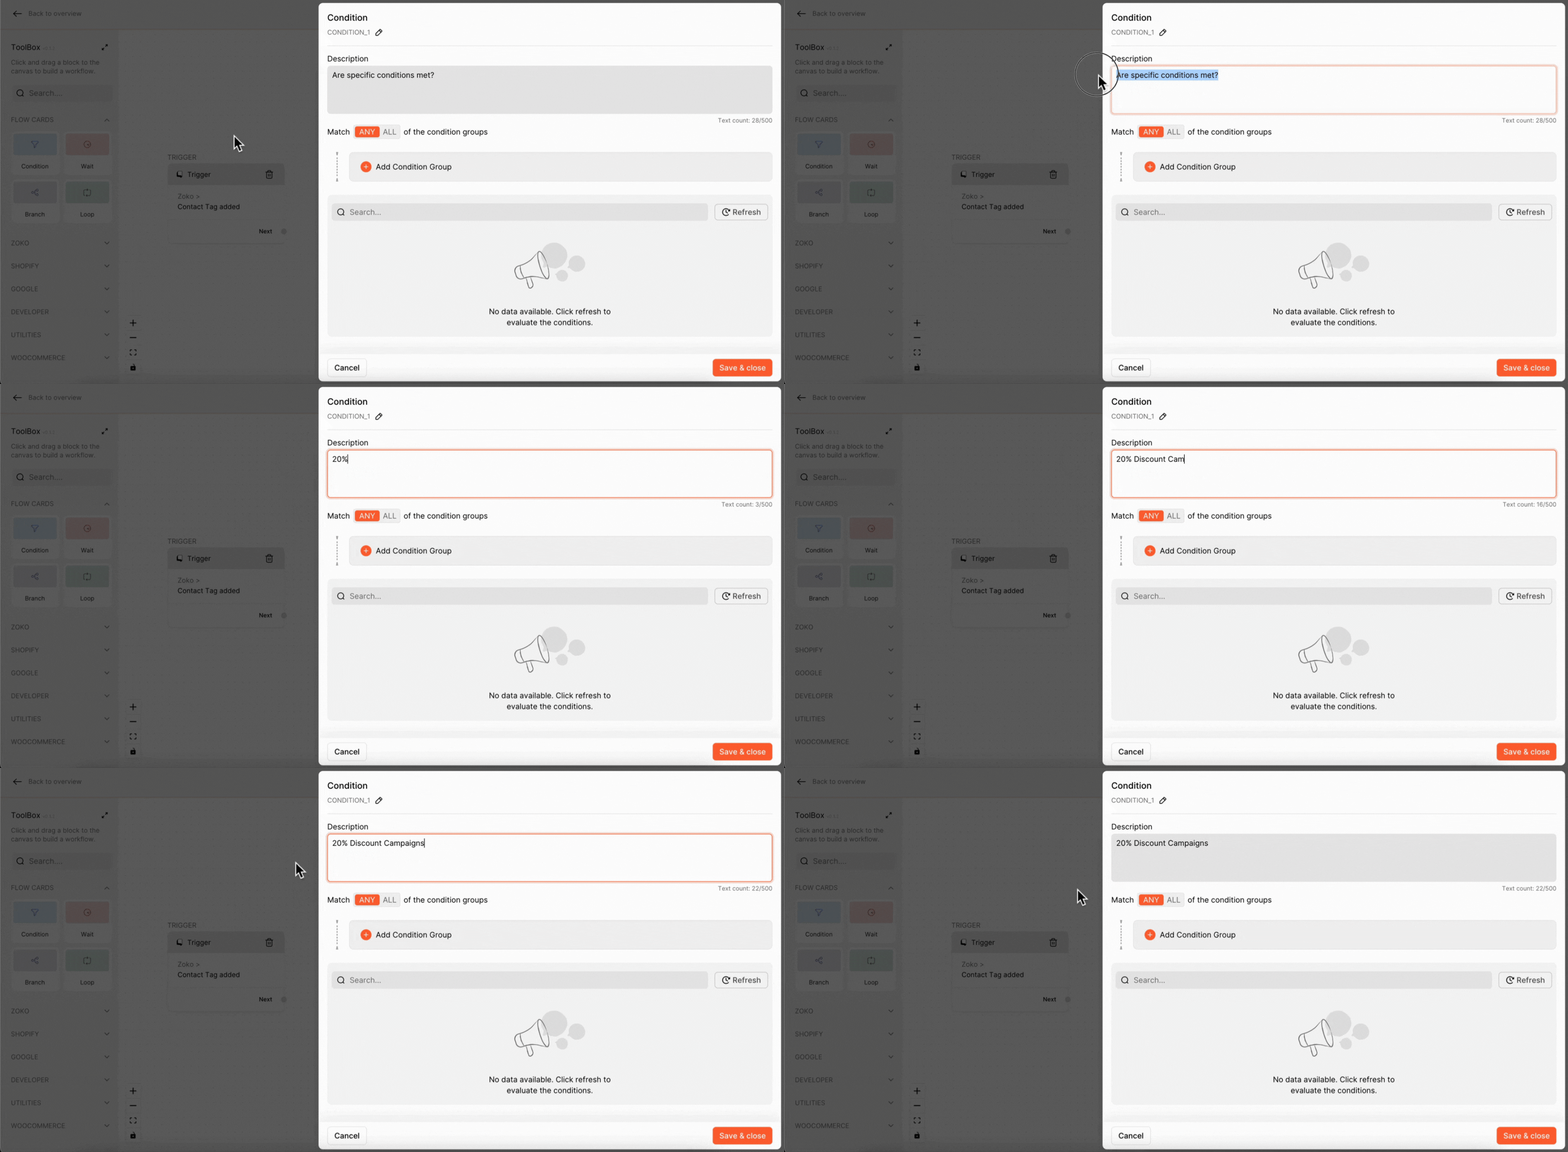
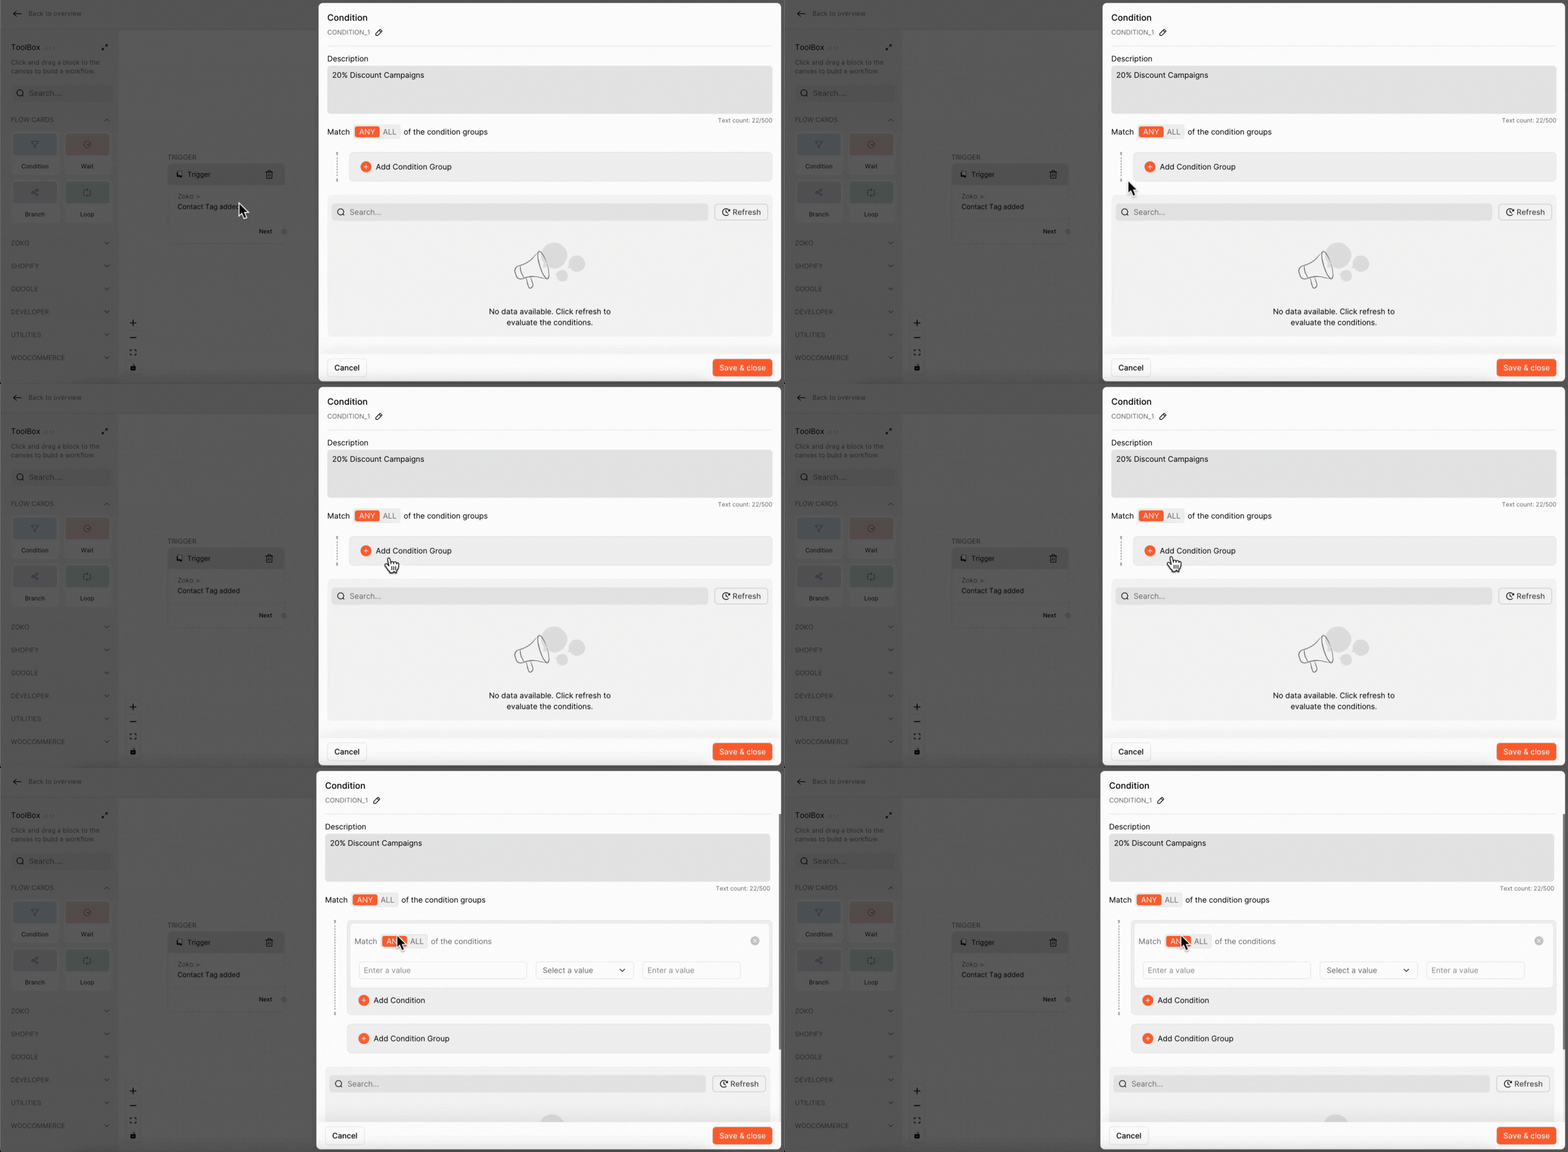
4. Click on Add Condition Group.
5. Enter a value as tag by clicking the value box >> trigger >> data >> tag.
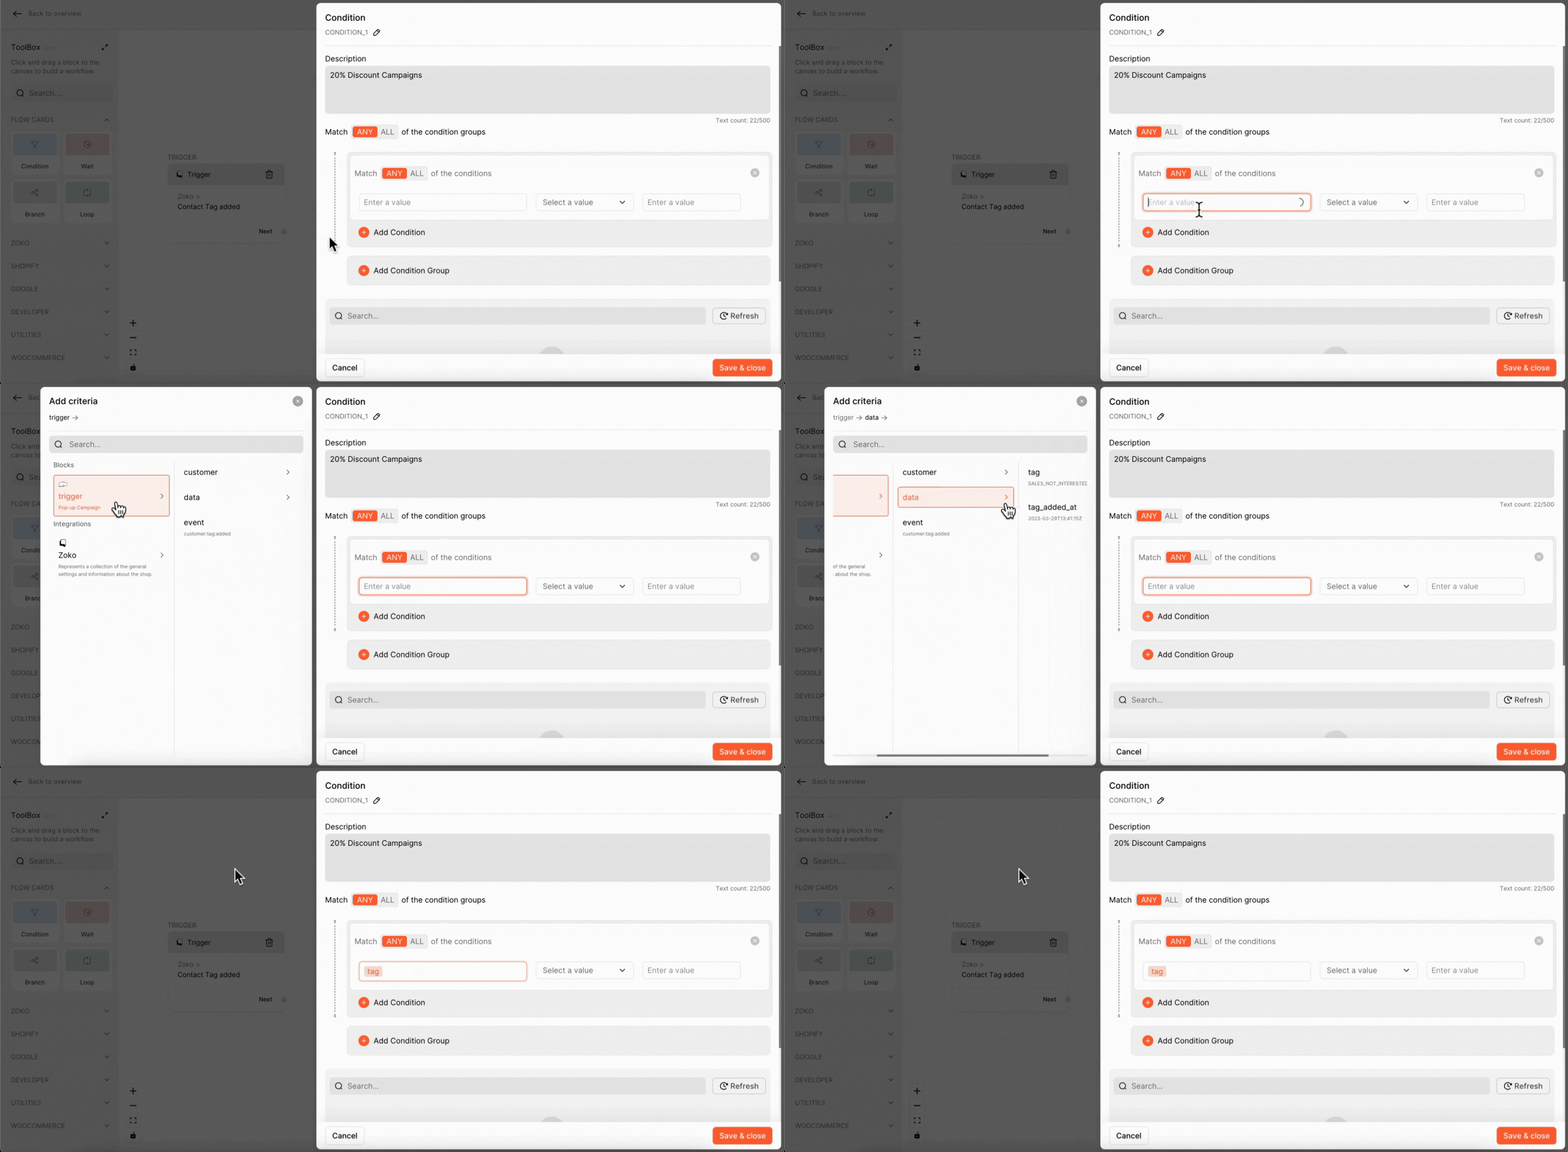
6. Select the text value from the dropdown. In our case, we selected, “Equal to case Insensitive.”
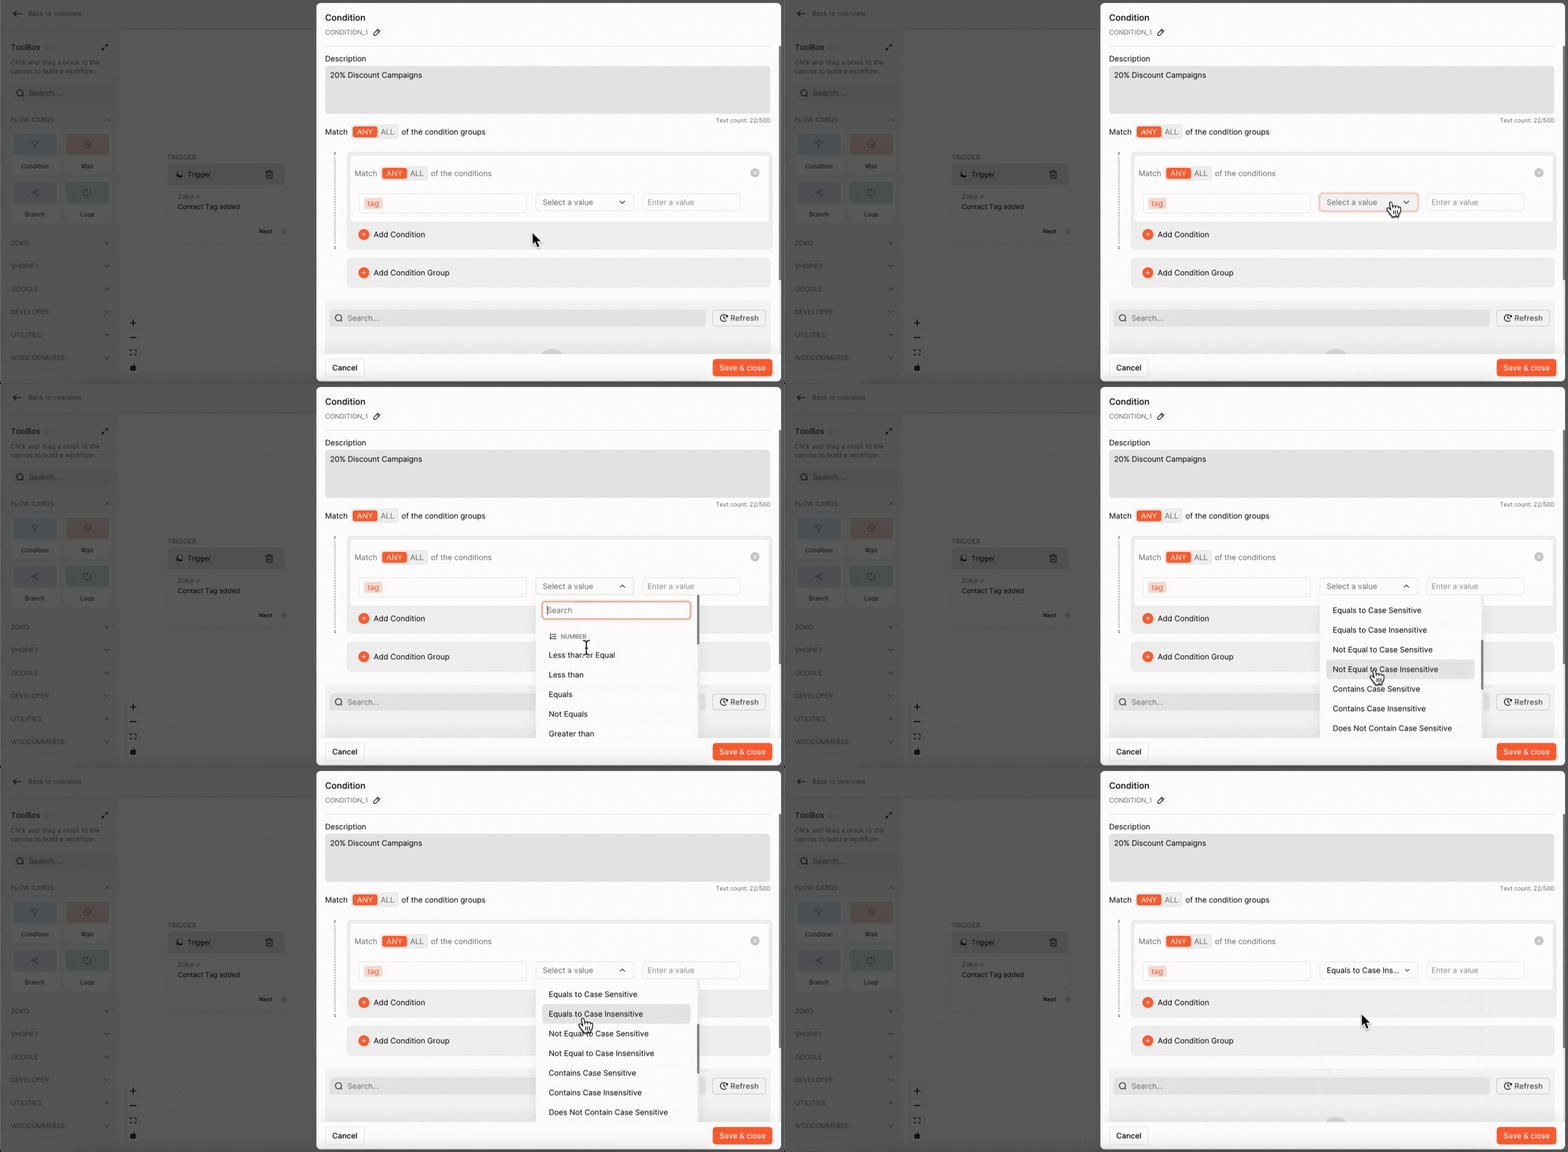
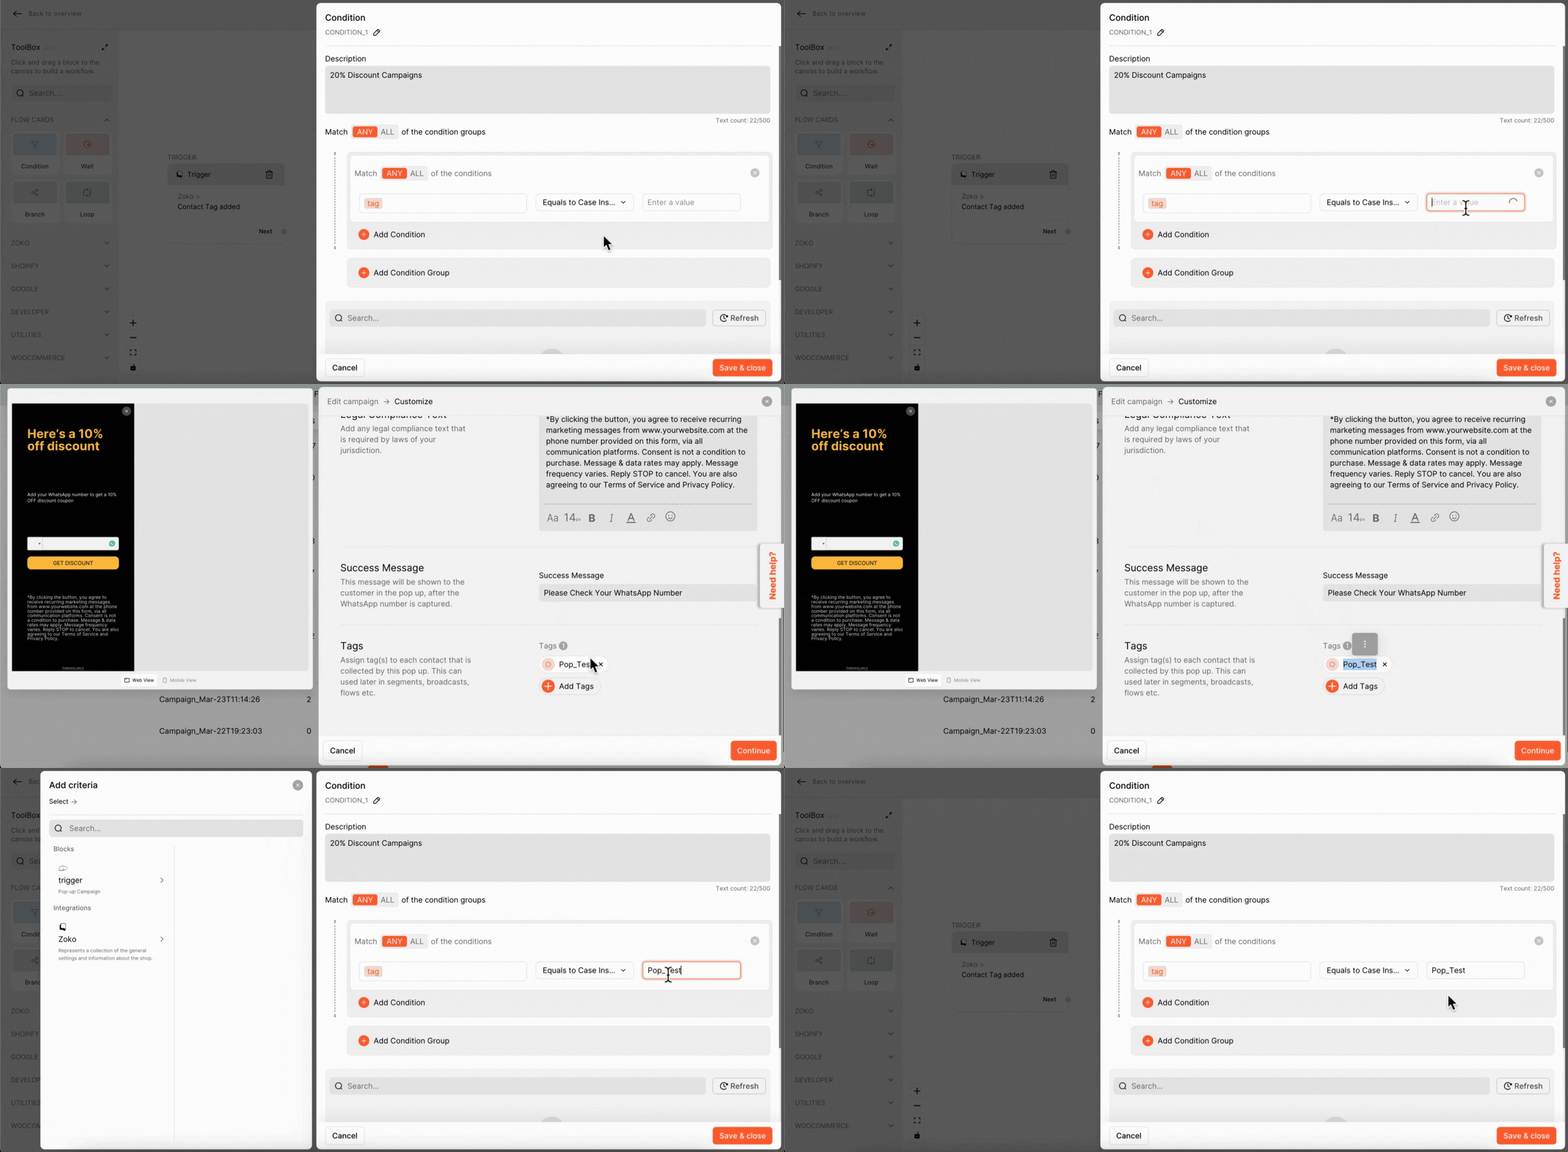
7. Next, you can type the tag name here that you have added on the pop-up campaigns.
Important Note: You need to add the exact same tag name that you used in your pop-up campaign. Simply copy the tag name from the campaign and paste it here. If you use a different tag name, the flow will not trigger when a number is captured through your pop-up campaign.
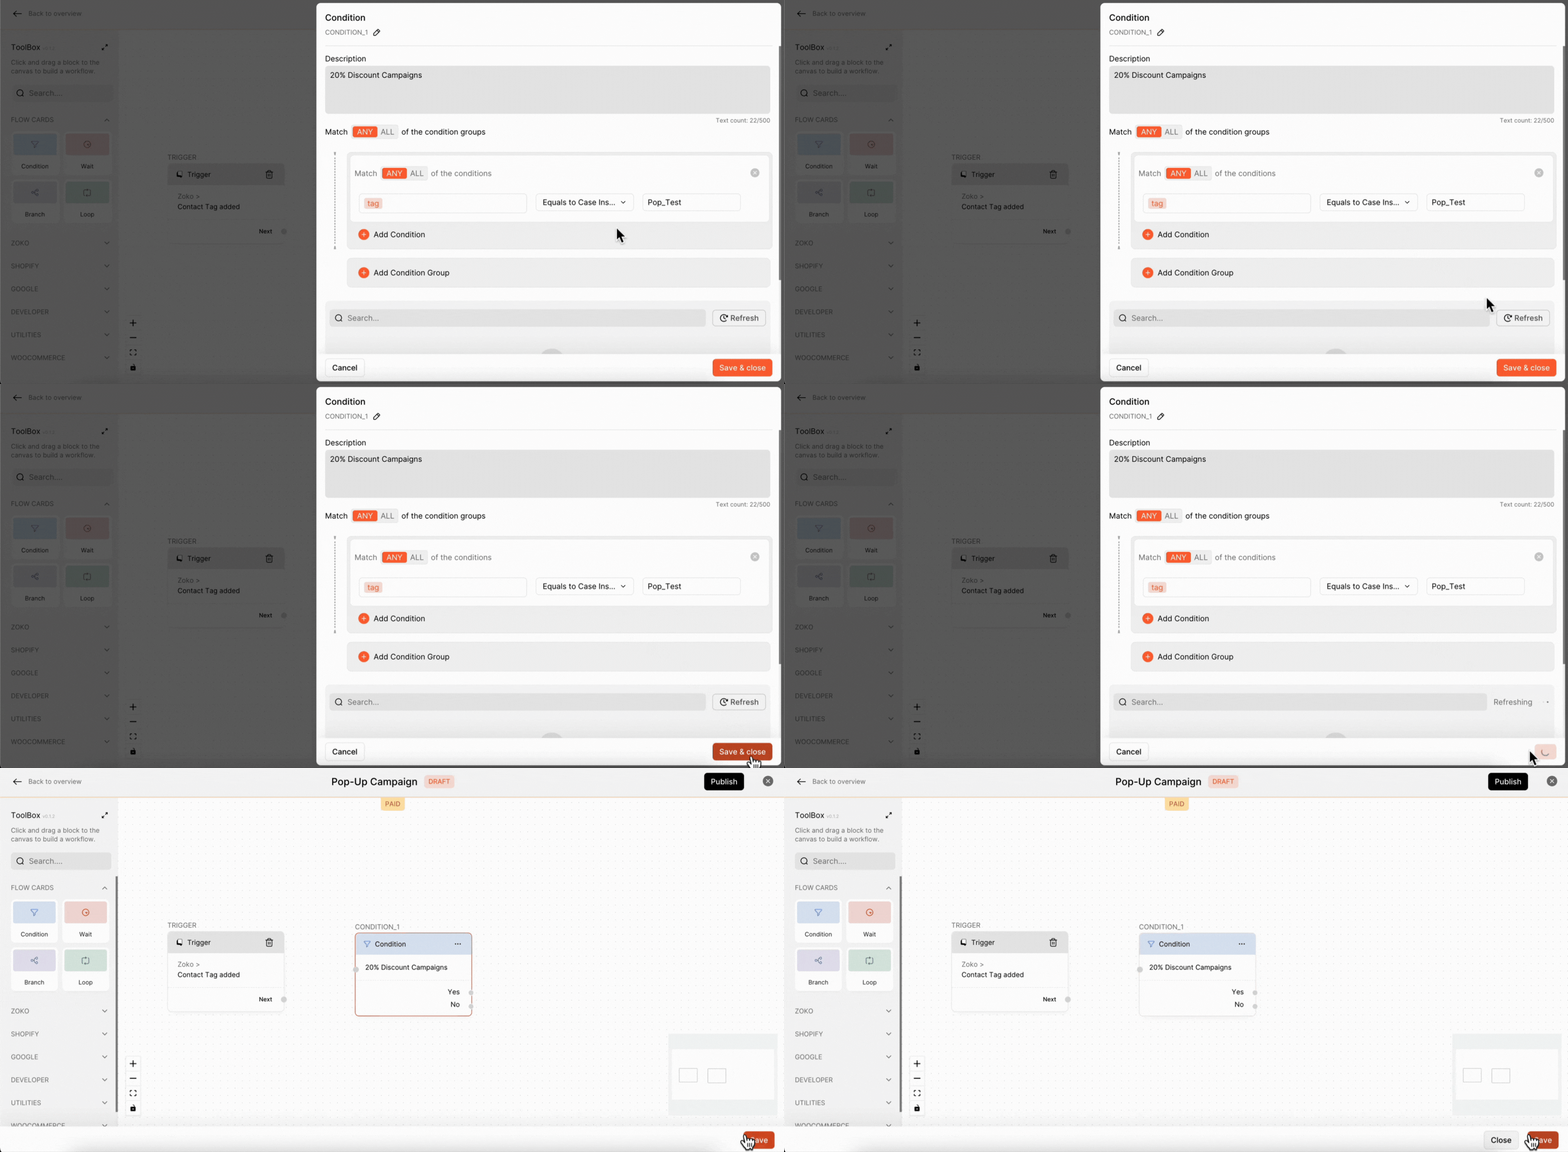
8. Click on Save & Close.
Step 3: Set Up the Zoko Message Node
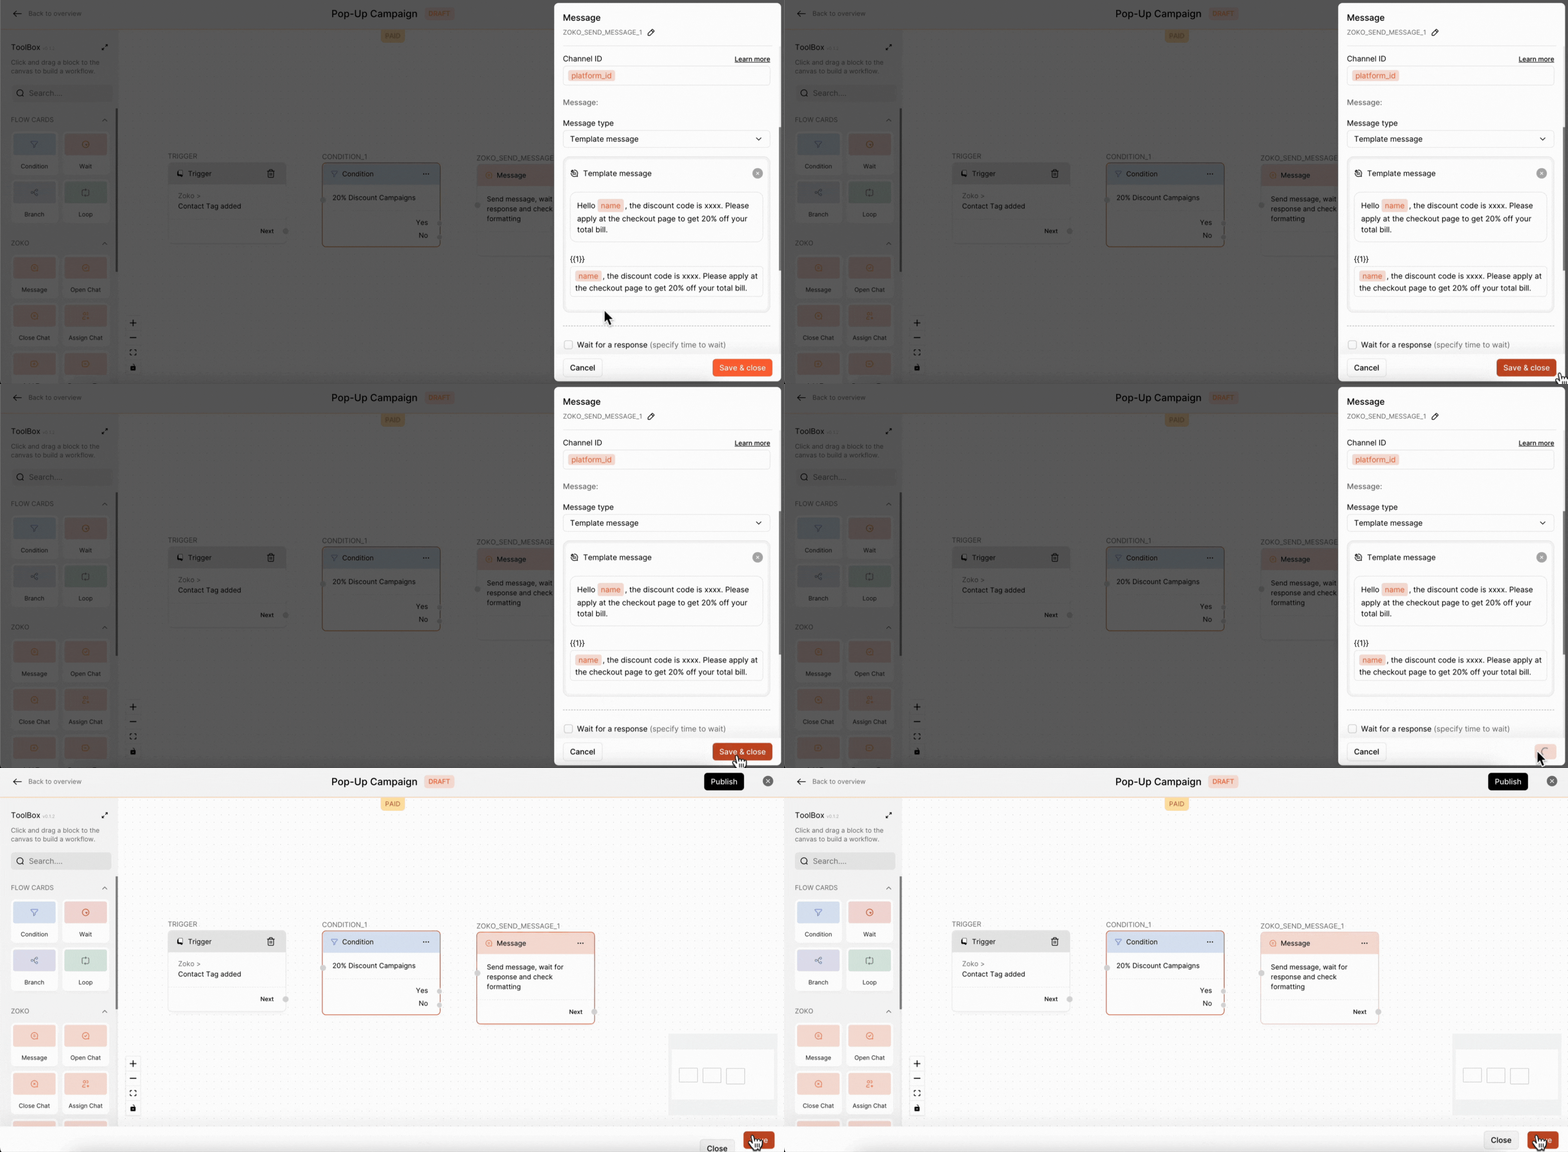
1. Drag the Zoko Message node from the toolbox.
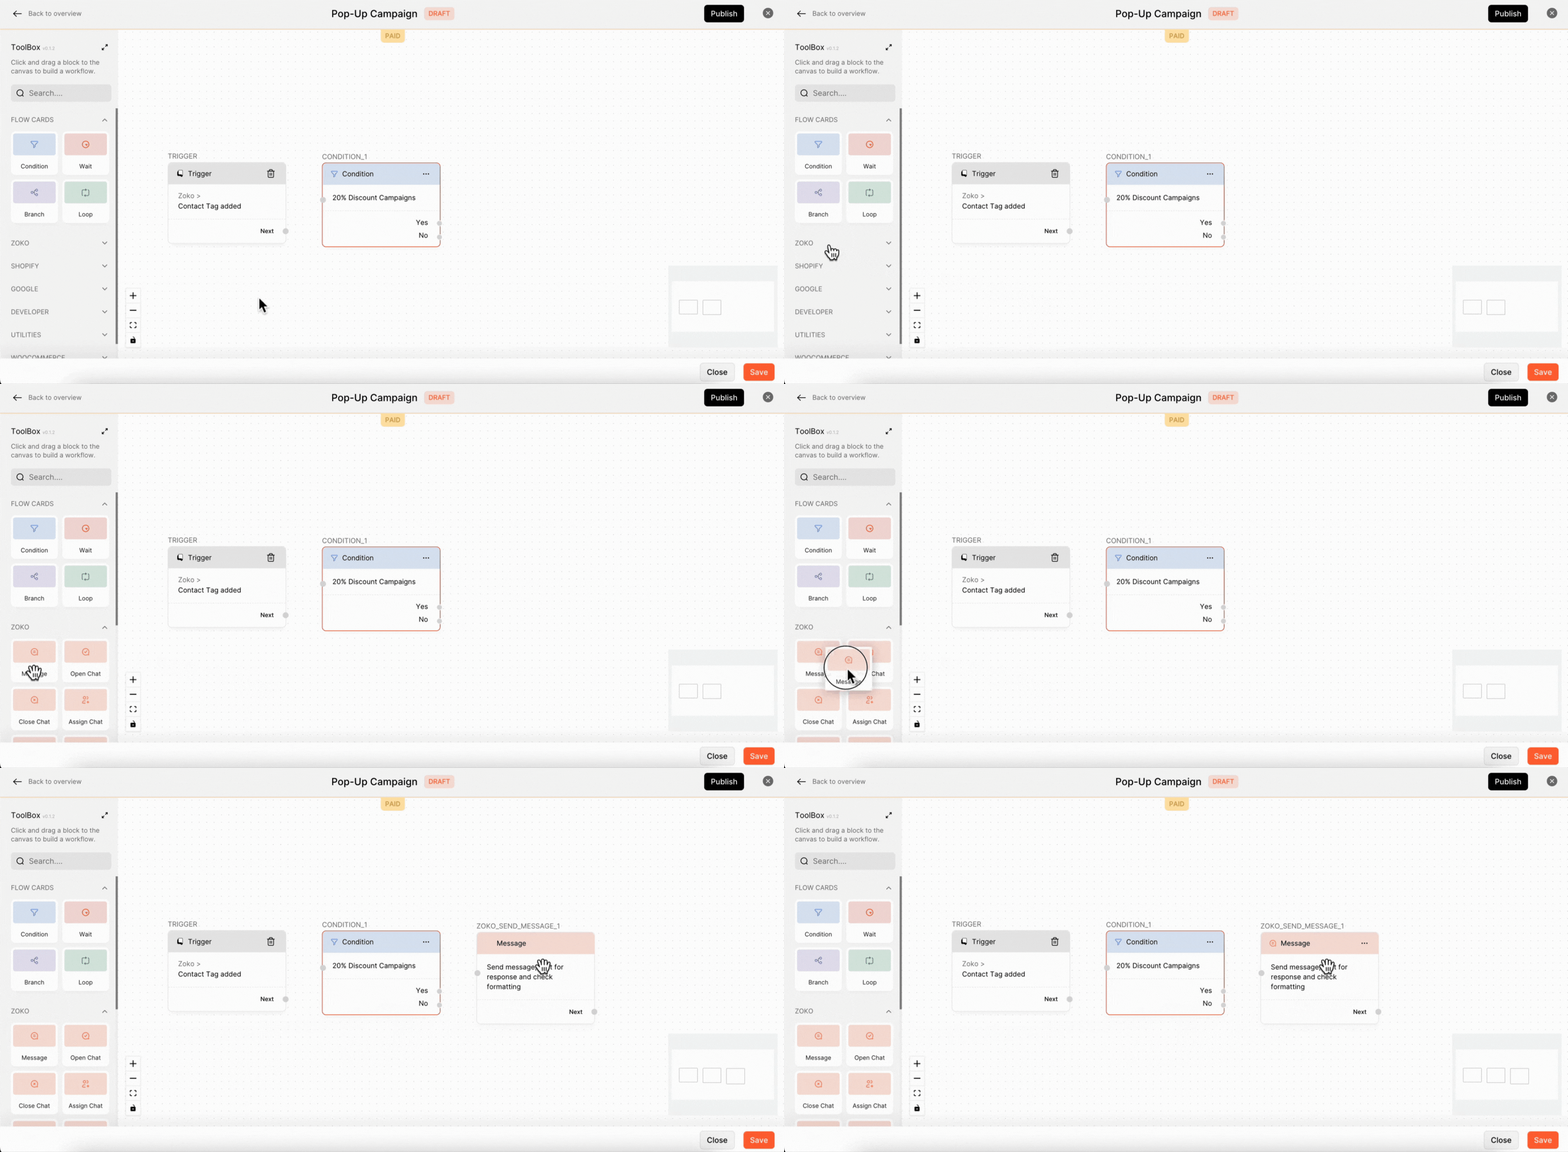
2. Click on Message node.
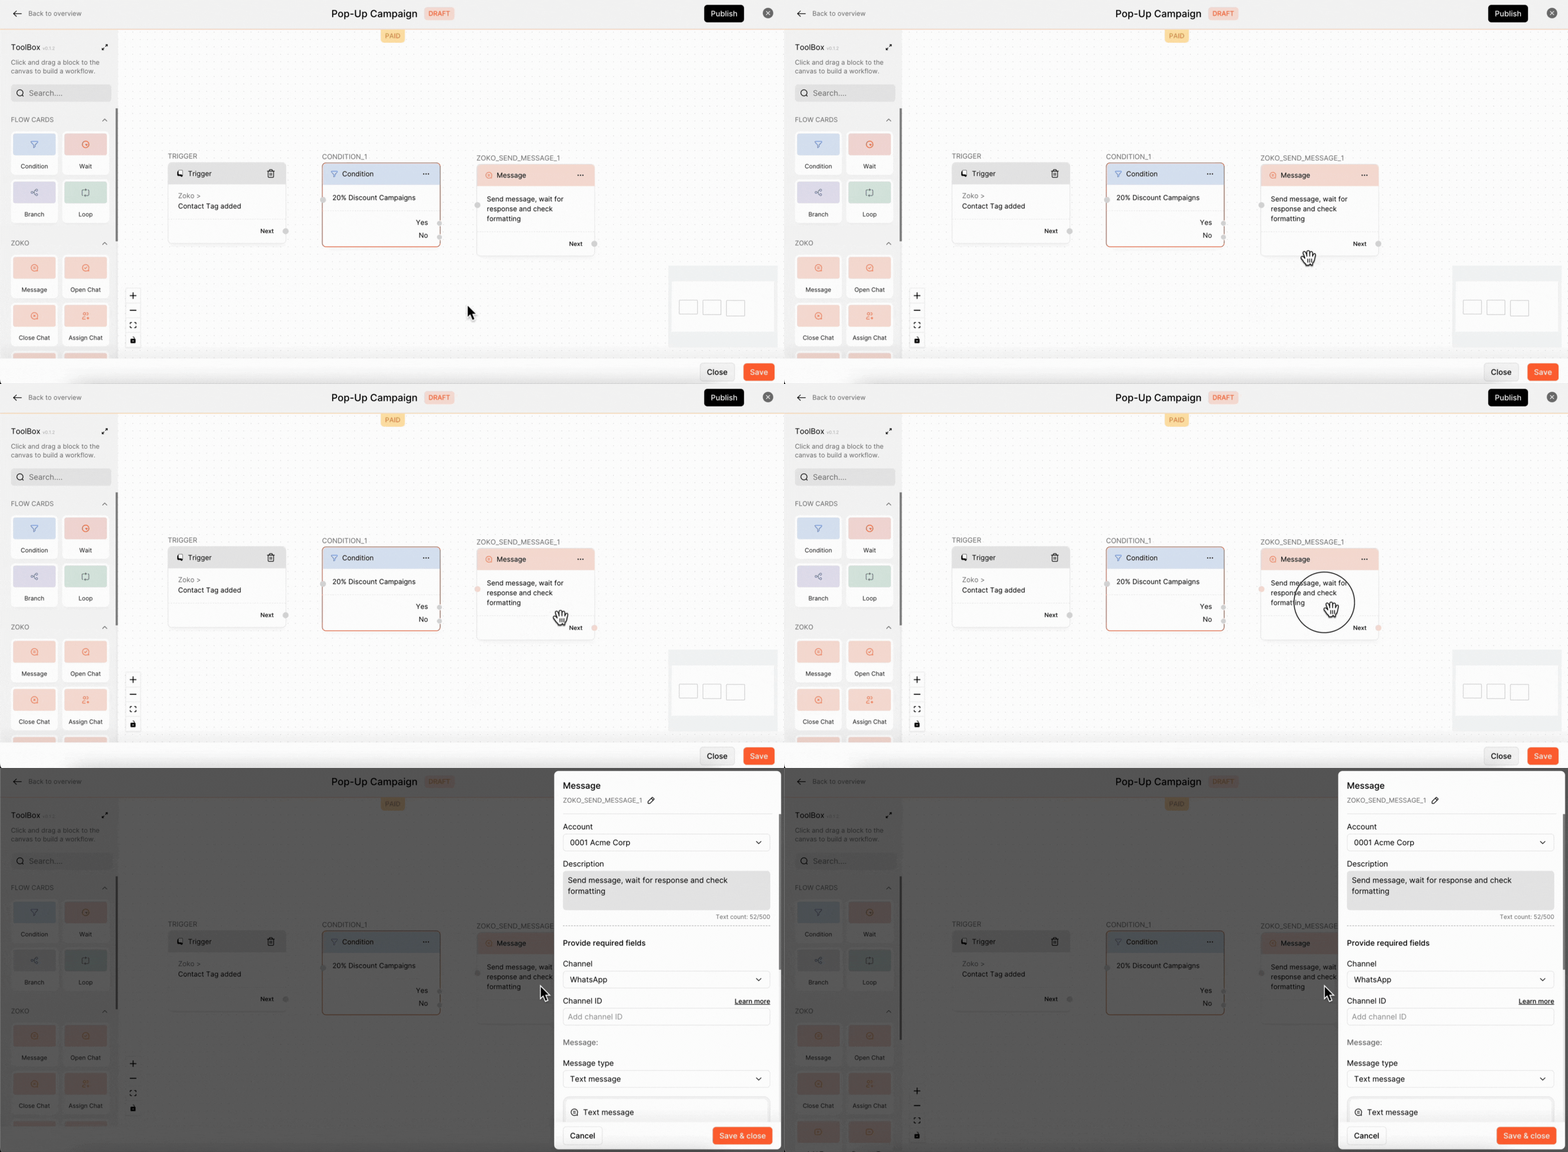
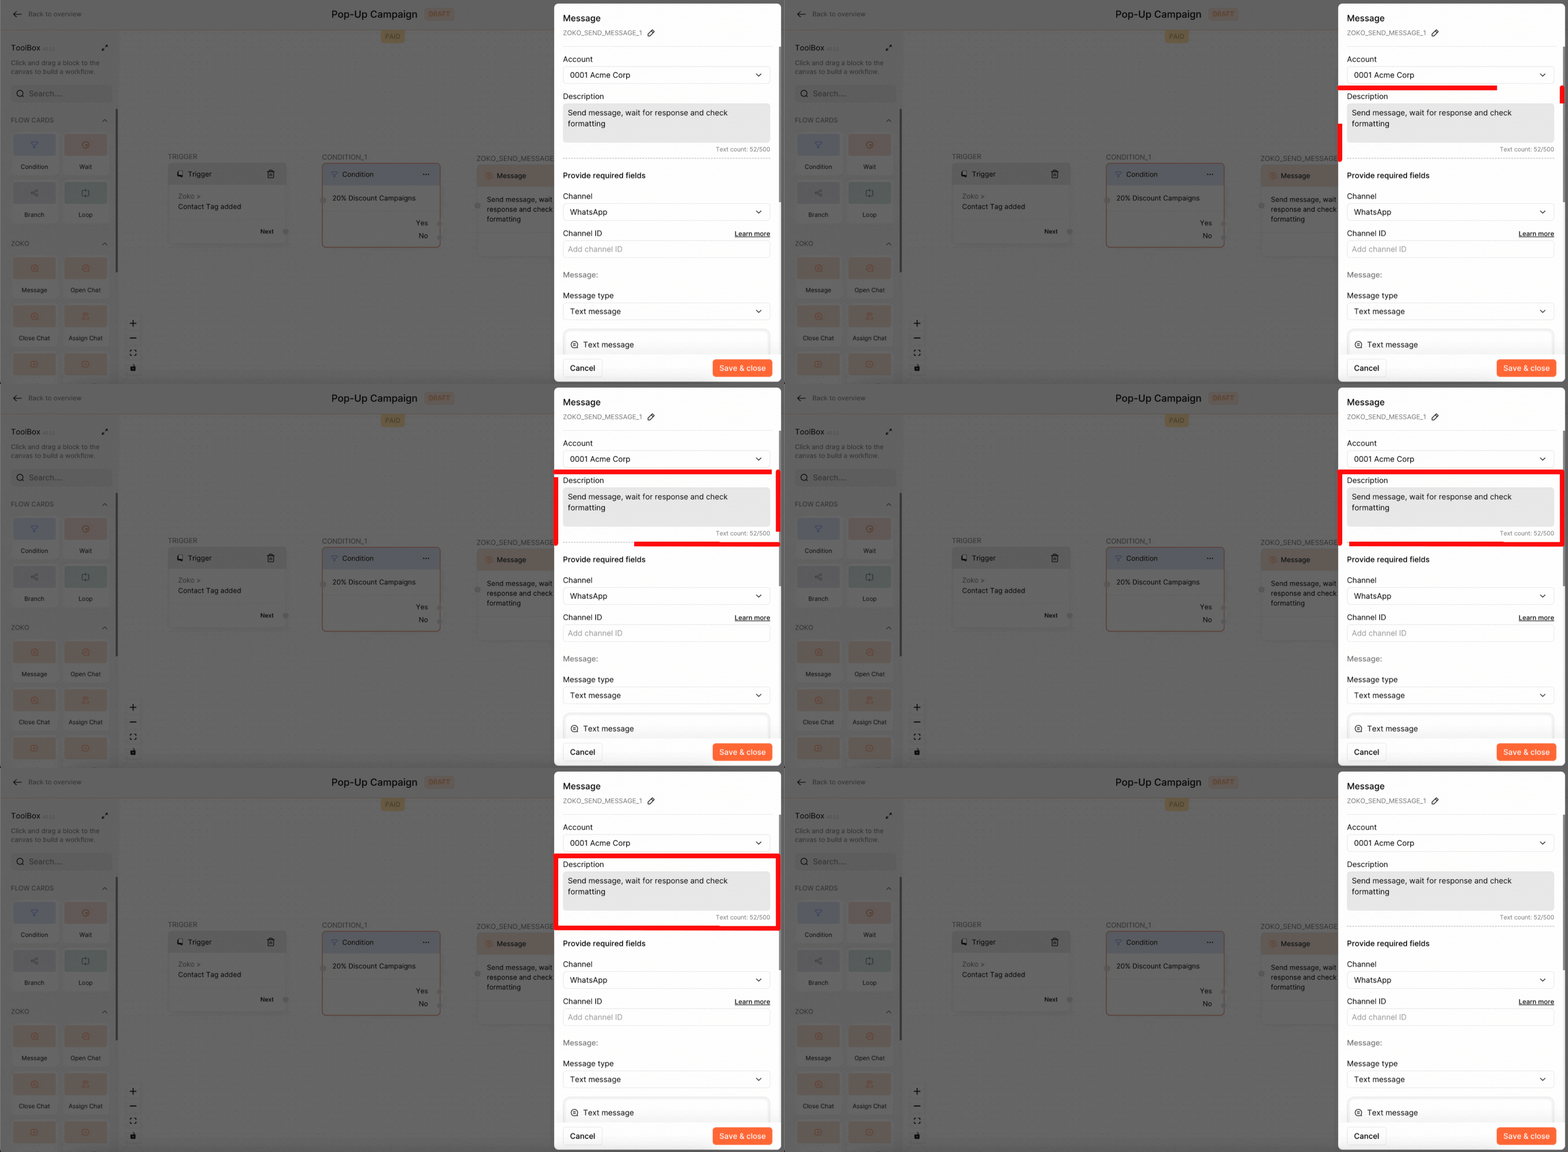
3. Give the description name.
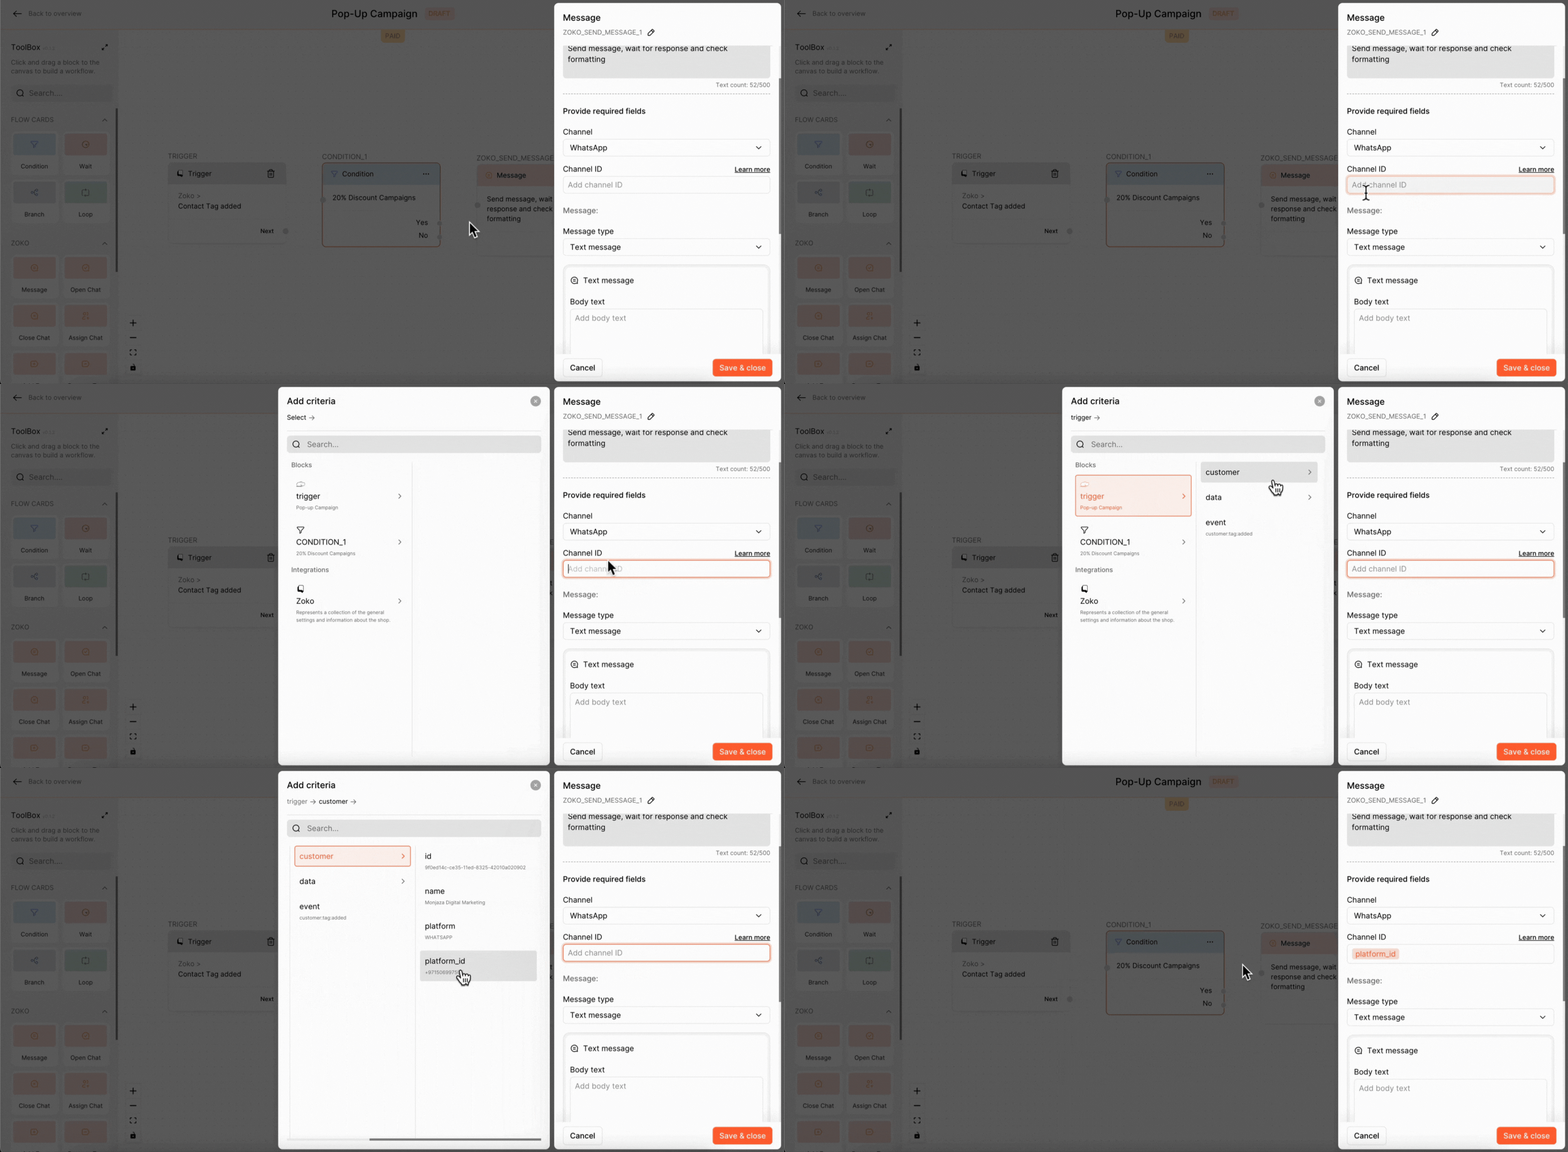
4. Add the WhatsApp channel id by clicking on channel id box >> trigger >> customer >> platform_id.
5. Select the message type from the dropdown. In our case, we selected “Template Message.”
Note: The template will only be visible if you have already created templates on Zoko dashboard. If you haven't created a template yet, please refer to our article on How to Create a Template for guidance.
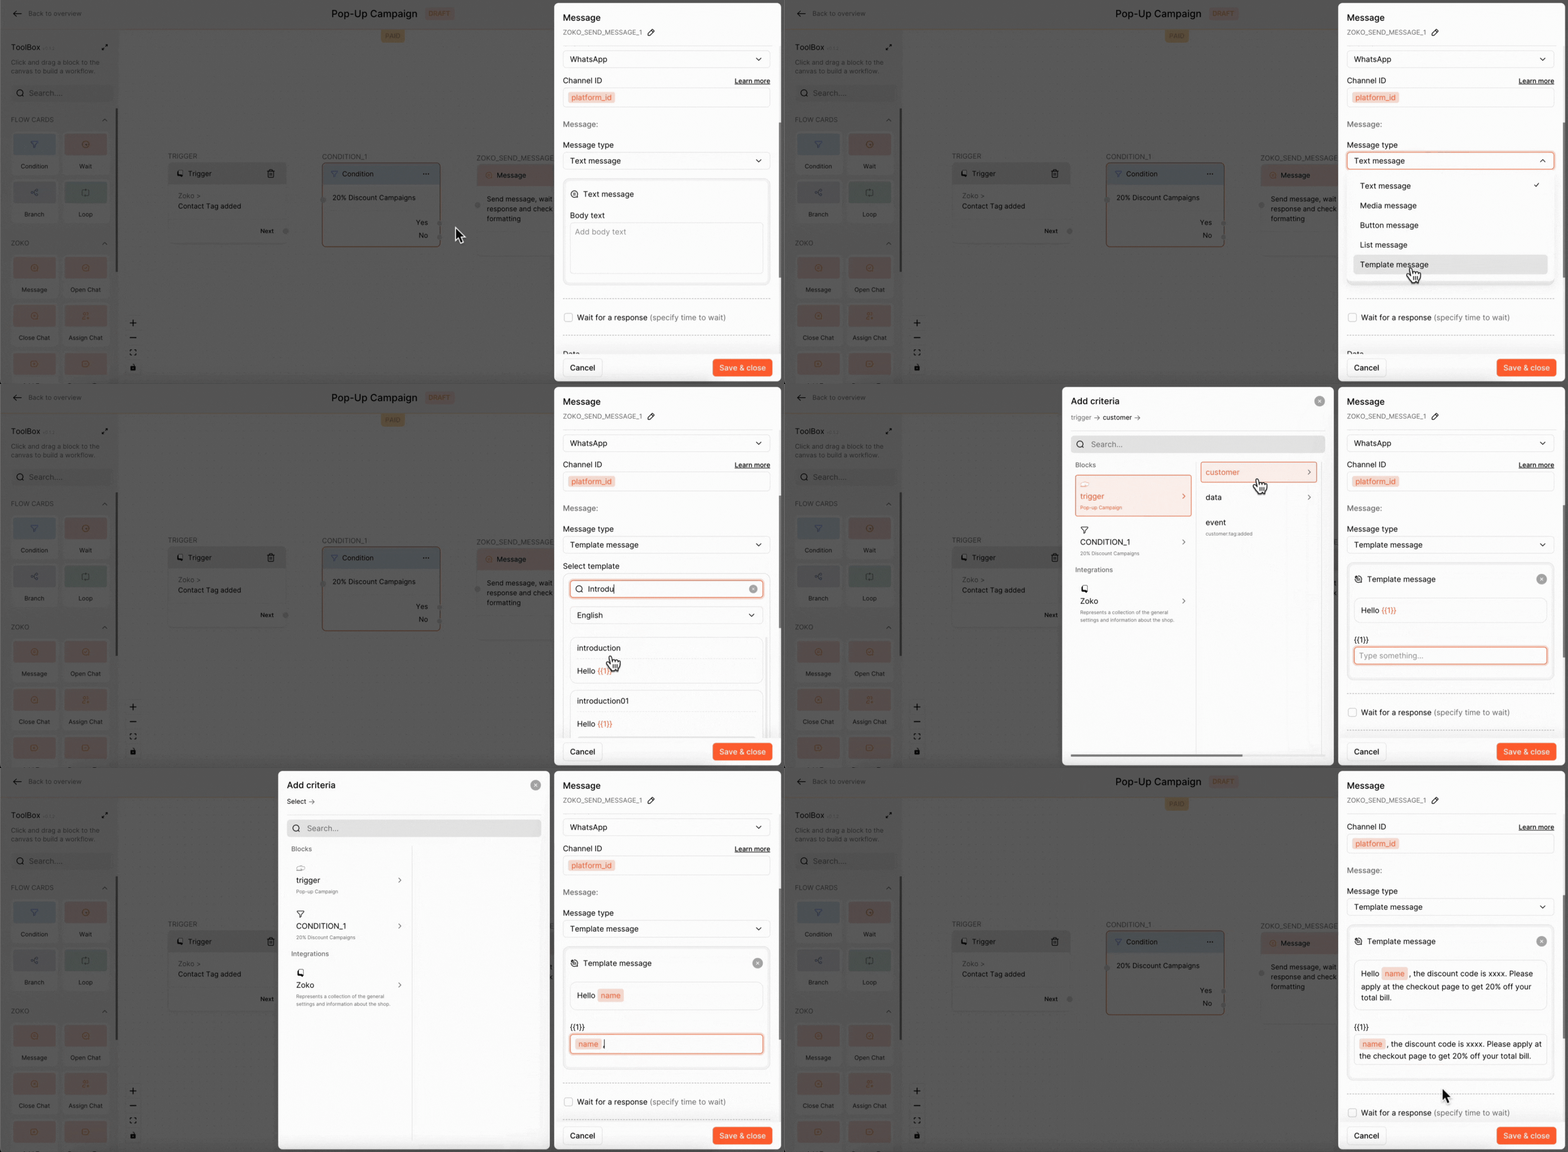
6. Click on Save & Close.
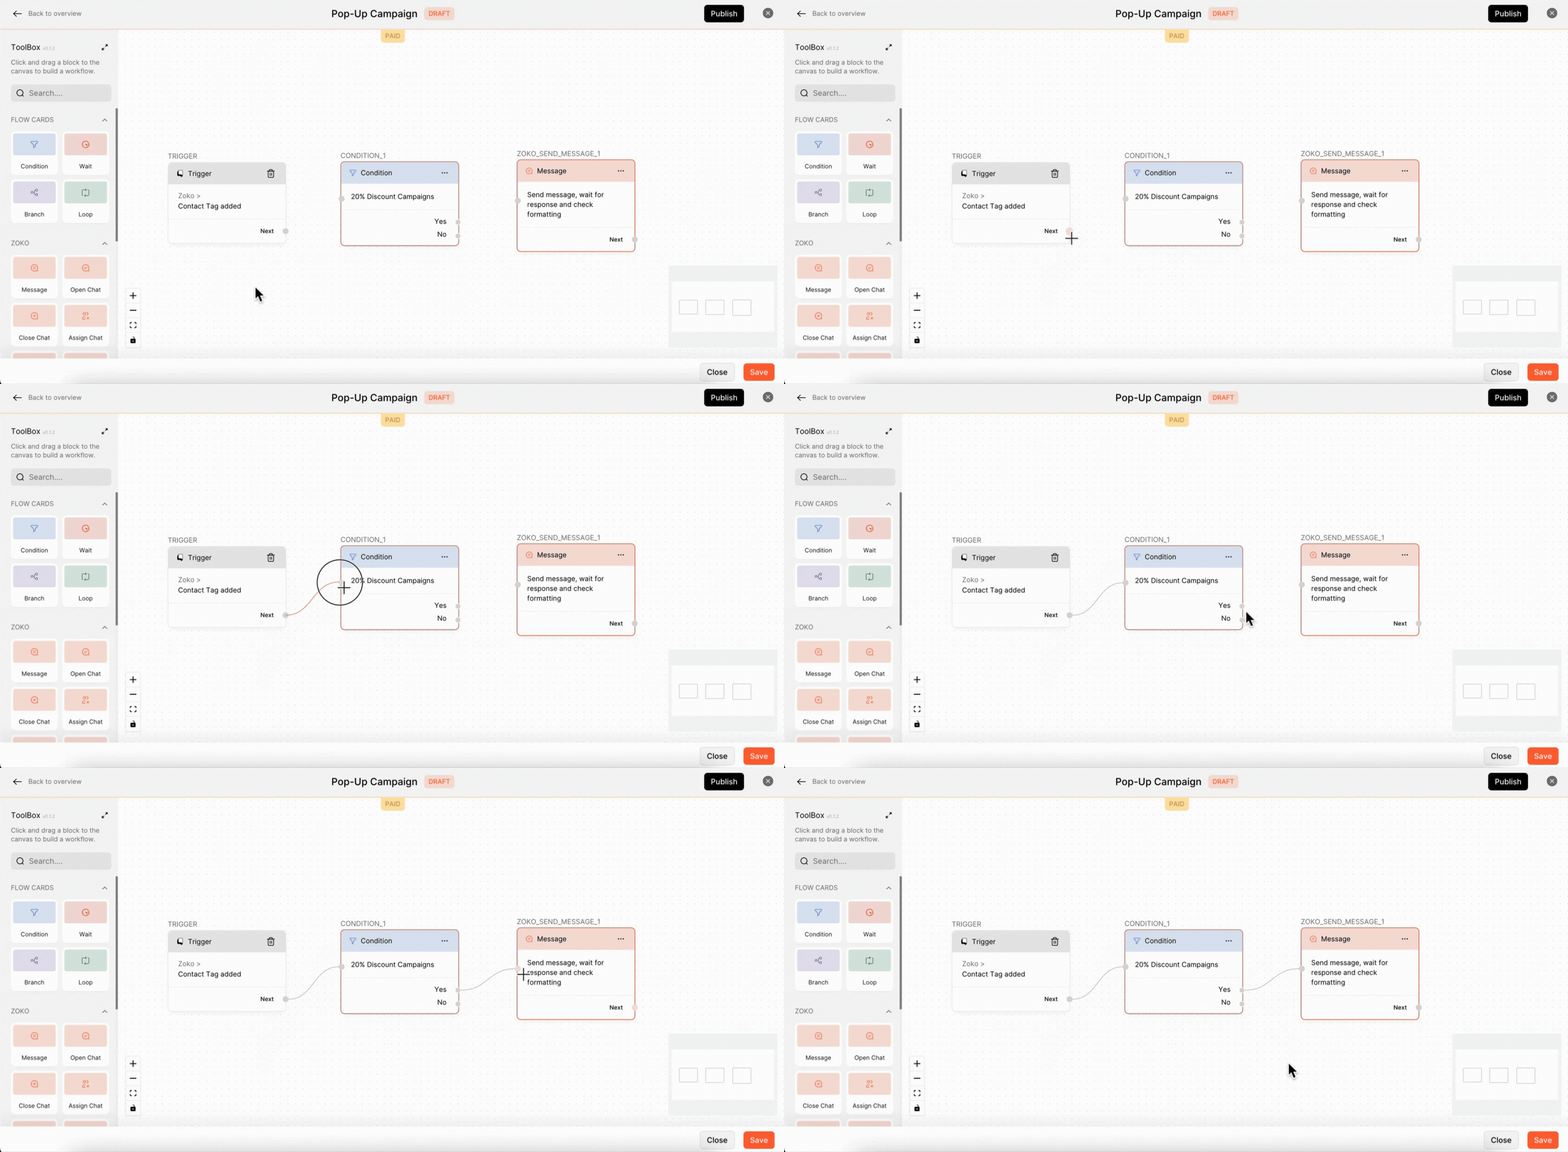
Once you have finished setting up all the nodes, the next step is to connect the flow connectors to ensure that the flow triggers the appropriate actions.
Step 4: Publish the Workflow
Finally, you have two options: you can either publish the flow immediately by clicking on "Publish," or you can save the flow and publish it later by clicking on "Save." If you choose to save the flow, it will be moved to Drafts until you are ready to publish it. In our case, we have published the flow.

Keywords: Pop-up Campaigns, Send notifications, Follow-up, FlowHippo.


.png)