How to Create an Agent
Learn how to add agents and assign them various roles.
You can easily create multiple agents on the Zoko dashboard to manage customer chats from a single number. Each agent logs in with their own credentials and can only access the chats specifically assigned to them or their designated team.
To create an agent:
1. Go to Settings.
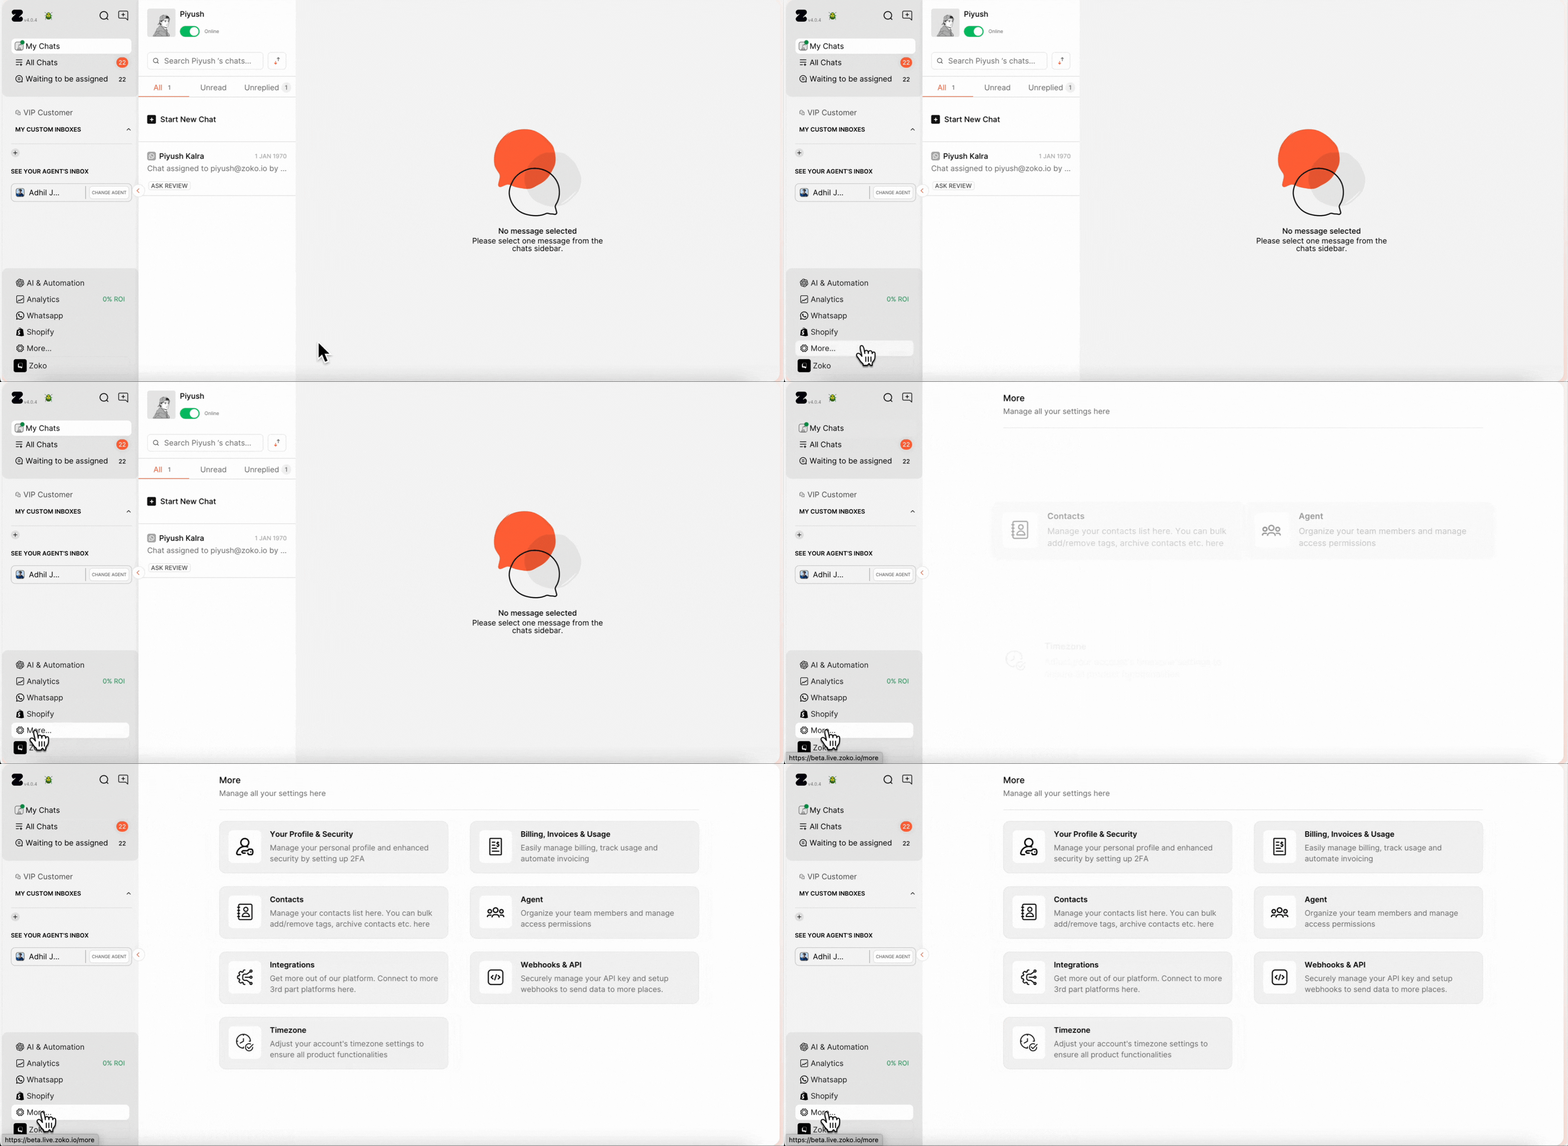
2. Click on Agent.
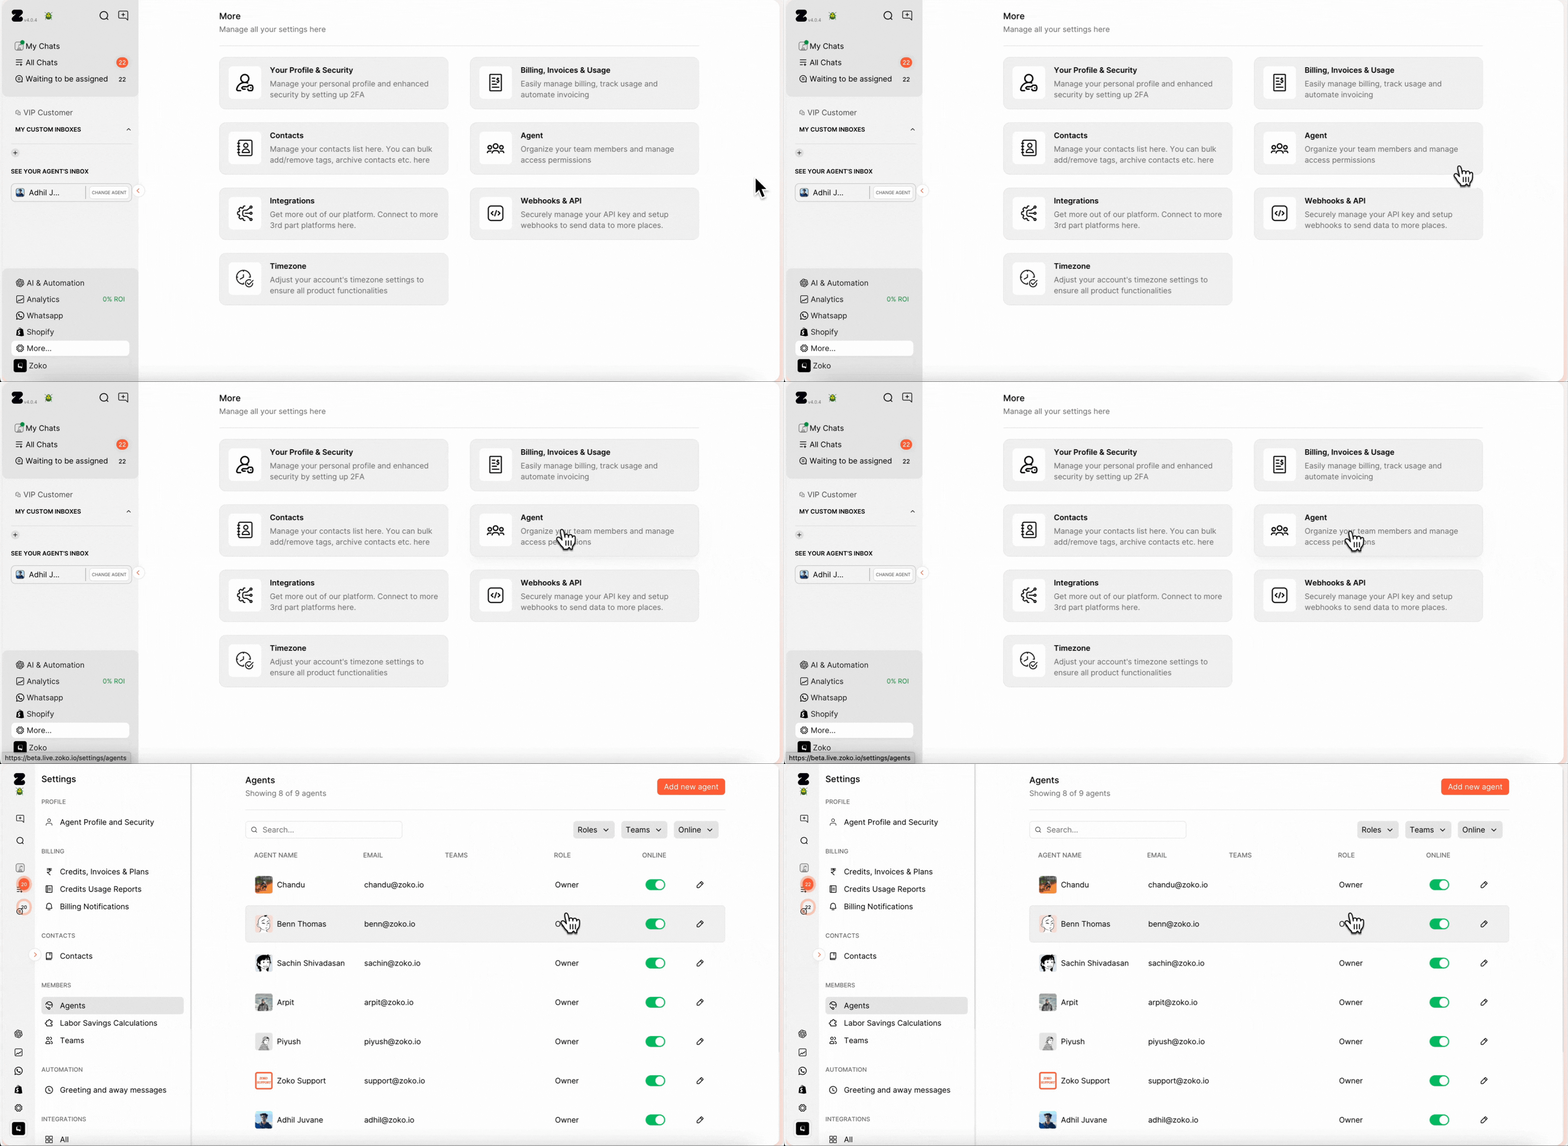
3. Click on Add New Agent.
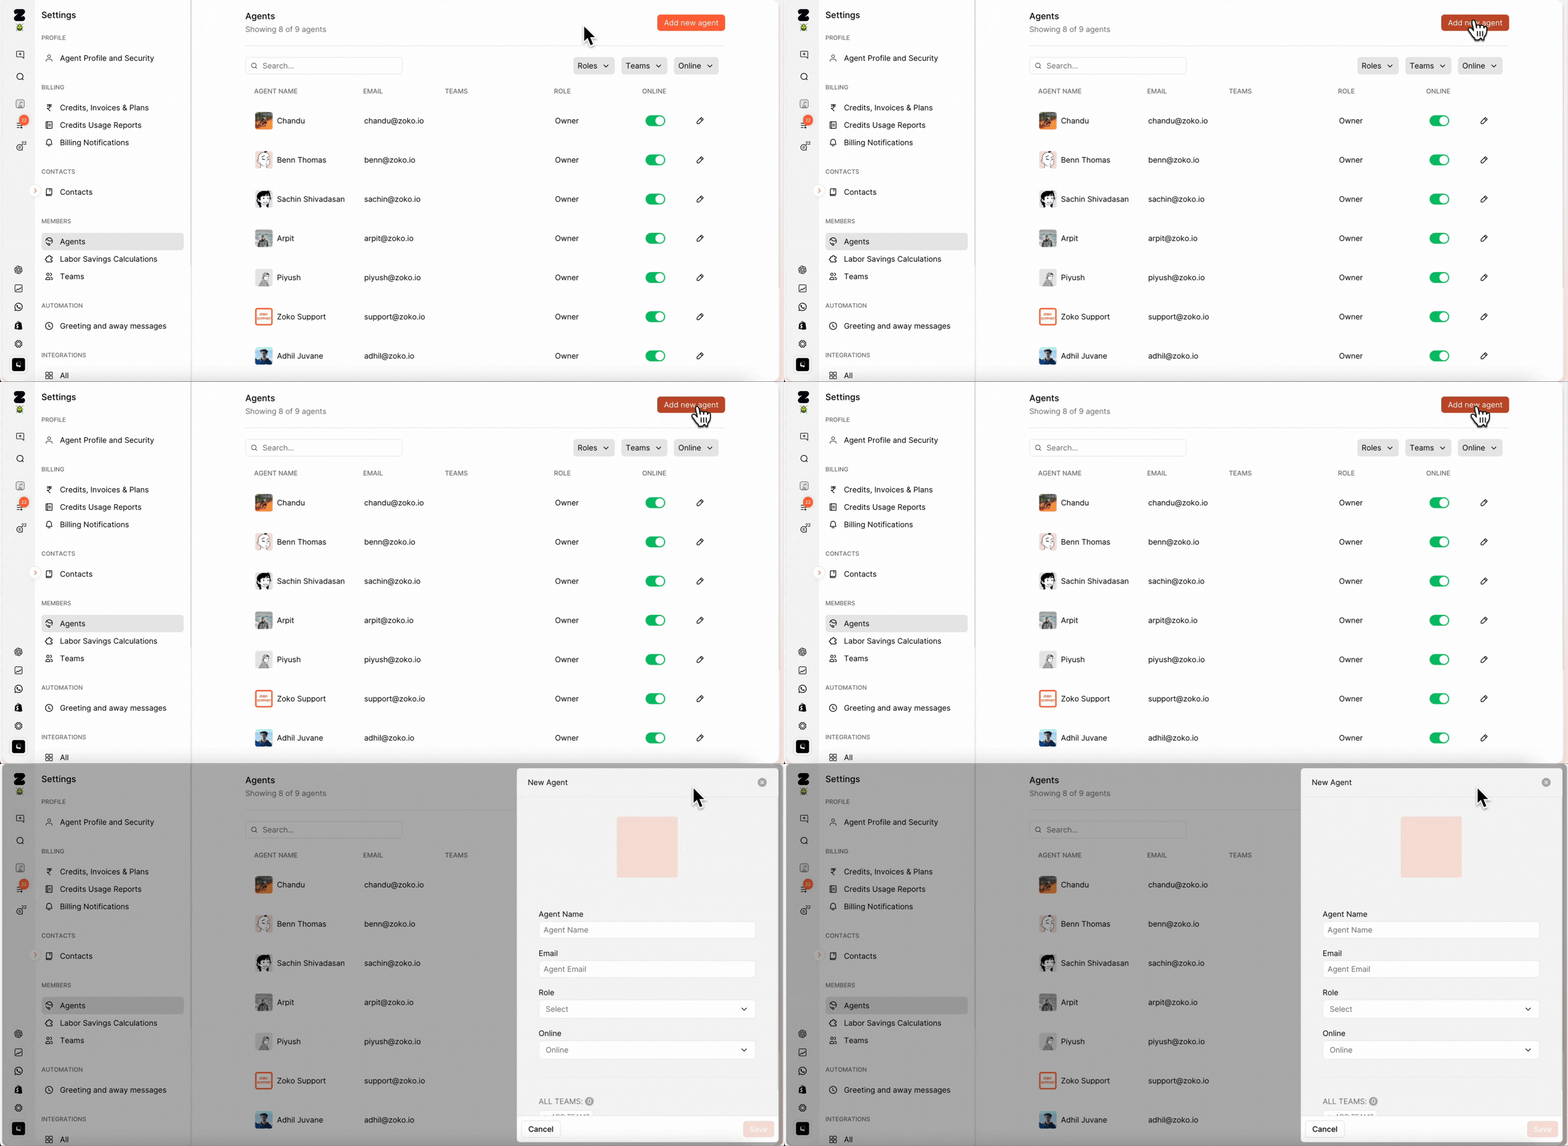
4. Enter the team member’s name and email address in the provided fields., which they will use to log in to their Zoko account.

5. Assign a role to the agent. In our case, we have set it to Owner. To understand more about different roles, refer to the article on Agent Access Levels (Roles)
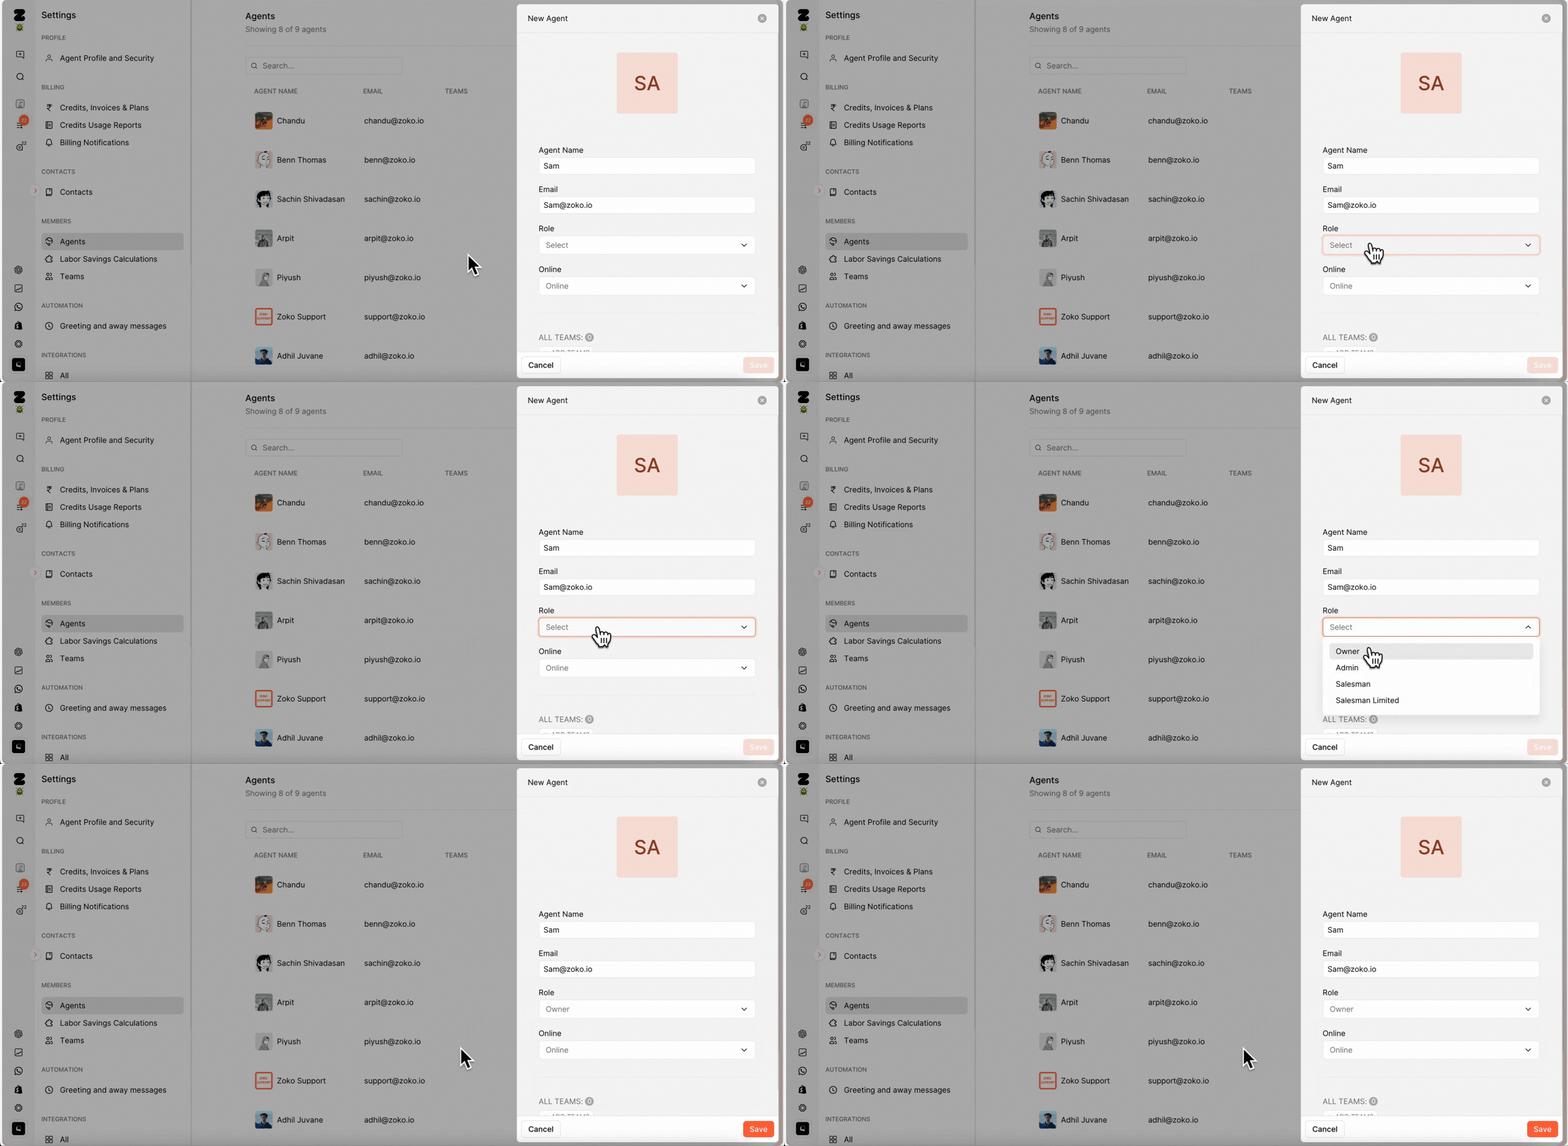
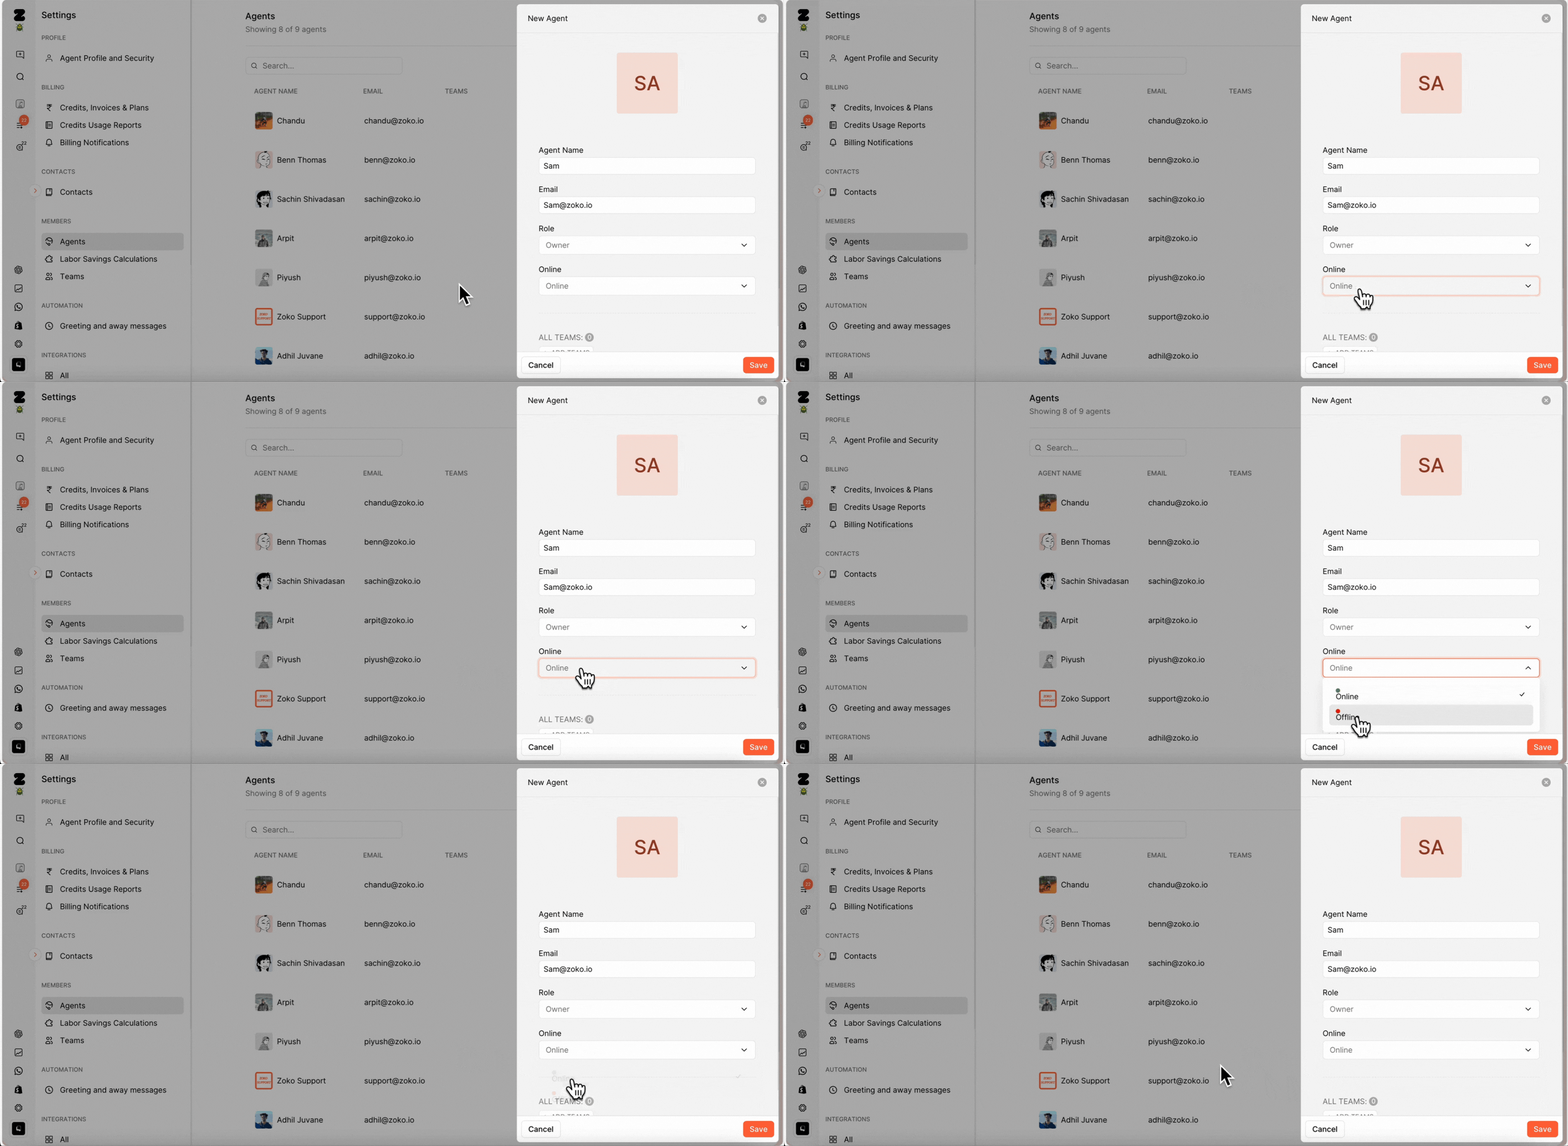
6. Choose the agent's status from the dropdown menu. If your agent is online, set it to Online; if not, set it to Offline. In our case, we have set it to Online.
Note: Once your agent is back online, they will need to update their status to Online. To understand better, refer to our article on How to update the status.
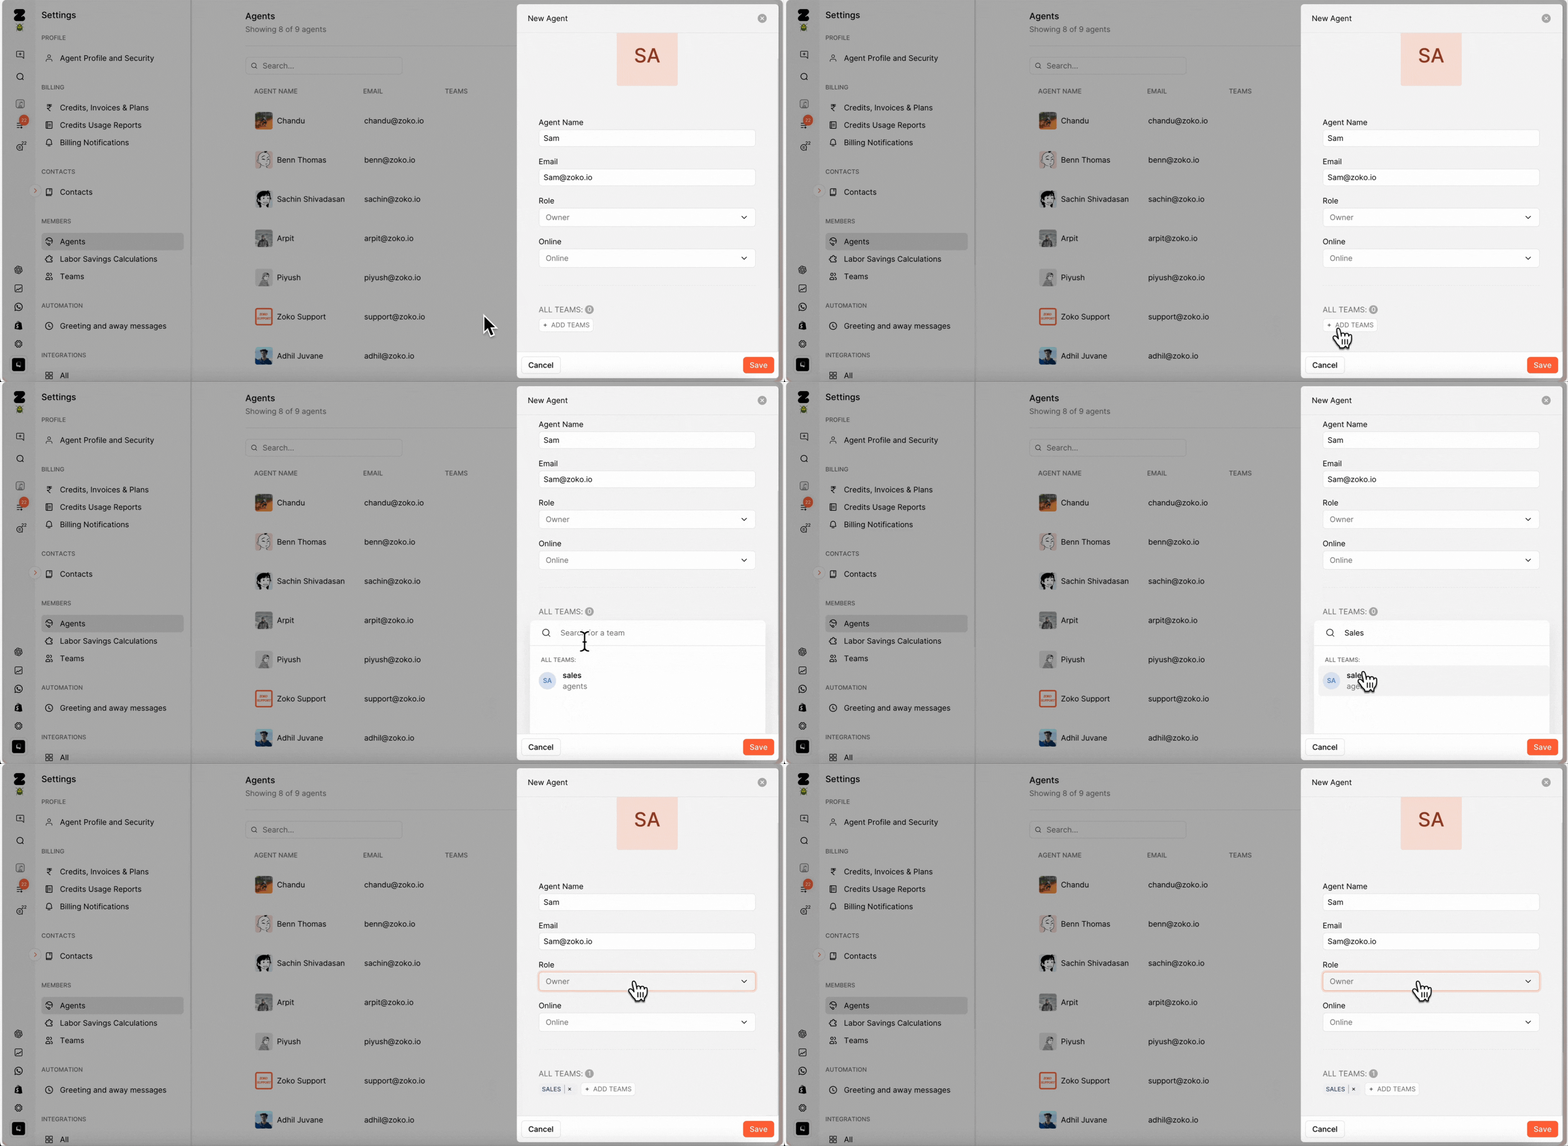
7. If you want to add the agent to a team, click on Add Teams and select the teams you have previously created. To understand more about creating teams, refer to the article on How to Create Teams
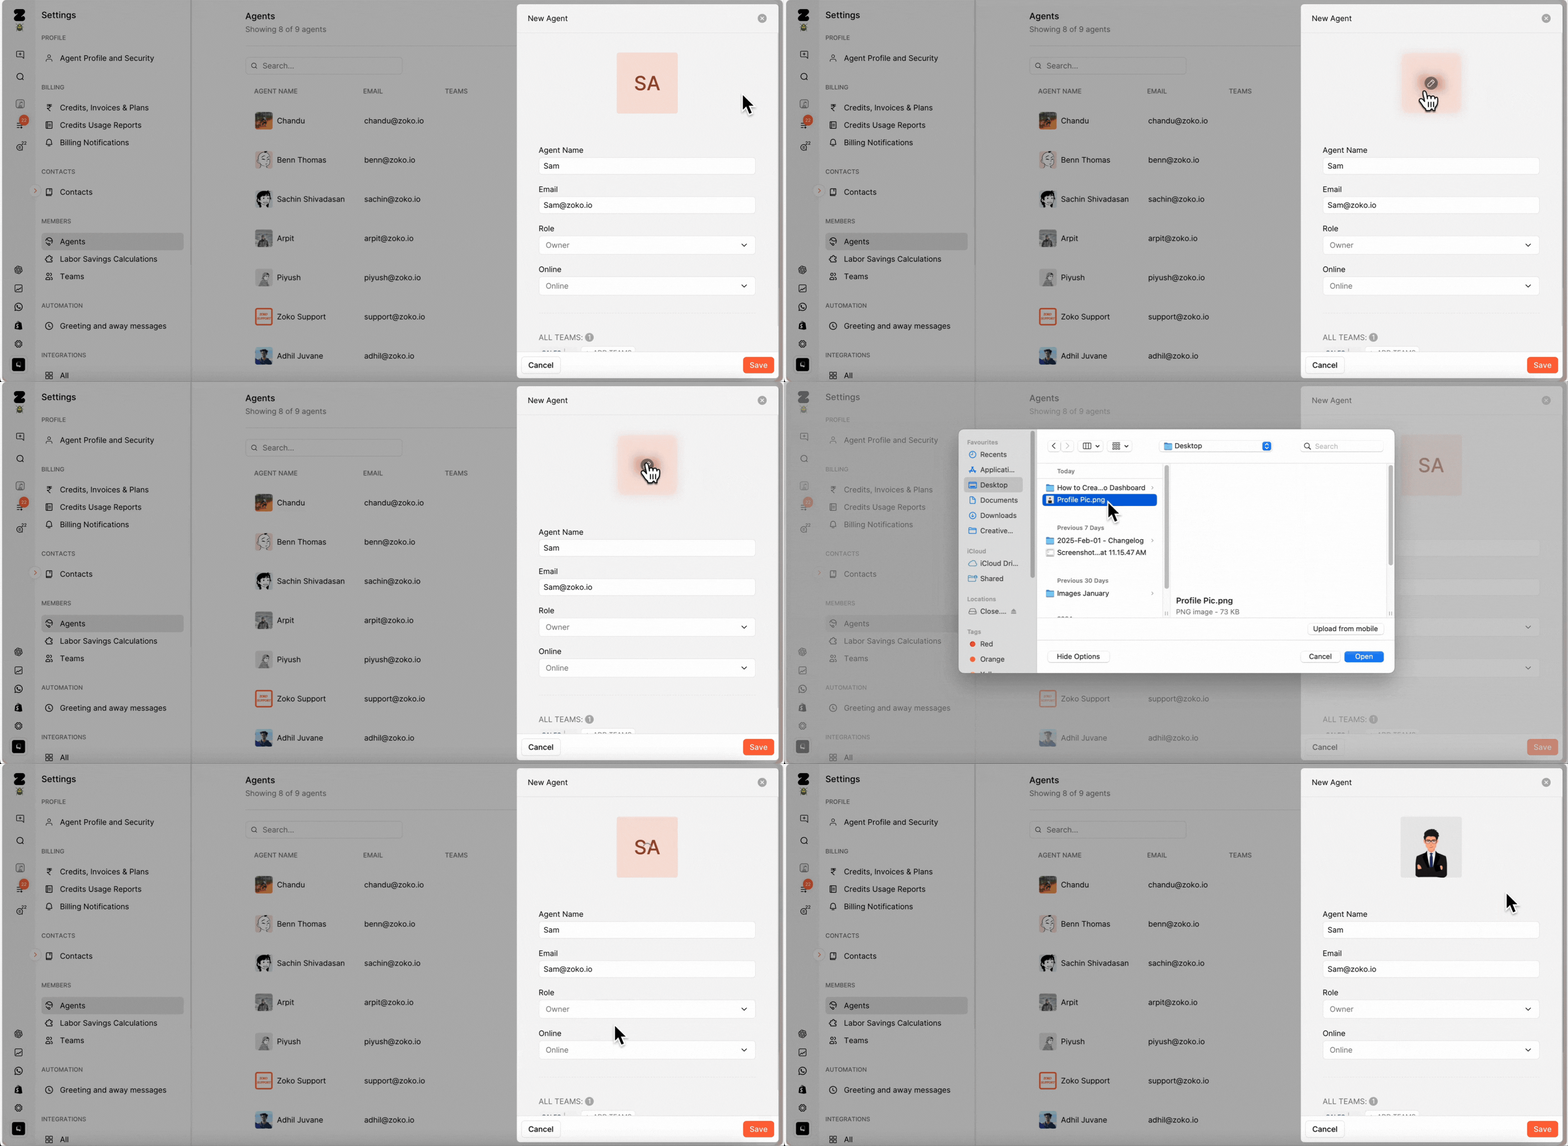
8. [Optional] You can also add a profile picture for the team member.
9. Click on Save.
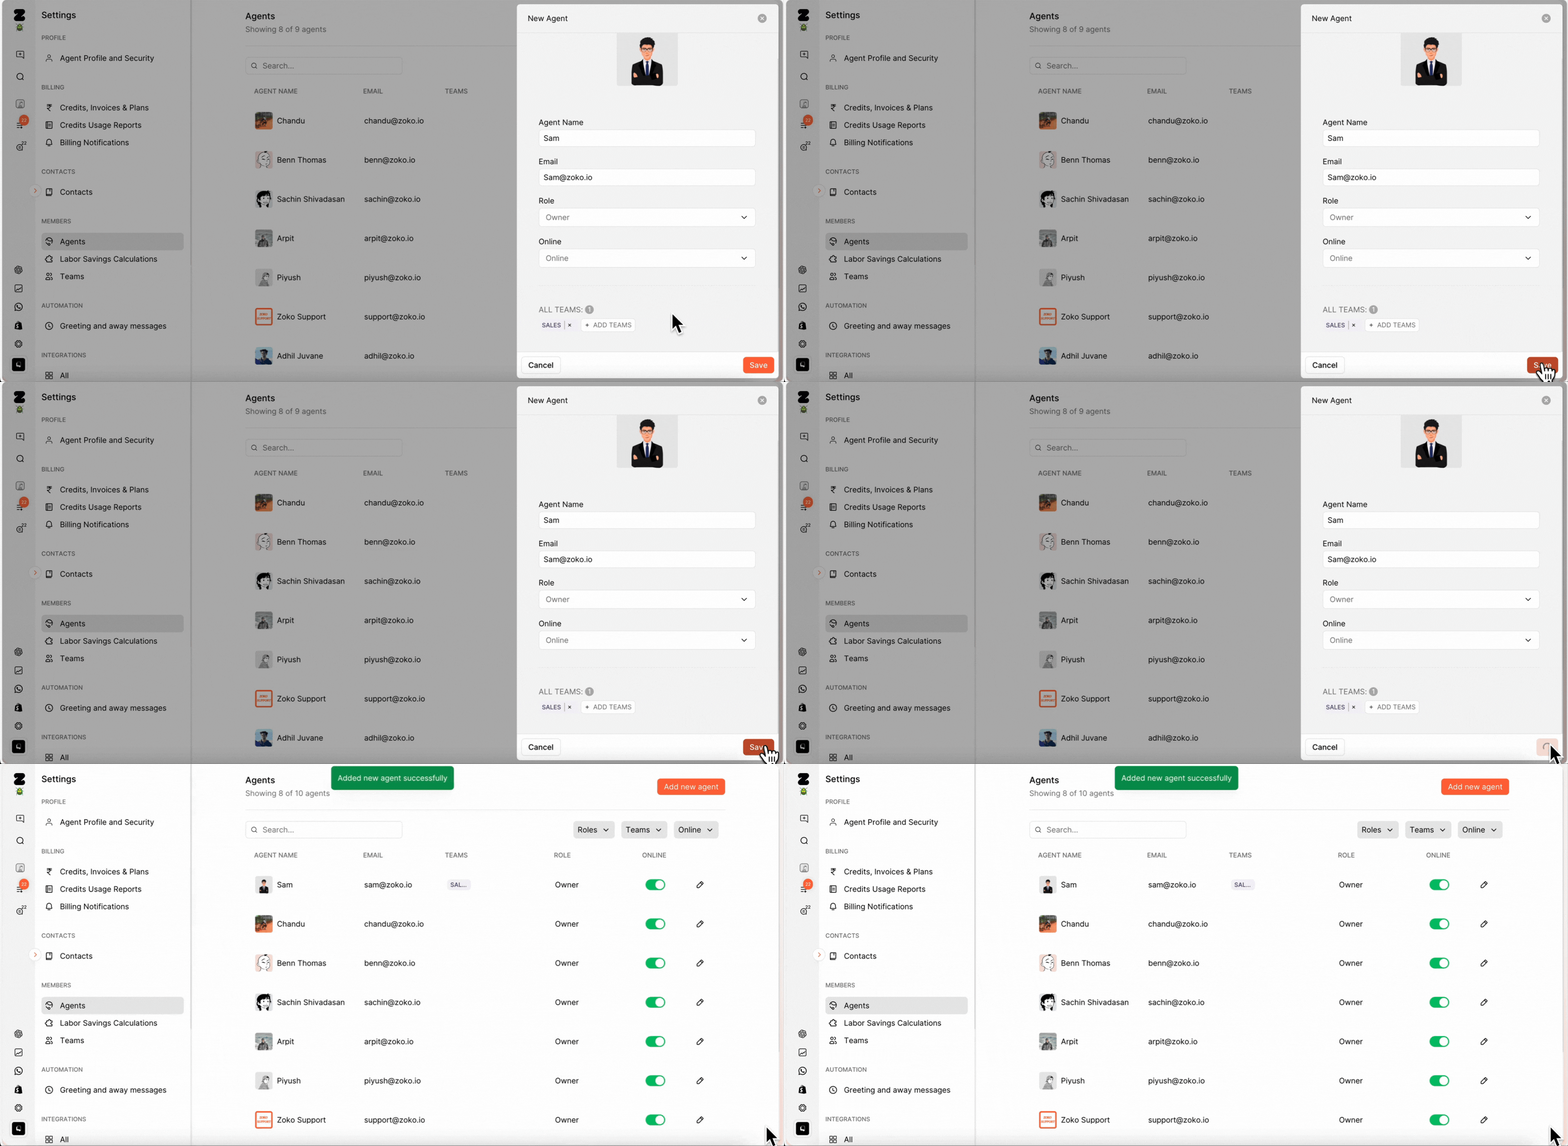
Important Note: The agent will receive an invitation email at the address you provided. On their end, they will need to:
- Open the email.
- Click “Get Started” - this will redirect them to the Zoko setup page.
- Enter their email address and create a password.
Pro Tip: You can set up auto distribute rules to save the times of assigning the chats to each agent or team manually. It is going to help you facilitate chat routing to the right agent or team based on your criteria. To understand better, refer to our article on How to Set-up Auto Distribute Rules
Keywords: Create agents, Multiple agents, Chats assign, Add agents, Team.


.png)